Photography Tutorials

Use and Control Colour to Elevate your Landscape Photography

Today we’re talking colour. Beautiful vibrant colour or even the complete lack of it. We’re going to look at how colour feeds into the entire photography process and how we can use and control that colour to improve our landscape photography.

Colour-4.jpg

Style

One of the first things to strike us when we first look at an image is the colour. This is particular true if the colour is designed to make a statement or the photographer has just made a complete hash of it, like some of those horrible HDR’s where it looks like you’ve just thrown up all over the page.

How you use colour in your landscape photography is an important part of what gives you your style. Do you prefer big vibrant colours? Do you use more muted tones? Are you a black and white person?

It doesn’t really matter and no one way is better than the other but what is happening with the colour in your image is something we need to think about and not just let it end up happening by chance.

So how do we start controlling the colour?

Colour-3.jpg

Planning

The first part comes right at the start during the planning phase. Photography is all about storytelling so when planning a shoot I will first decide what kind of story I want to tell. Colour has a big impact on story. Big vibrant saturated colours create a story of hope and happiness whilst more muted subtle, colours have a more thoughtful, down beat, artistic feeling. Colour is directly linked to our brains and affects our emotions heavily so as a photographer I want to use that to my benefit to take the viewer on an emotional journey.

The type of story I want to tell will then guide the location I choose to shoot in. The weather also has an impact on colour. Sometimes I will head out chasing a story. For example, I am in a happy mood and I want a big colour sunset type shot. I’ve checked the weather, I know there is a chance of a colourful sky, so I head to the beach. Finding a composition it then time to hope that the big sky comes. Sometimes it doesn’t pay off but often it will and the story be chased is told.

Sandsend-5.jpg

On other occasions I’m not in control of where the shoot is happening so it is necessary to adapt the story to the landscape and conditions. Thats exactly what happened in the Peak District last week. That location was set because I had plans with a friend. I knew the weather would be changeable and there was a good chance it would come good at the end of the day. I used colour in the images to drive the story of adverse weather from the desaturated drought shot, through the monochrome rain shot, to the black & white bleak, shot at the top before heading through the extreme clouds and into the sunny colourful sunset at the end.

Watch the video here - https://youtu.be/bsMlvi_RBxI

Compose with Colour

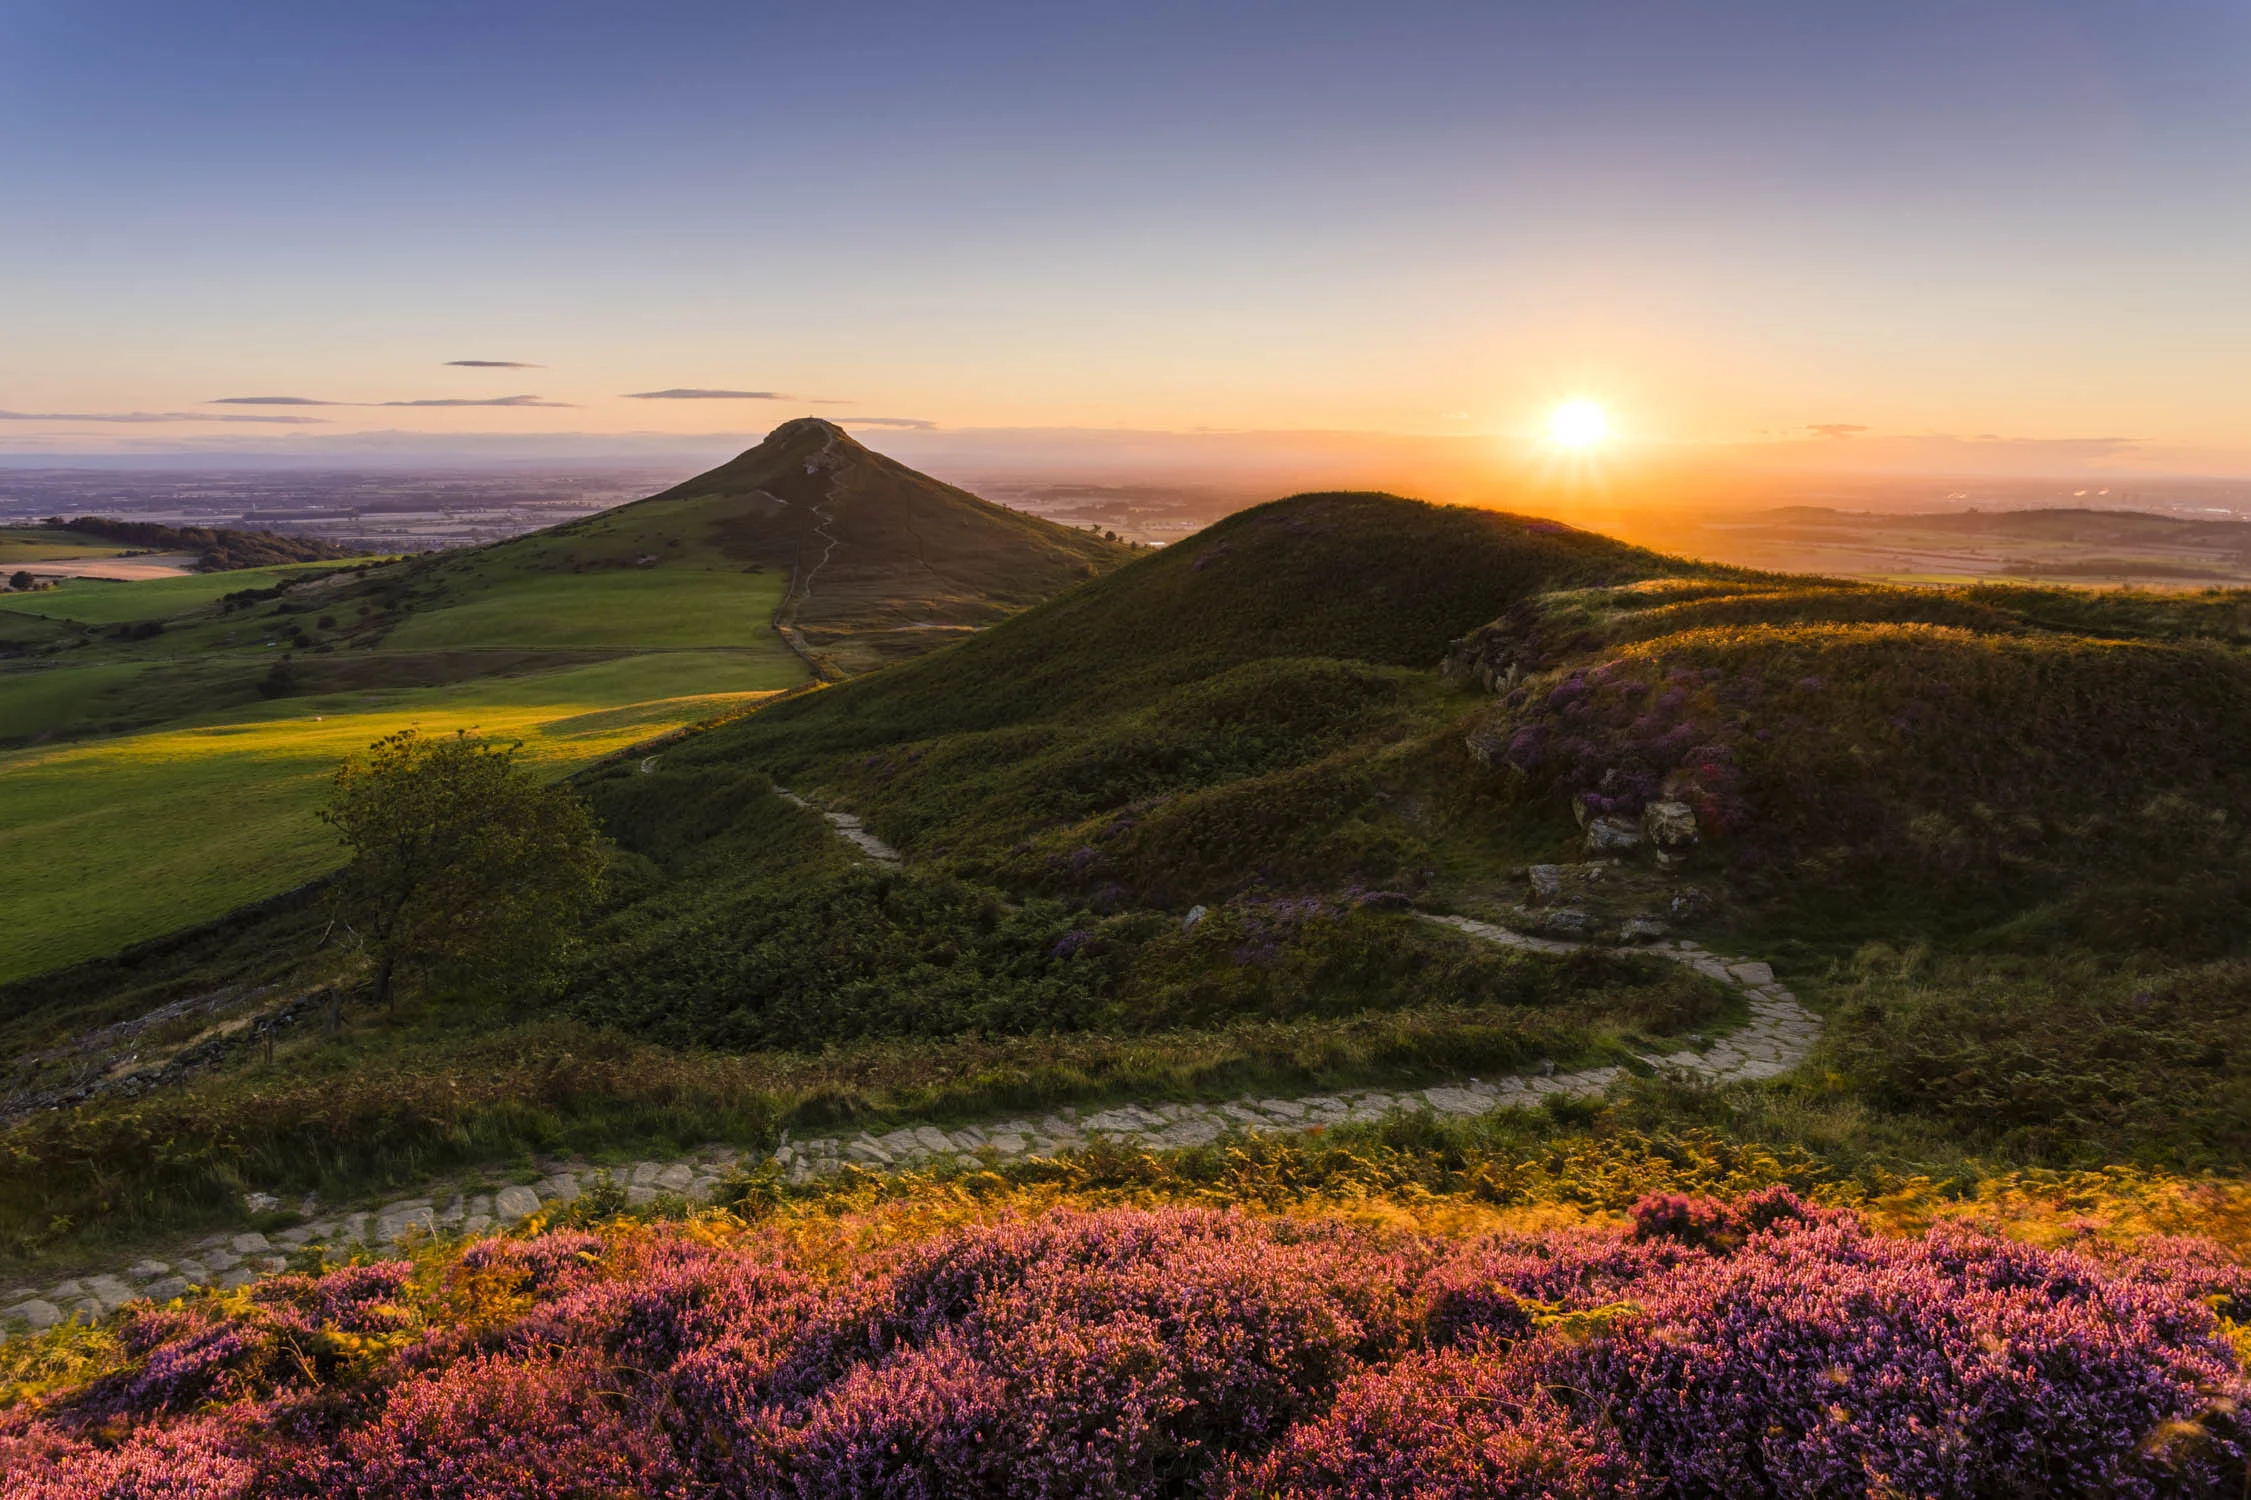
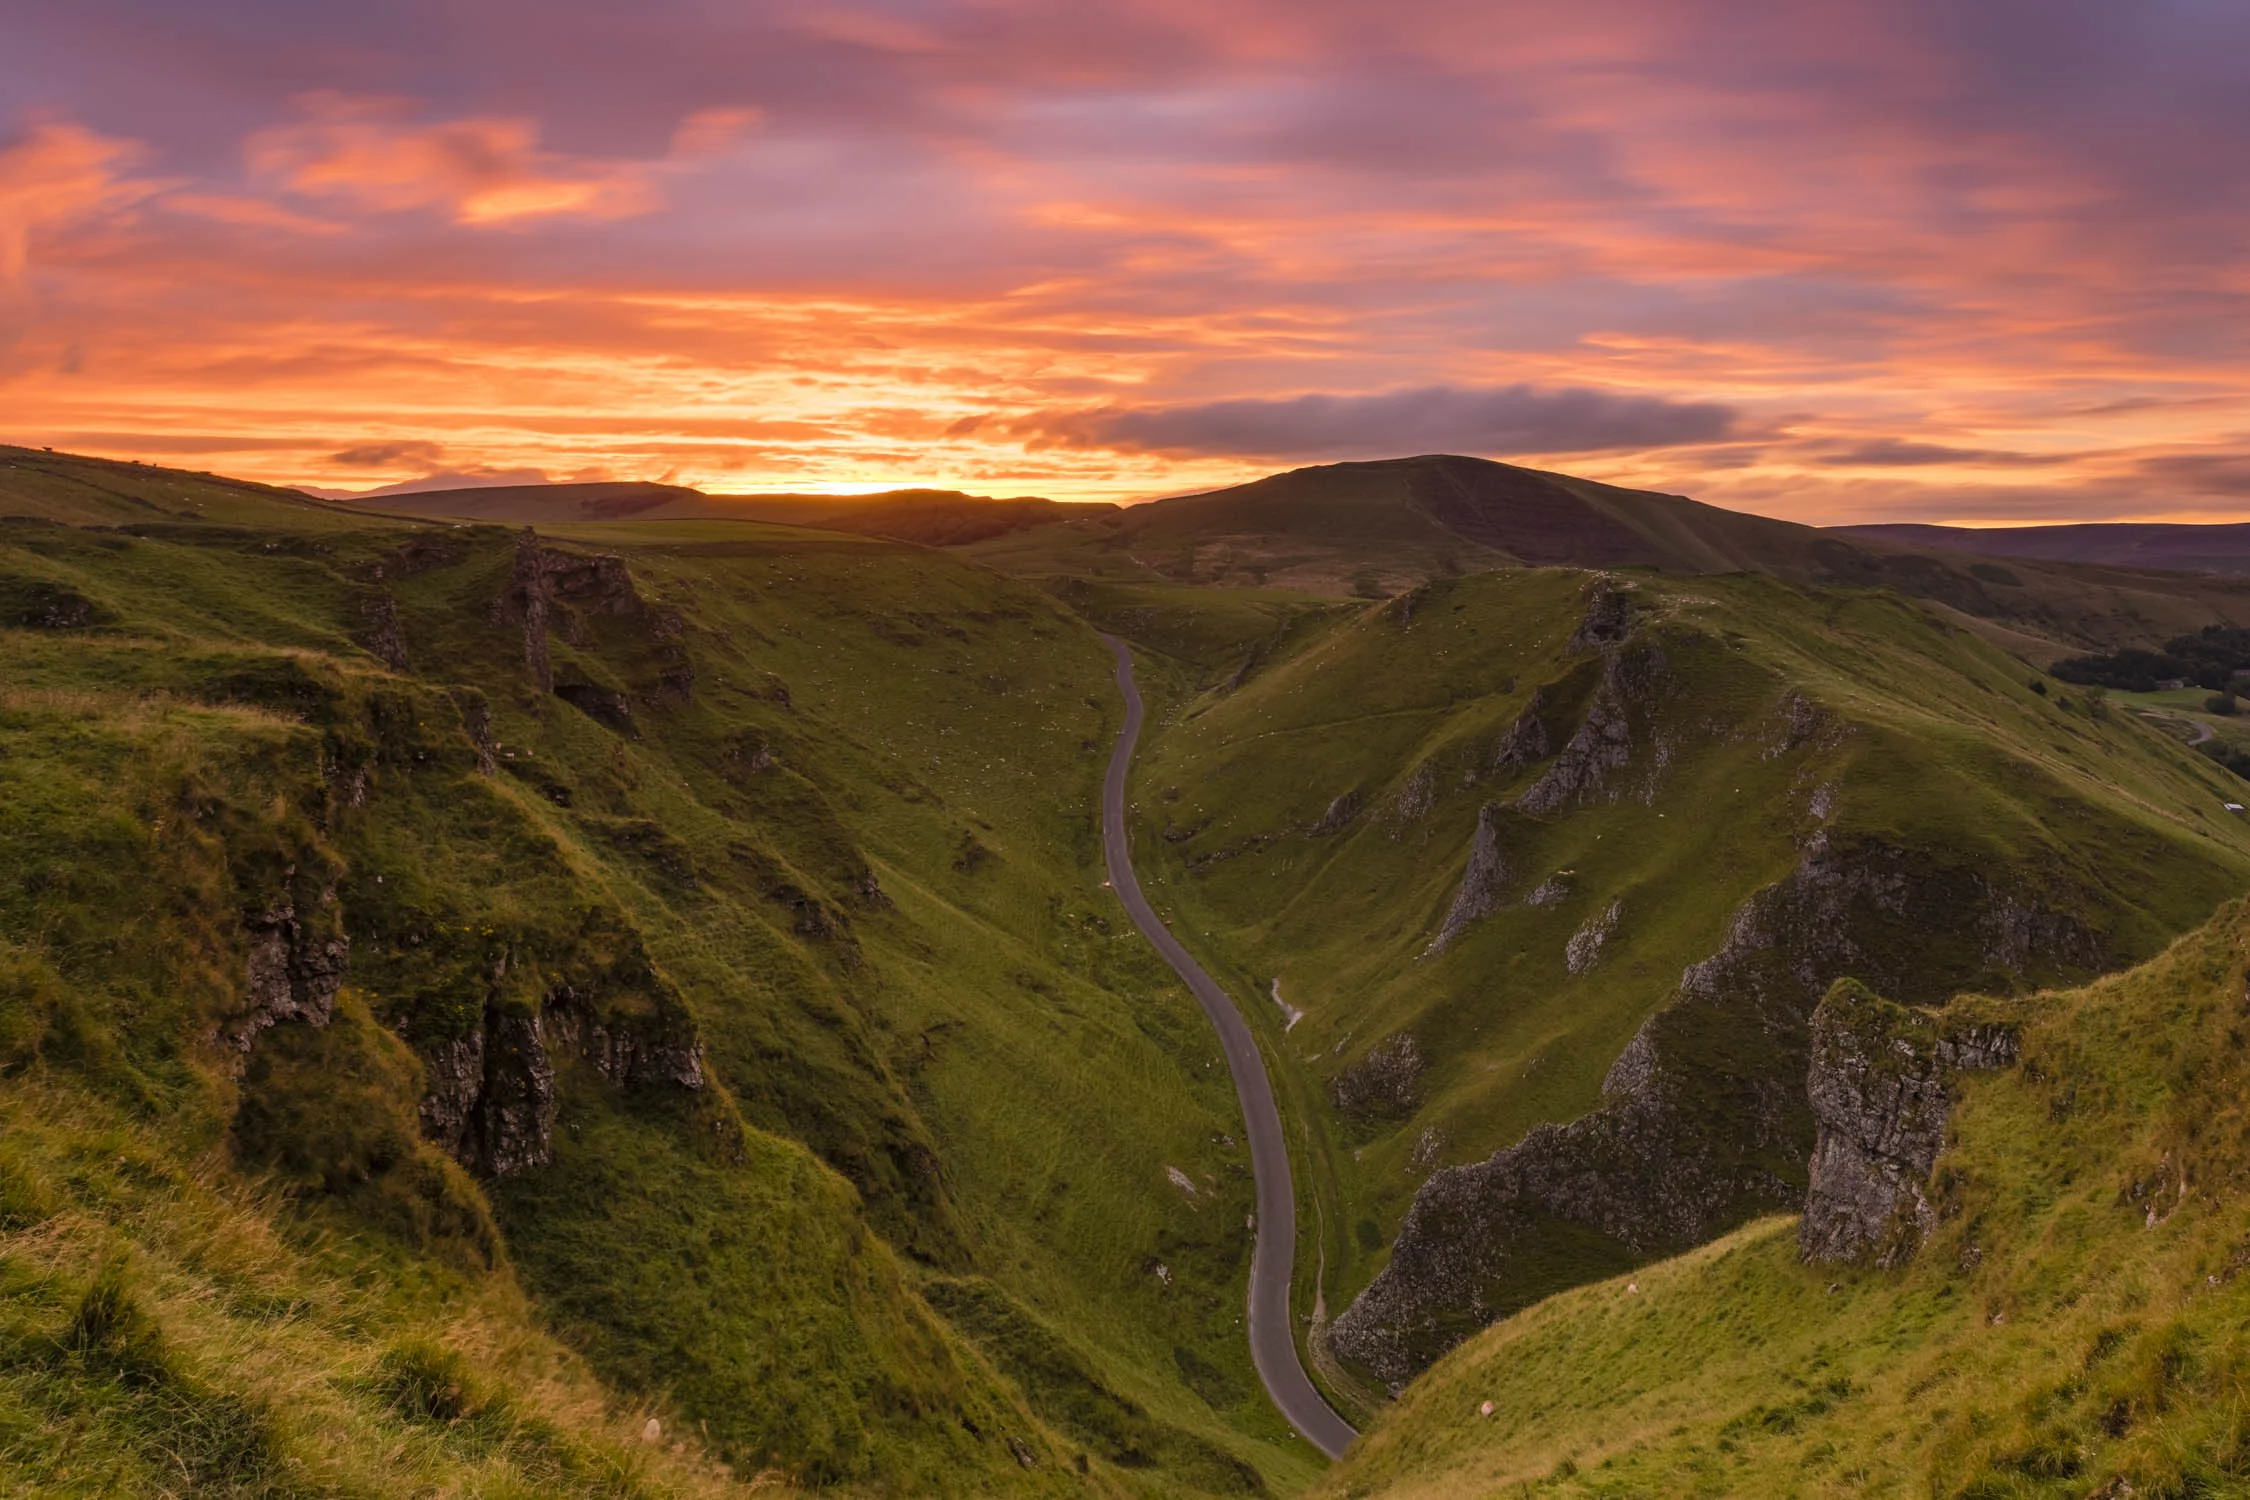
Placing some striking colour into an aspect of your composition can take a photograph from a good shot to a great shot. A blue sky compared to a big colourful sky is an obvious example and it is true of the foreground and mid ground too. Take British moorland as an example. It’s covered in heather and most of the year it is an uninteresting browny green colour. But every Autumn/September time it flowers and turns into a stunning and vibrant pinky purple colour that can turn a composition.

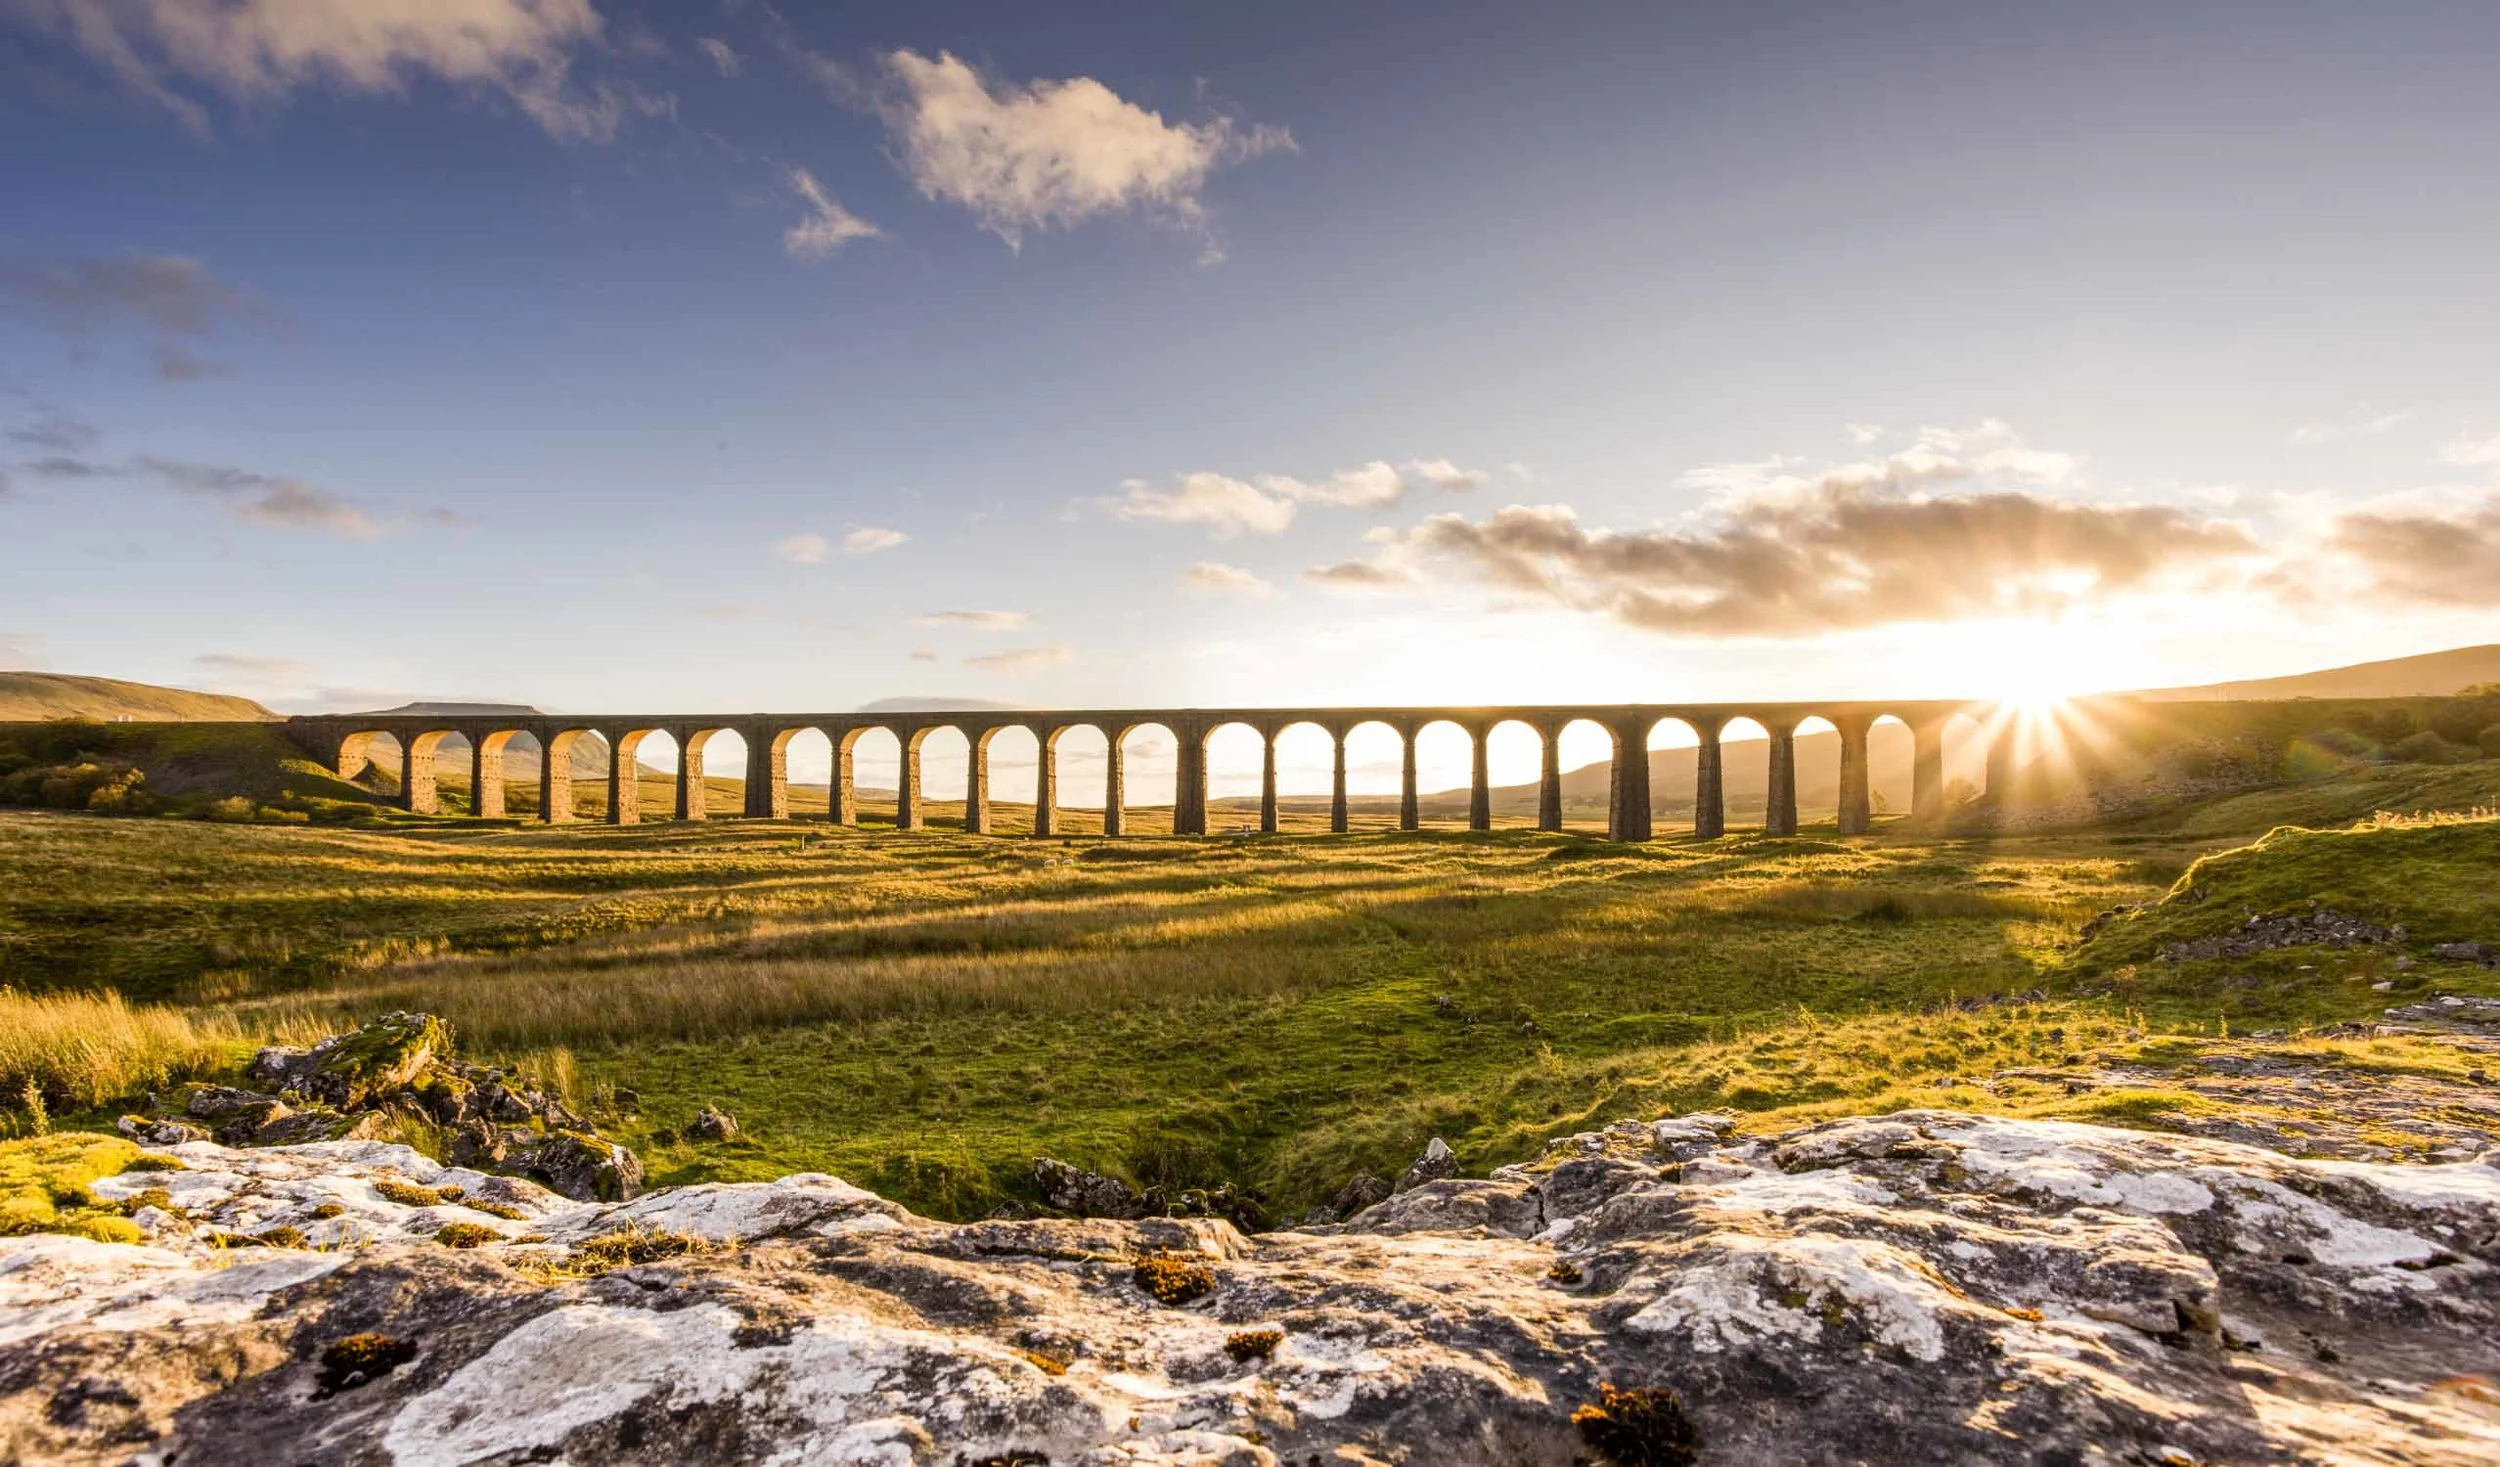
We can take this a step further by using good light. We all know about the golden hour but having the warm light hitting a scene will enhance the colour of everything, without creating nasty highlighted area that you can get during the middle day. This definitely happens with the heather but the same is true of rocks, sand, buildings, trees and pretty much everything else.

Colour-5.jpg

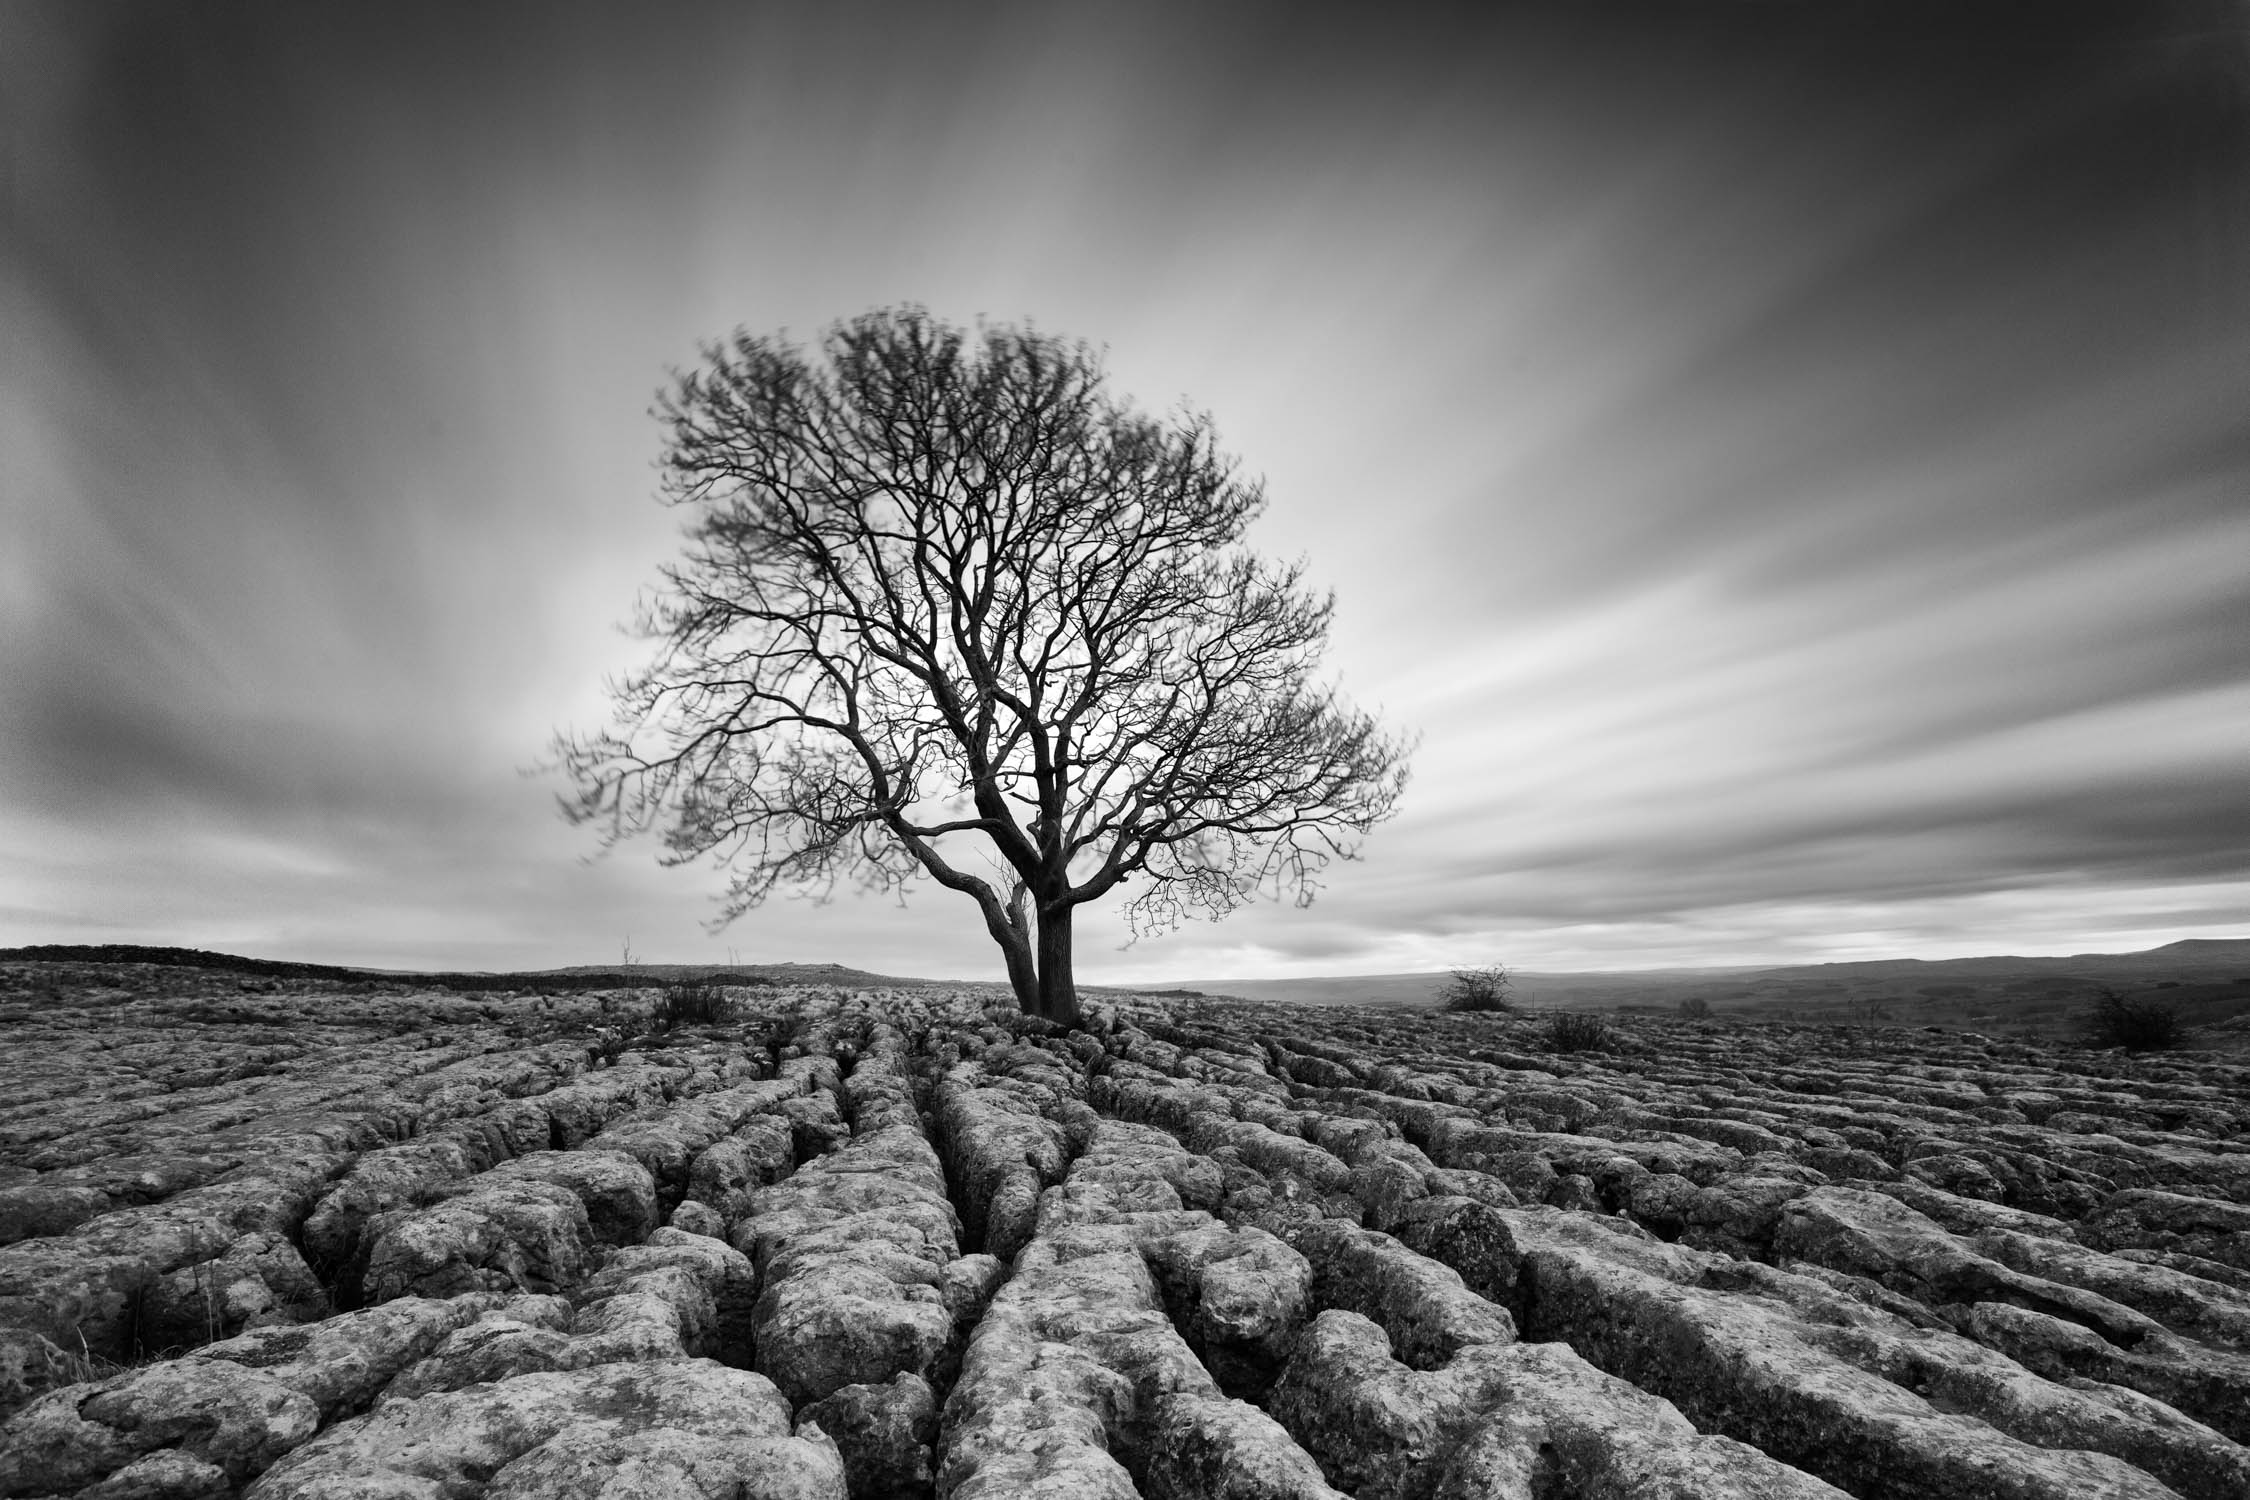
When good light is absent a scene will be much less vibrant, like in dull grey conditions. When I am faced with that I will often combine the more subtle colours with a long exposure to produce a more ethereal and fine art feel to the scene with muted colours or monochrome.

Colour-1.jpg

Black and White and Monochrome

Black and White is an interesting area of landscape photography. To get the best images it is really important to try and decide at the time of shooting if the final image should be black and white, rather than just using it in post to try an rescue a bad image. It does not mean the image need to be captured in Black and White, just have it in mind for the final composition.

Colour 22.jpg

I use black and white when there is a really interesting composition but the colours are dull and actually detract from the image. Even in those dull colours, interesting tones are present that will work well in black and white. You can also post-process grey tones much more aggressively than a colour image to really add drama to a black and white photo.

A black and white image in monochrome but a monochrome image is not necessarily black and white. It just means we’re working with the varying tones of one colour. Monochrome images are difficult to plan for but it’s something I am massively attracted to when the conditions present themselves. Often it will happen in cloudy or foggy conditions. When the conditions present themselves it is good opportunity to create something a little more unique..

Colour-9.jpg

Post-processing

With Adobe Lightroom and other modern editors, they provide a massive amount of control over the colour. Several adjustments can be made to change the colour and transform an image.

White Balance

White balance is the first in the list. This is also the first time I have even considered white balance. When shooting in RAW white balance can be completely changed in post with no reduction in quality whatsoever. Setting the camera to auto white balance will be accurate most of the time and my method in post is to match the sight and feeling I had of the scene at the time.

Vibrance and Saturation

Vibrance and saturation both affect colour but in different ways. Saturation will change all of the colour in the image. It is a bit like the contrast slider in that it can be very tempting to add too much. A good tip is to dial it up to where you think it is right, then dial it back a bit to end up in the right place.

Vibrance on the other hand is smarter and only affects the middle colours so the changes are often more subtle. In the majority of my landscape images I add about 20 vibrance and 10 saturation and that gets me near to where I want to be.

HSL

Screen Shot 2018-08-12 at 15.36.04.png

The HSL panel gives control over hue, saturation and luminance. It gives massive control over colour in an image. It is through this that many of the presets out there are built around and it certainly creates the opportunity to make an image look unrealistic or stylised. I do not use this very often but it can be handy when you want to control individual colours. With a sunset boosting the overall saturation can take certain colours like orange and yellow overboard, so dialling those individual colours back in the HSL panel can balance the image back out. I try to keep things fairly natural so any changes I make in the HSL panel are mostly very subtle.

Grads and Brushes

Next we have software grads and brushes which give control over the colour in individual parts of the image. It can used especially to give control over the sky or the ground separately and is a very useful tool for colour.

NIK Collection

One bit of software I would massively recommend is the DxO NIK collection. It is collection of photo editing plugins that has changed hands now on a number of occassions. Silver Efex Pro is the pick of the bunch and is a way to convert and edit a black and white image. I don’t use it for every conversion but I think it’s worth it alone for the toners that mimic old dark room toners like selenium and sepia.

Printing

When it comes to printing we’re really just looking to control the colour as much as we possibly can so our prints look as much as possible like they do one screen. I have done a video on Printing before but three good tips here are:

  • Add about a 3rd of a stop exposure in Lightroom before you print. This extra brightness will help compensate for the fact there is no backlight on your paper and stop the image looking a bit dull when it comes out the printer.
  • Use the best paper you possibly can. This is particularly important for reproduction of saturated colours. Canson Premium High Gloss is the best I have found for this and holds more colour than pretty much any other paper I have tried.
  • Calibrate your monitor - I’m going to be making a video about this soon.
Colour 11-1-2.jpg

Conclusion

Thinking about colour throughout the landscape photography process will assist every aspect of what you are trying to achieve. This includes composition, exposure, perspective and many other things. Colour is something most of us are lucky enough to experience everyday so we can easily take it for granted. Using it carefully and intentionally however will see your photography elevate to the next level.

Editing Landscape Photography for Natural Results

Edit your landscape photos in natural way to make them shine like the scene you witnessed.

Get a FREE trial with Squarespace and 10% off - http://bit.ly/SquarespaceFirstMan

Follow First Man Photography for the latest updates:

Instagram - http://bit.ly/InstaFirstMan

My Gear - http://bit.ly/FirstManGear

Get a FREE trial of Adobe Lightroom CC and Photoshop - http://bit.ly/AdobeFirstMan

Landscape Photography Workshops - http://bit.ly/WorkshopsFirstMan

In this lightroom tutorial we go over several images to discuss how to edit your landscape photography images in a natural way. 


Ramp Up Your Sunset Photography with this Easy Technique

We use a very simple technique and a bit of layer masking to take your sunset landscape photography to the next level. 

Get a FREE trial with Squarespace and 10% off your first order - http://www.squarespace.com/firstman

Get a FREE trial of Adobe Lightroom CC and Photoshop - https://goo.gl/YznzDv

In this landscape photography tutorial I show you an amazingly simple technique to ramp up the quality of your sunset photographs when you are shooting straight at the sun.

Water Drops-3.jpg

There are two difficulties when shooting directly at the sun that we need to overcome. First is the exposure difference between the sky and the ground. The sky is almost always brighter than the ground so we must take action to balance the exposure across the frame. This is easy to solve and we have a choice of two different methods.

We can use either ND Grad filters, that darken the sky at the point of shooting, or use bracketing. This is where we combine images of the same scene with different exposures to have well exposed highlights,  mid tones and shadows. The video tutorial below gives details of how to do bracketing when doing sunset photography.

https://youtu.be/ndoolGymQJM

The second problem is dealing with lens flare. Those nasty, ever expanding rings that enter your image and ruin the shot. They can be avoided by not shooting at the sun, keeping the sun to your side or using your hand or a lens hood to block it. Sometimes that is not possible or the composition necessitates pointing toward the sun. Thankfully there is very simply technique that anyone can apply, with any camera, as long as a tripod is employed.

Water Drops-6.jpg

The trick is to very simply place your finger in front of the lens and block out the sun with your finger. We take at least two shots, keeping the camera perfectly still, to expose once for the ground and once for the sky. When exposing for the ground just pop your finger between the sun and the lens and it removes the flare. In the video I show how to then combine the two images using Adobe Lightroom and Photoshop with simple masking.

Water Drops.jpg

It is an easy technique and will work in many situations. On some occasions some additional luminosity masking can help balance the exposure if there is a big difference between the ground and the sky. Luminosity masking is a subject for another day and I only mention it briefly in this video.

One small safety point. When you are shooting straight at the sun do not look at it directly through  the viewfinder as it can damage your eyes. It is much safer using live view and this will not damage the sensor of the camera if only done occasionally.

Water Drops-4.jpg

The on location section of this video is an extract from landscape photography settings tutorial.

https://youtu.be/0uhG0HvjXGw

Photoshop Layers Tutorial

Photoshop-Layers-Video-Cover.jpg

Photoshop layers provide the keys to the photo editing kingdom.

In this video we give you an introduction to layers in photoshop and how they work.

If you have ever tried, or looked into, using Adobe Photoshop before you have probably heard of photoshop layers. Being central to how Photoshop is used it is vitally important to understand what layers are and how they work.

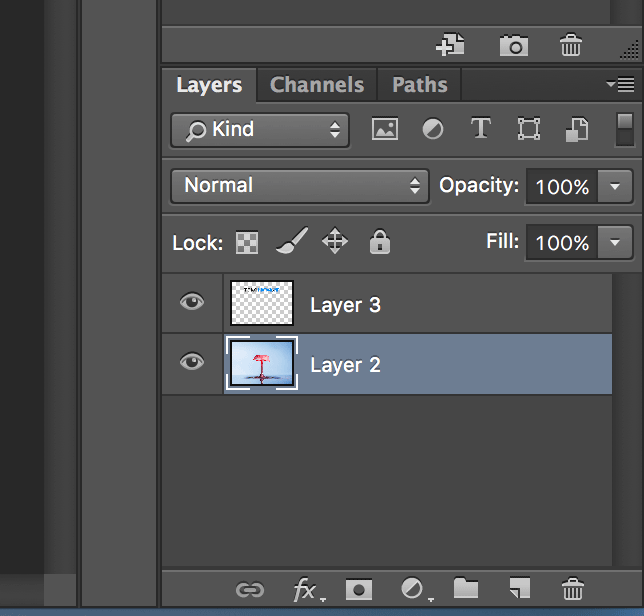
The first thing to understand is that layers are transparent. However when you open an image into Photoshop it will be placed onto the background layer. Likewise if you create a new document the background will be filled with white by default.

layers in photoshop

When you click to create a new layer it will be transparent and sit on top (or in front of) the background layer until you add elements to it, such as text, shapes or other images. A photoshop document can contain numerous layers with the layer at the top of the list being visible before any others beneath it and so on. This means any element in a layer will obscure anything in the layers below (unless the opacity is reduced). In many circumstances this will be a desired effect as you aim to cover or replace the main image below, for example when adding a logo or some text to an image.

Things get more complicated once we start adding adjustment layers and masks but photoshop layers provide a high level of control whilst being non-destructive. Edits and changes occur on layers above our main image leaving the main image unaffected. This means changes are reversible if we make a mistake with an edit or your vision changes at a later date.

Photoshop layers can be dragged within the layer panel to adjust the order. They can also be made invisible by clicking the eye icon. This is very useful to assess the effectiveness of a particular edit or temporarily hide the effects of the layer from your image.

Depending on the file type you choose to save your images with, e.g. .psd, layer information will also be saved so edits and layers can be revisited at a later date.

It is important to understand photoshop layers and how they work and much of what photoshop can do is built around the principle of layers. Once understood using Photoshop will feel much more natural and a lot less intimidating.

Follow me on Instagram - http://instagram.com/adamkarnacz

How to Use the Patch Tool in Photoshop

Patch-Tool-Crop.jpg

Remove objects from your images with the patch tool.

In this video tutorial we show you how to use the patch tool in Adobe Photoshop. This is the third tutorial covering the tools used to remove items, objects and blemishes from your images in Photoshop. The other two tool are the clone stamp tool and the spot healing brush/spot removal tool. The links below show the tutorials for those two tool.

Clone Stamp - https://www.firstmanphotography.com/tutorials/remove-objects-using-the-clone-stamp-tool

Spot Healing - https://www.firstmanphotography.com/tutorials/how-to-remove-spots-in-photoshop

The patch tool works by drawing a selection around the area you want to remove and then dragging the selection area to a point on the image you want to copy. The tool is intelligent and samples the copied area’s texture and patches it over the original selection maintaining the tones from the original area. The allows you to remove more complex shapes from your image that would otherwise be difficult using the clone stamp tool or the spot healing brush.

The patch tool can also be used in reverse to copy an object or item and repeat it several times like the stones in the tutorial image. This can be useful when extra detail is required in your images.

The image in the video is of Fewstone Reservoir in the Yorkshire Dales. I captured this panoramic image by stitching together around eight images each of which had a 20 second exposure. The images are then easily combined in Photoshop and I will show you how to do this in an upcoming tutorial.

patch tool photoshop

If you have not done so already sign up for the First Man Photography email list and I will give you a copy of my eBook - Understanding Exposure - for free today.

https://www.firstmanphotography.com/ebook

Please follow me on Instagram today.

http://instagram.com/adamkarnacz

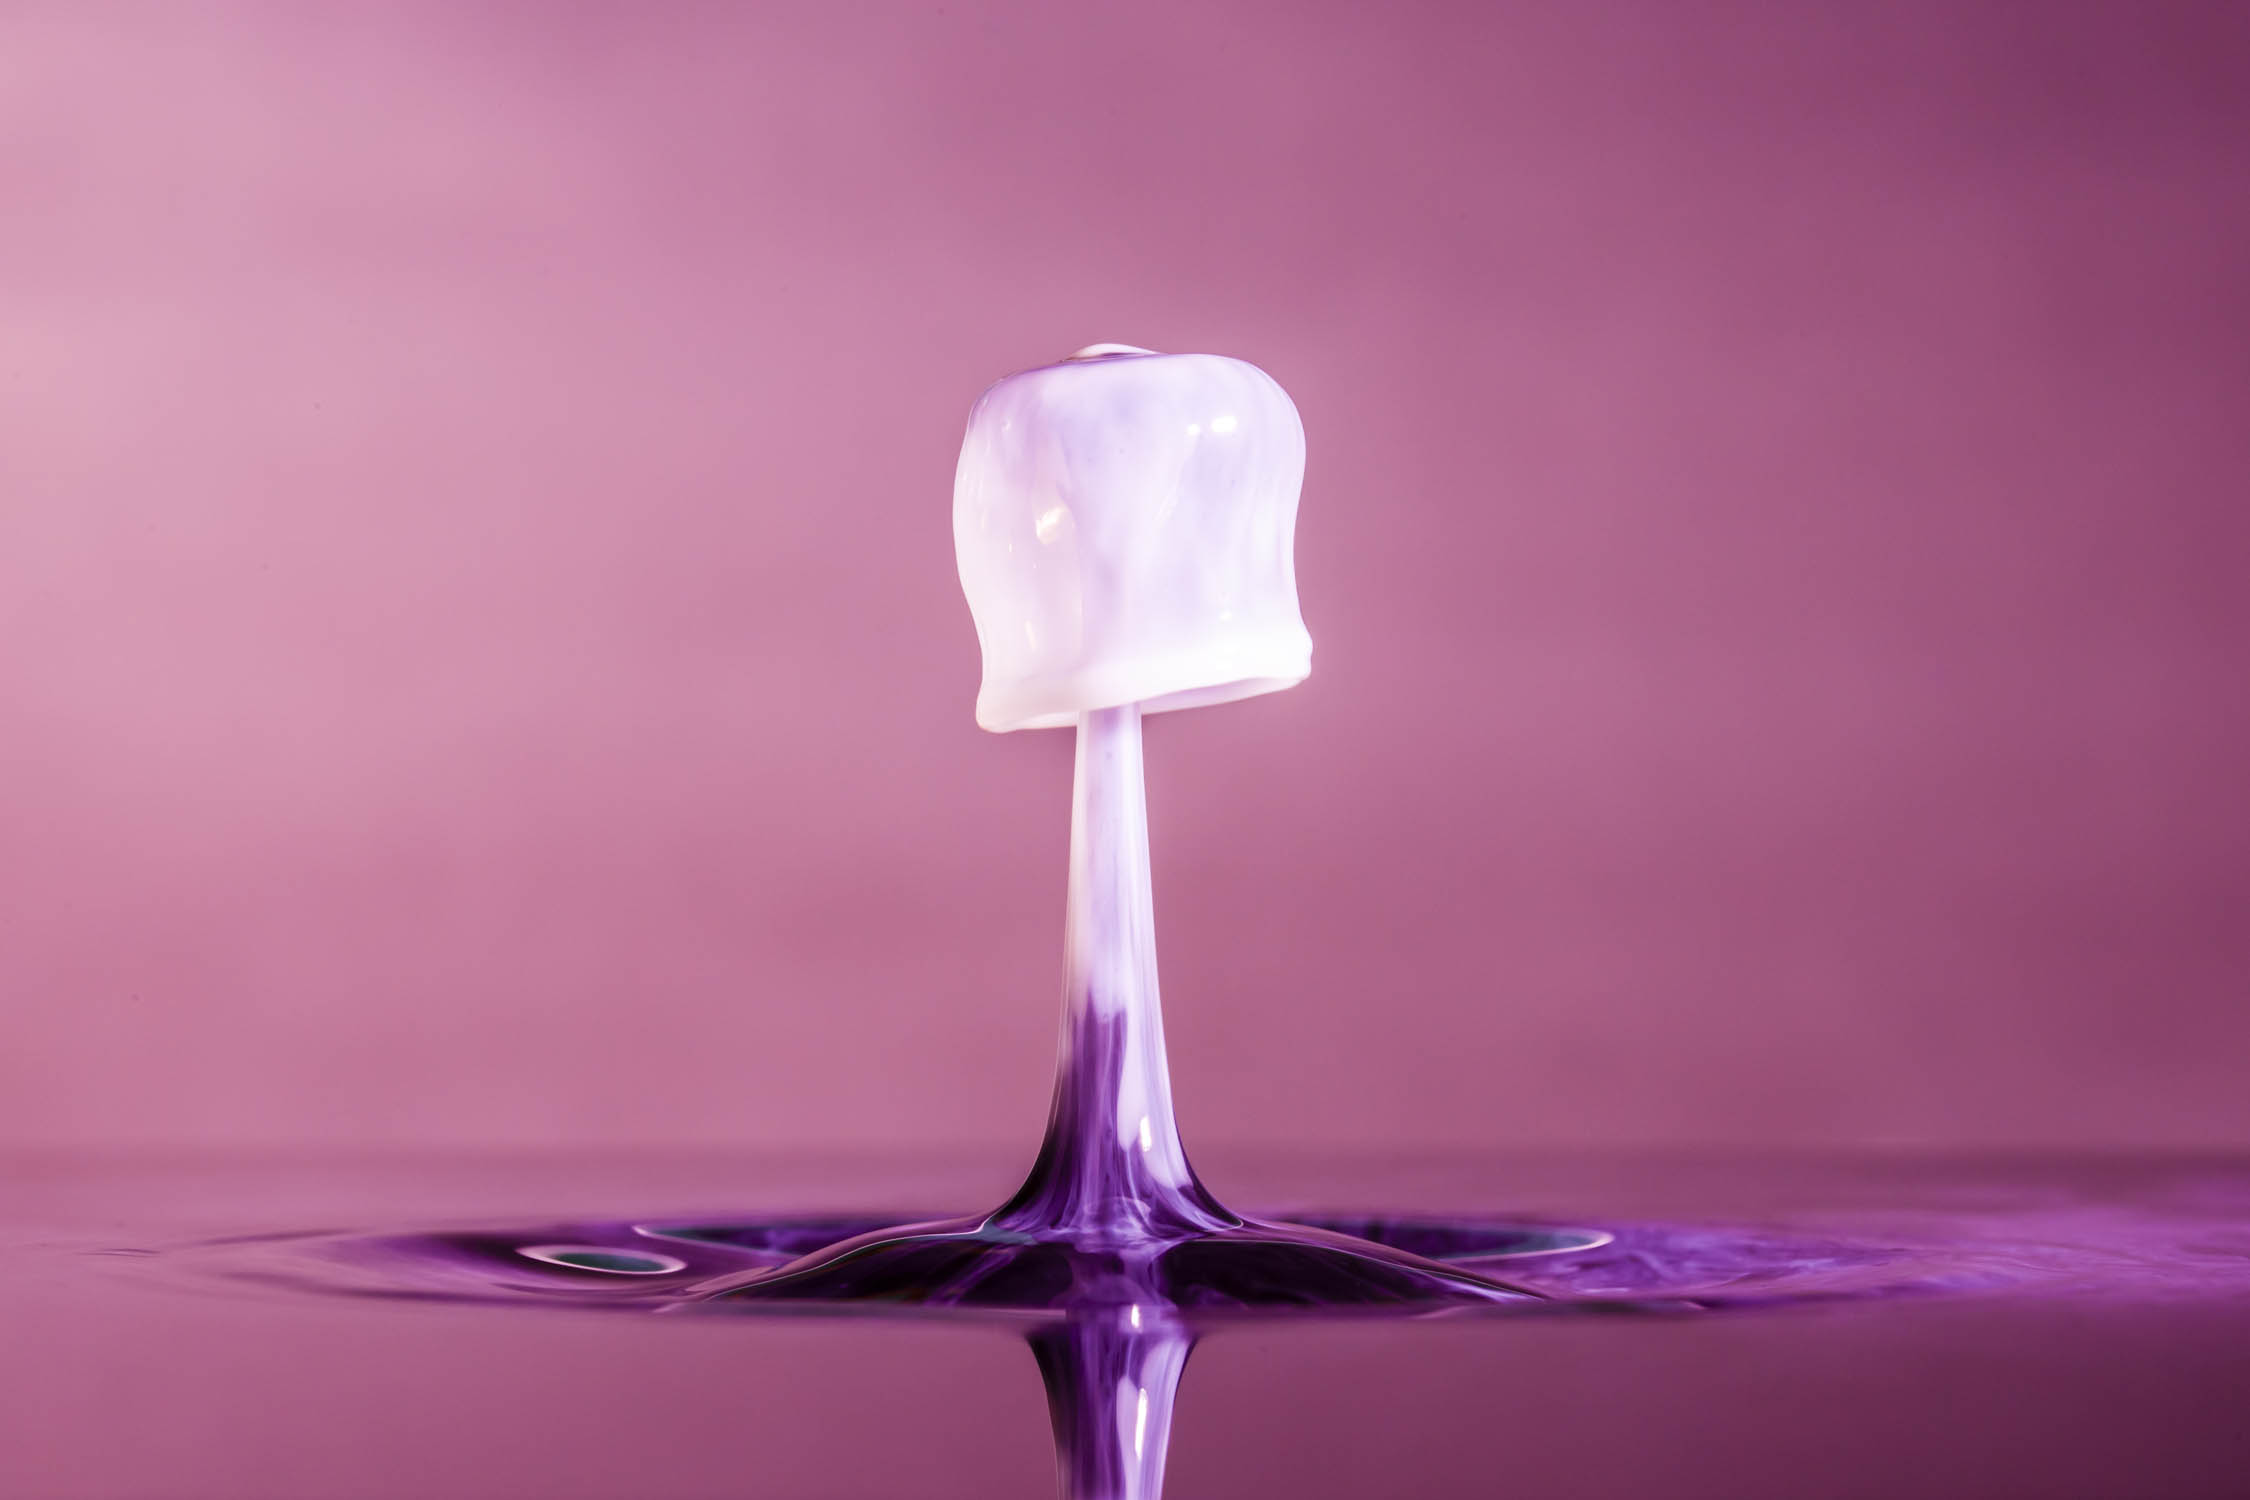
How to Edit Water Drop Photos

Waterdrop-Edit.jpg

Take your water drop photographs to the next level.

Welcome to the world of water drop photography. In this video we show you how to edit water drop photos in Adobe Lightroom to improve your images quickly and easily.

Capturing these water drop images in camera is the first stage. View the tutorial here: http://www.firstmanphotography.com/tutorials/water-drop-photography

If you are interested in taking water drop photos or have already caught the bug there is a nice little community going on Instagram at #waterdrop. Follow me now at Instagram - http://instagram.com/adamkarnacz

Water drops are clearly an area of photography that people are loving and there are some great images going up. However there are a few key elements that could improve the images I am seeing. Nice straight lines on your water bath is a must but most other things can be corrected or improved in post production, the issues are:

  • Exposure - Get you exposure up so it’s nice and bright.
  • Contrast - Add more. Boom!
  • Saturation - These images are all about colour!!!!
  • Clarity - This is the key to your image popping off the screen/print

Hopefully this will help you take your images to the next level and I look forward to seeing what you create. Please tag me in your shot on Instagram for me to view them.

Good luck and happy shooting.

Infrared Photography - Part 2 - Editing

edit-infrared-photos.jpg

How to Edit Infrared Photos in Photoshop and Lightroom

In this video tutorial we show you how to edit infrared photos from the raw red image that comes out of the camera.

If you have never seen Infrared Photography before then come and feast your senses. Capturing the light normally invisible to human eyes opens up a world of creative possibilities that would otherwise not exist.

This video tutorial is split into two parts with the first part showing you how to capture the raw infrared image whilst on location. This second part will guide you through the post processing where we bring our plain red image to life.

Watch part one on capturing the image. http://www.firstmanphotography.com/tutorials/infrared-photography-part-1

To shoot infrared photography you do not need a special type of converted camera. The only requirement is a small investment in an infrared filter that will attach to your current lens. These filters remove all the colours of the spectrum apart from the wavelengths at the extreme red end which includes infrared. I recommend the Hoya R72 Infrared Filter and this can be purchased for between £30 and £90 depending on the size of your lens, see the link below. The only drawback with this filter is it lets only a small amount of light through so to properly expose an image it will require a long exposure. Whilst this makes portraits tricky there are still endless possibilities in the realm of landscapes and cityscapes and there are not many photographers out there doing it. Just check Flickr to confirm this.

The characteristics of infrared light differ from that of 'normal' white light we are used to experiencing everyday. For example, green foliage such as grass and trees reflect a large amount of infrared light meaning they will be very bright in your final processed image. This is known as the 'Wood Effect' named after Robert W. Wood who pioneered Infrared photography. It is caused by the transparency of chlorophyll to infrared light allowing the light to pass through into the cells of the plants and be reflected back again. Viewed normally, chlorophyll will reflect all the green light back giving leaves and grass it's green appearance.

Capturing infrared photography in this way requires a long exposure. Please see the long exposure tutorial here:

http://www.firstmanphotography.com/tutorials/long-exposure-photography-tutorial

Hoya Infrared R72 Filter