We use a very simple technique and a bit of layer masking to take your sunset landscape photography to the next level.
Get a FREE trial with Squarespace and 10% off your first order - http://www.squarespace.com/firstman
Get a FREE trial of Adobe Lightroom CC and Photoshop - https://goo.gl/YznzDv
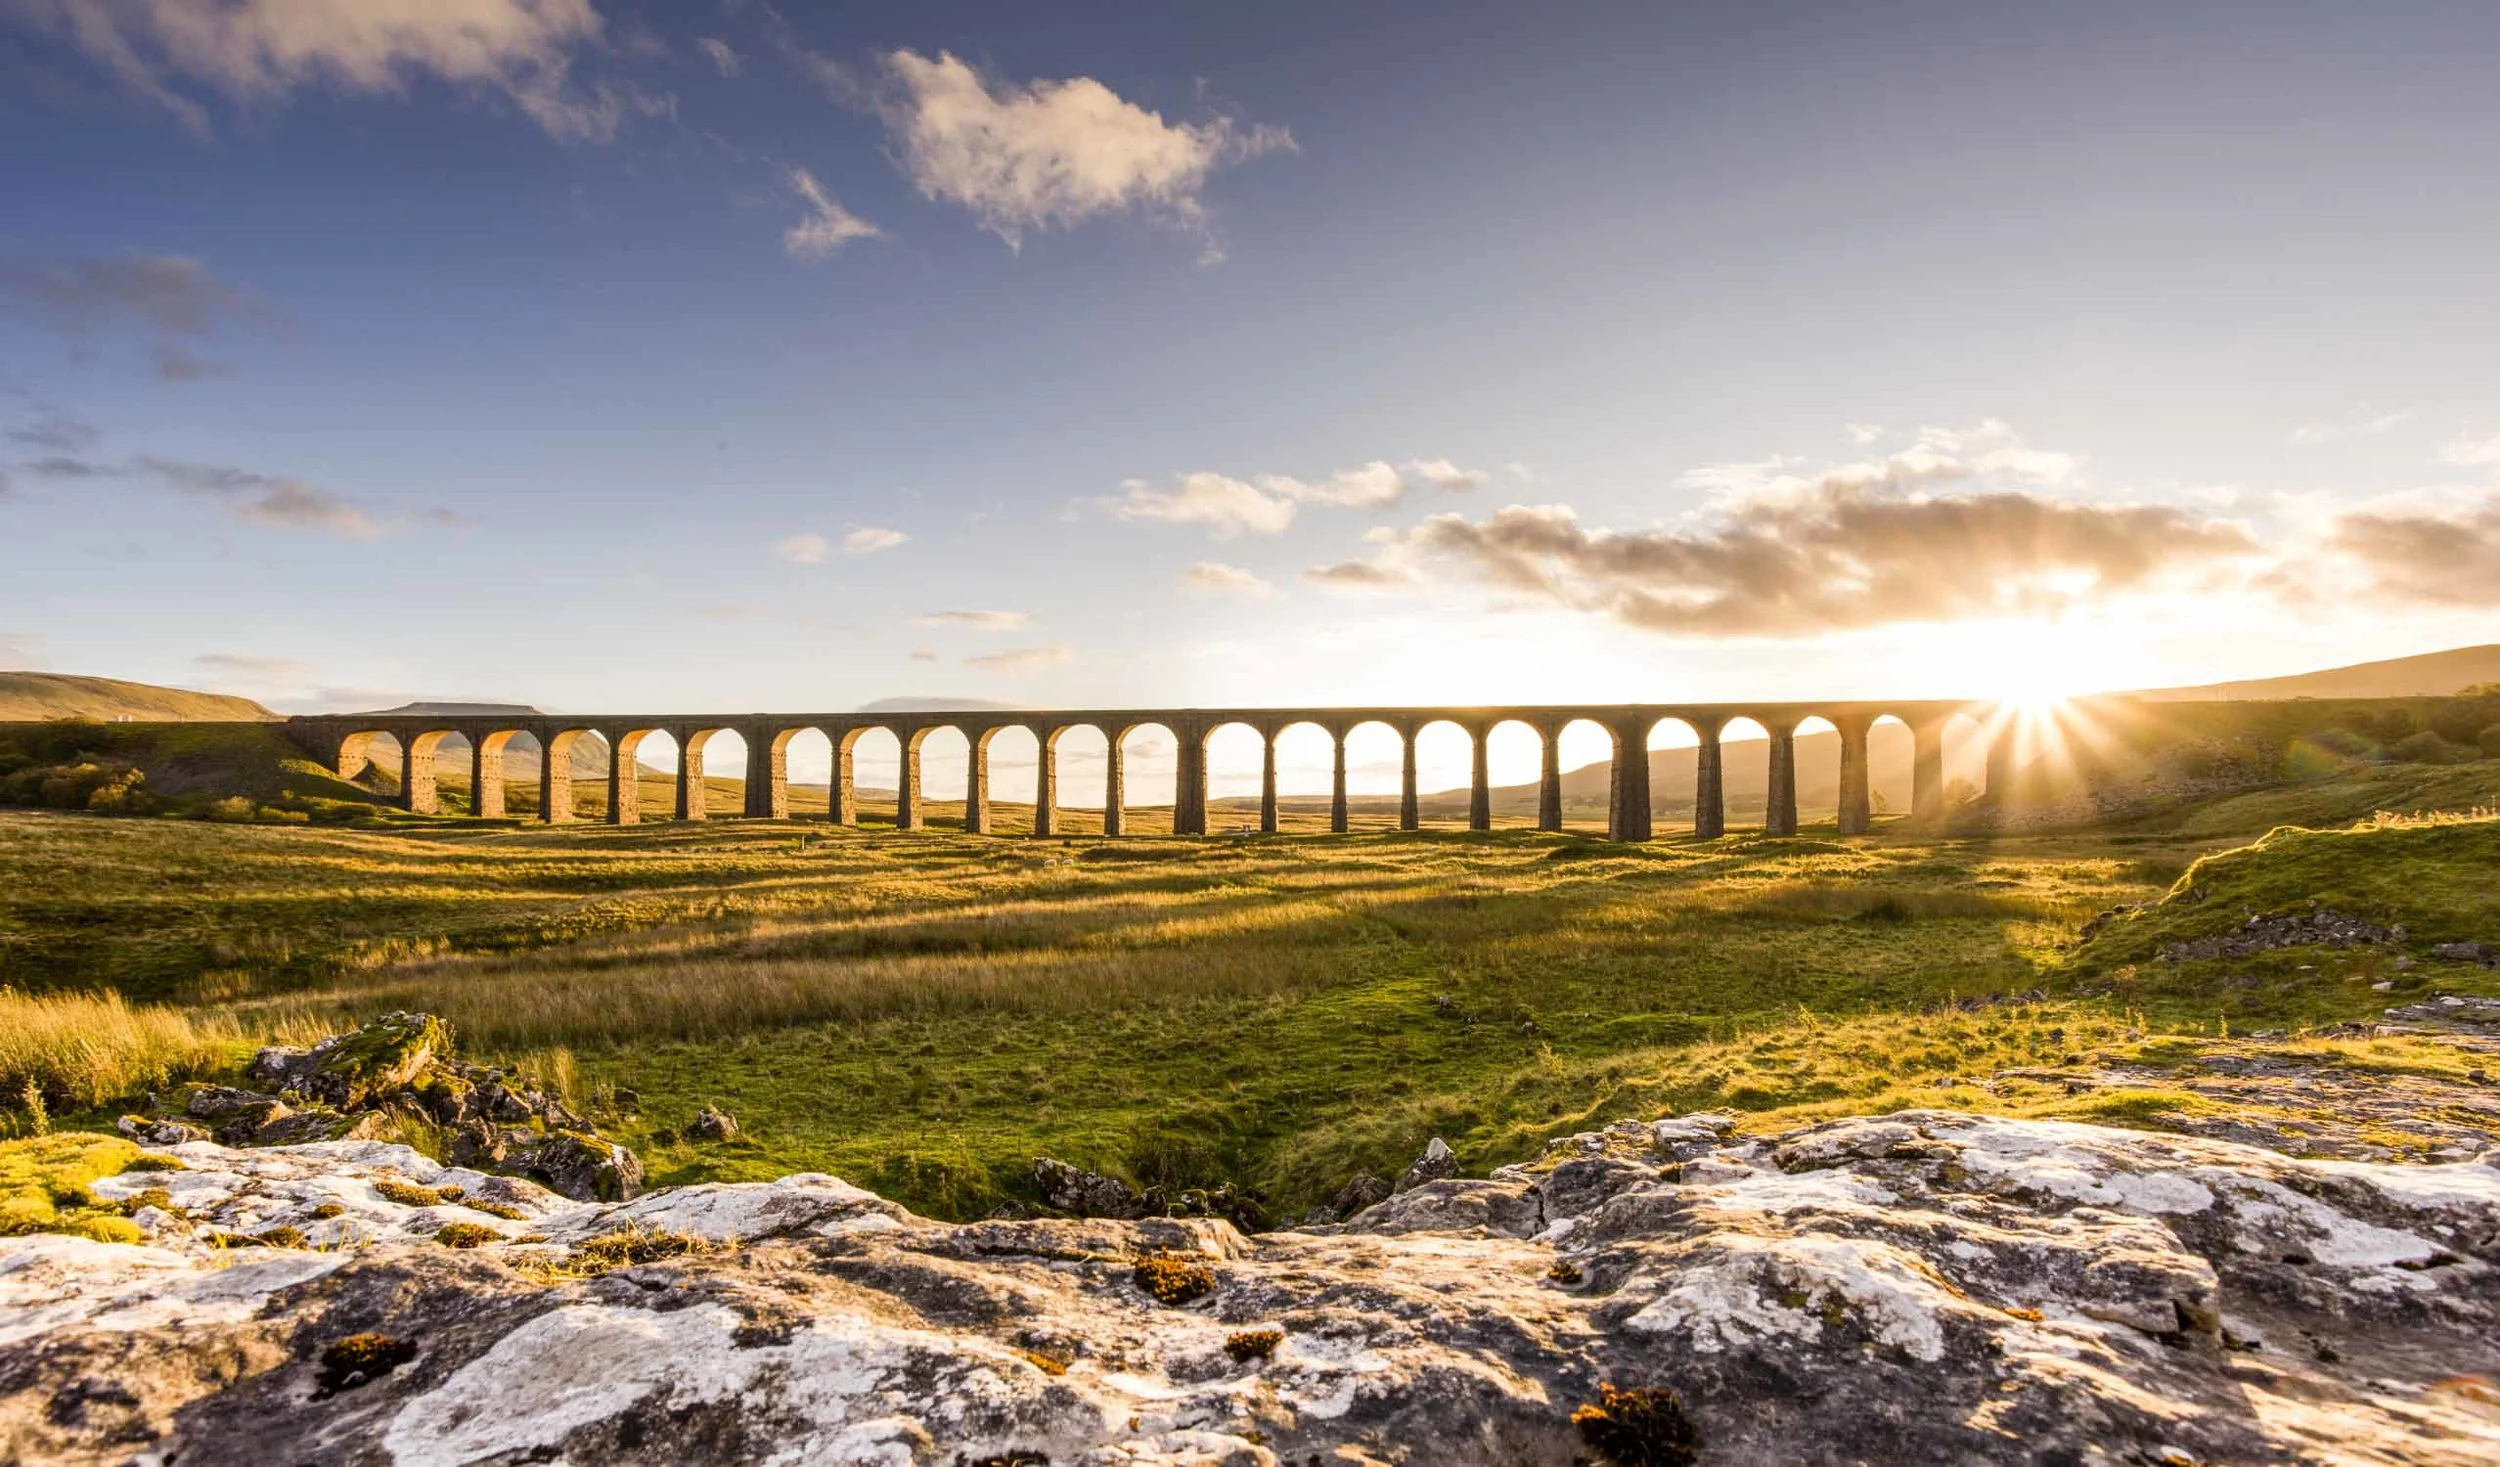
In this landscape photography tutorial I show you an amazingly simple technique to ramp up the quality of your sunset photographs when you are shooting straight at the sun.

There are two difficulties when shooting directly at the sun that we need to overcome. First is the exposure difference between the sky and the ground. The sky is almost always brighter than the ground so we must take action to balance the exposure across the frame. This is easy to solve and we have a choice of two different methods.
We can use either ND Grad filters, that darken the sky at the point of shooting, or use bracketing. This is where we combine images of the same scene with different exposures to have well exposed highlights, mid tones and shadows. The video tutorial below gives details of how to do bracketing when doing sunset photography.
The second problem is dealing with lens flare. Those nasty, ever expanding rings that enter your image and ruin the shot. They can be avoided by not shooting at the sun, keeping the sun to your side or using your hand or a lens hood to block it. Sometimes that is not possible or the composition necessitates pointing toward the sun. Thankfully there is very simply technique that anyone can apply, with any camera, as long as a tripod is employed.

The trick is to very simply place your finger in front of the lens and block out the sun with your finger. We take at least two shots, keeping the camera perfectly still, to expose once for the ground and once for the sky. When exposing for the ground just pop your finger between the sun and the lens and it removes the flare. In the video I show how to then combine the two images using Adobe Lightroom and Photoshop with simple masking.

It is an easy technique and will work in many situations. On some occasions some additional luminosity masking can help balance the exposure if there is a big difference between the ground and the sky. Luminosity masking is a subject for another day and I only mention it briefly in this video.
One small safety point. When you are shooting straight at the sun do not look at it directly through the viewfinder as it can damage your eyes. It is much safer using live view and this will not damage the sensor of the camera if only done occasionally.
The on location section of this video is an extract from landscape photography settings tutorial.