Photography Gear Reviews

What's in my Camera Bag? | Wild Camping Edition

Take a peek inside my camera bag to see all the photography gear and wild camping kit that I hiked up a mountain during my latest landscape photography vlog.

Follow me on Instagram - http://instagram.com/adamkarnacz

Check out all the camping gear:

Check out all the photography equipment - https://www.firstmanphotography.com/my-gear/

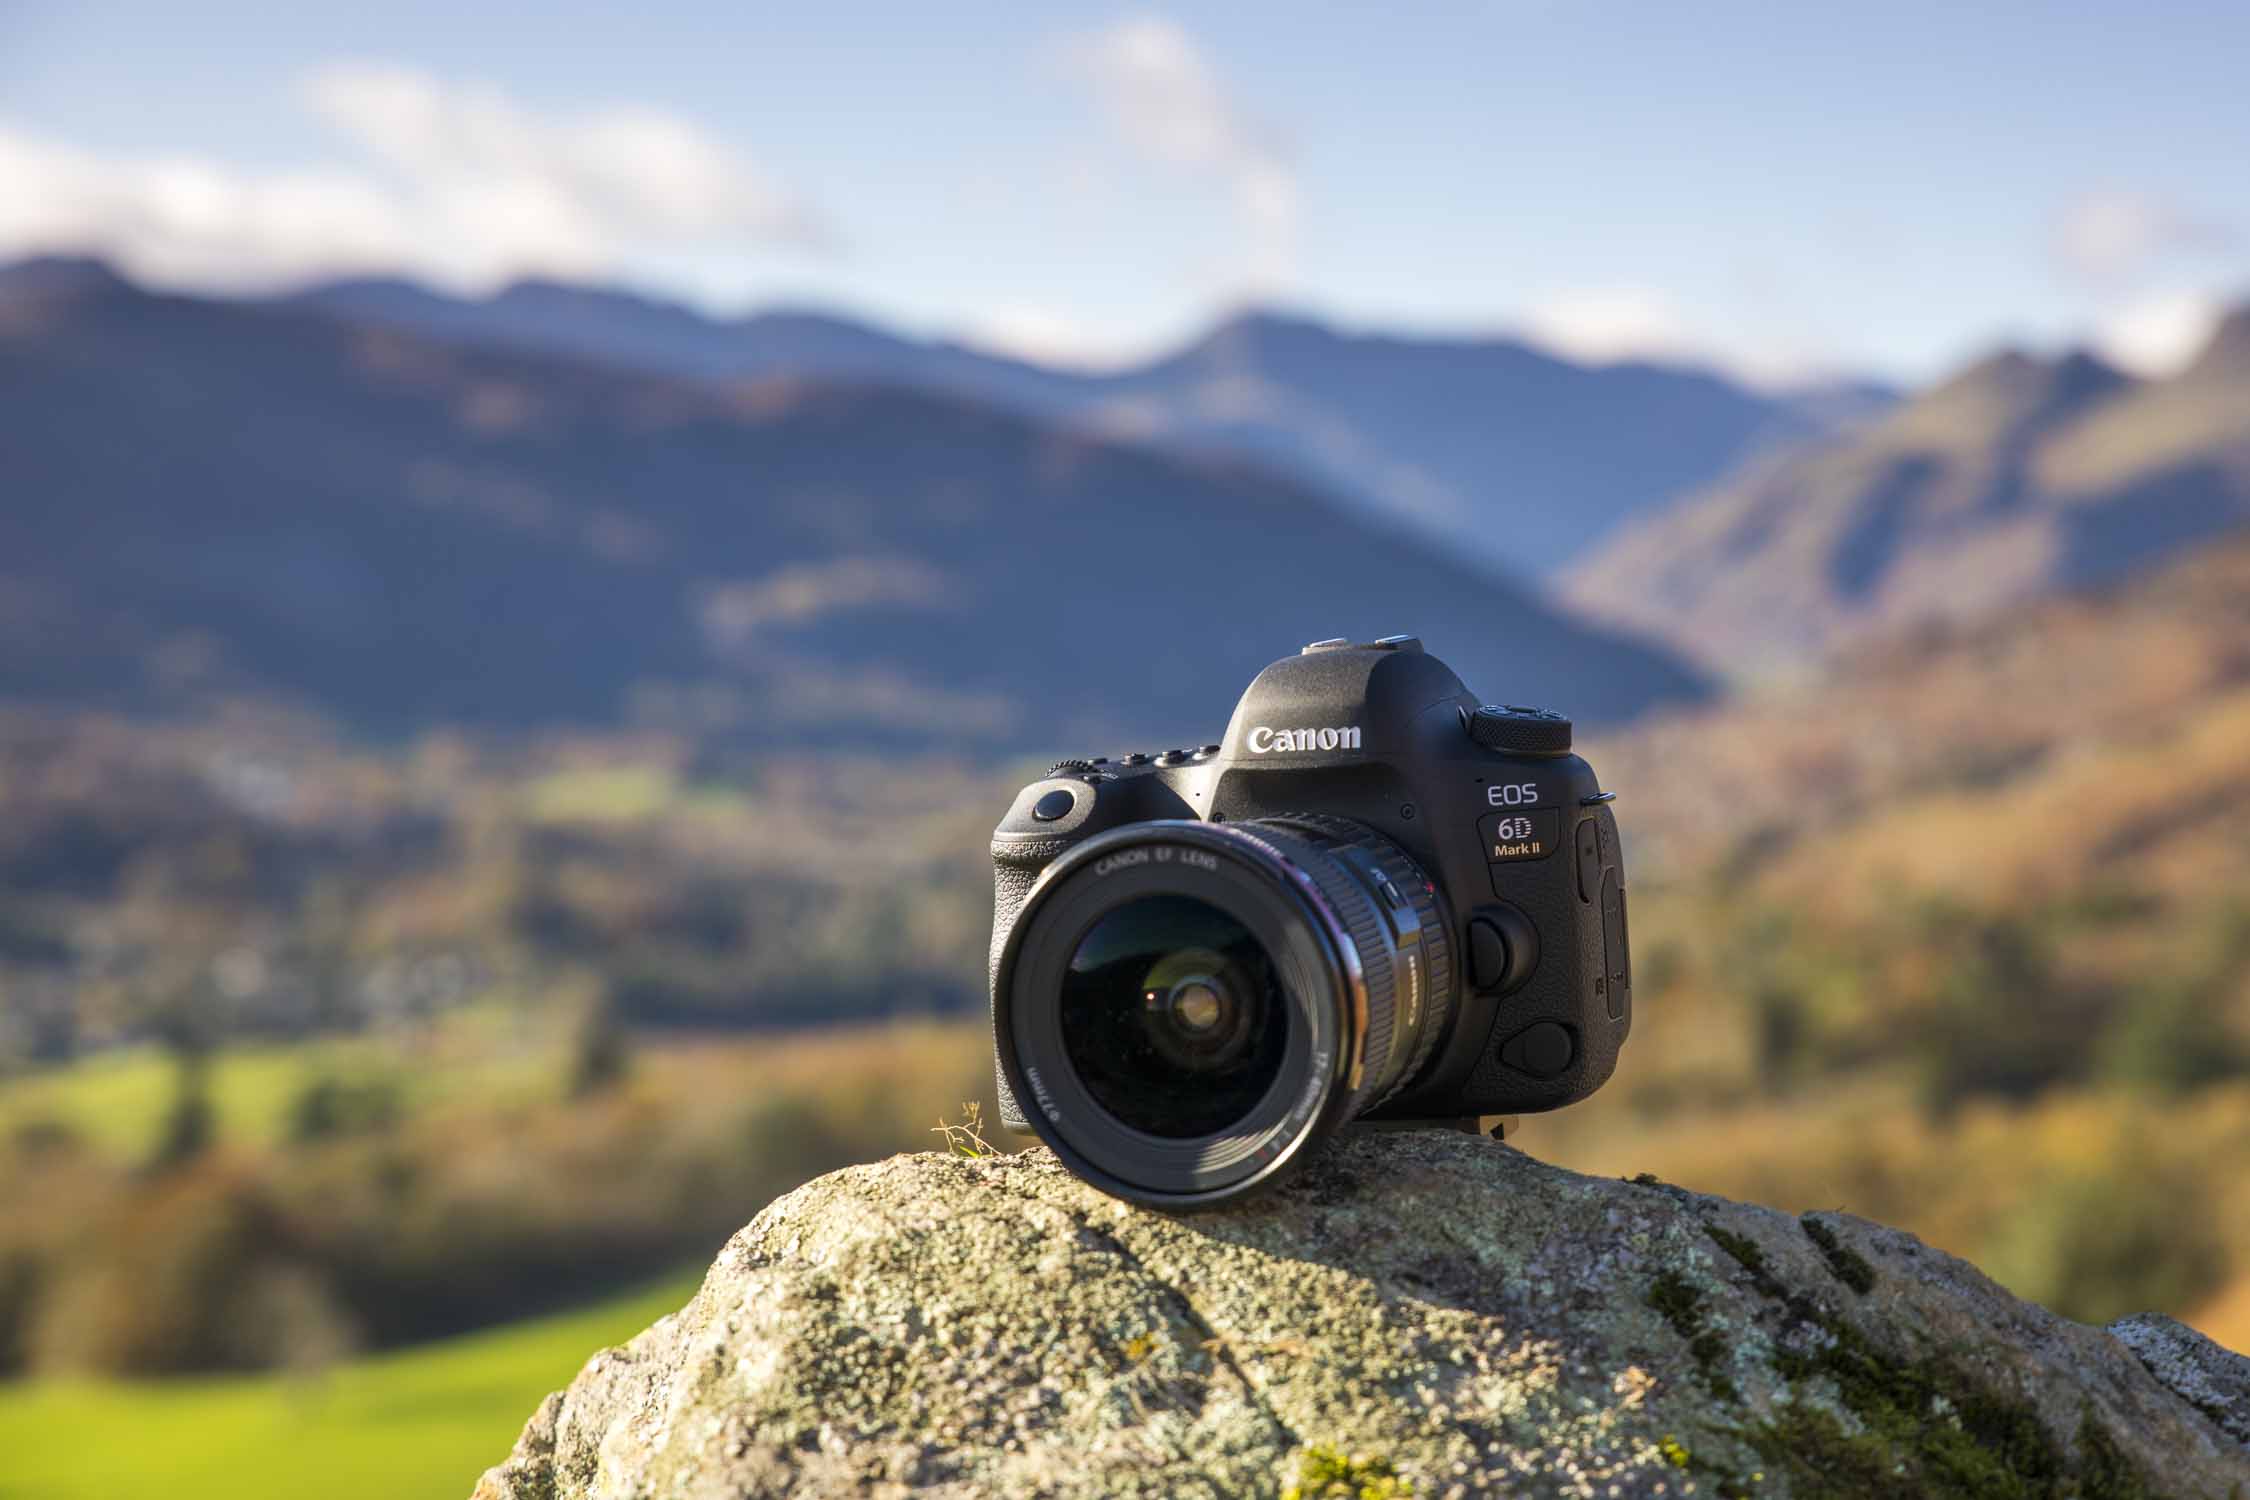
There is nothing lightweight about camera gear. We are literally carrying around chunks of glass and metal. This is not too much of a problem for many situations but with landscape photography it is a big issue. To get the very best landscapes it often means getting off the beaten track and carrying your gear so we need things to be lightweight. Add in a shooting video and then add in camping equipment, we suddenly have a very heavy camera bag.

Watch the vlog - https://youtu.be/pmZgxymtY_E

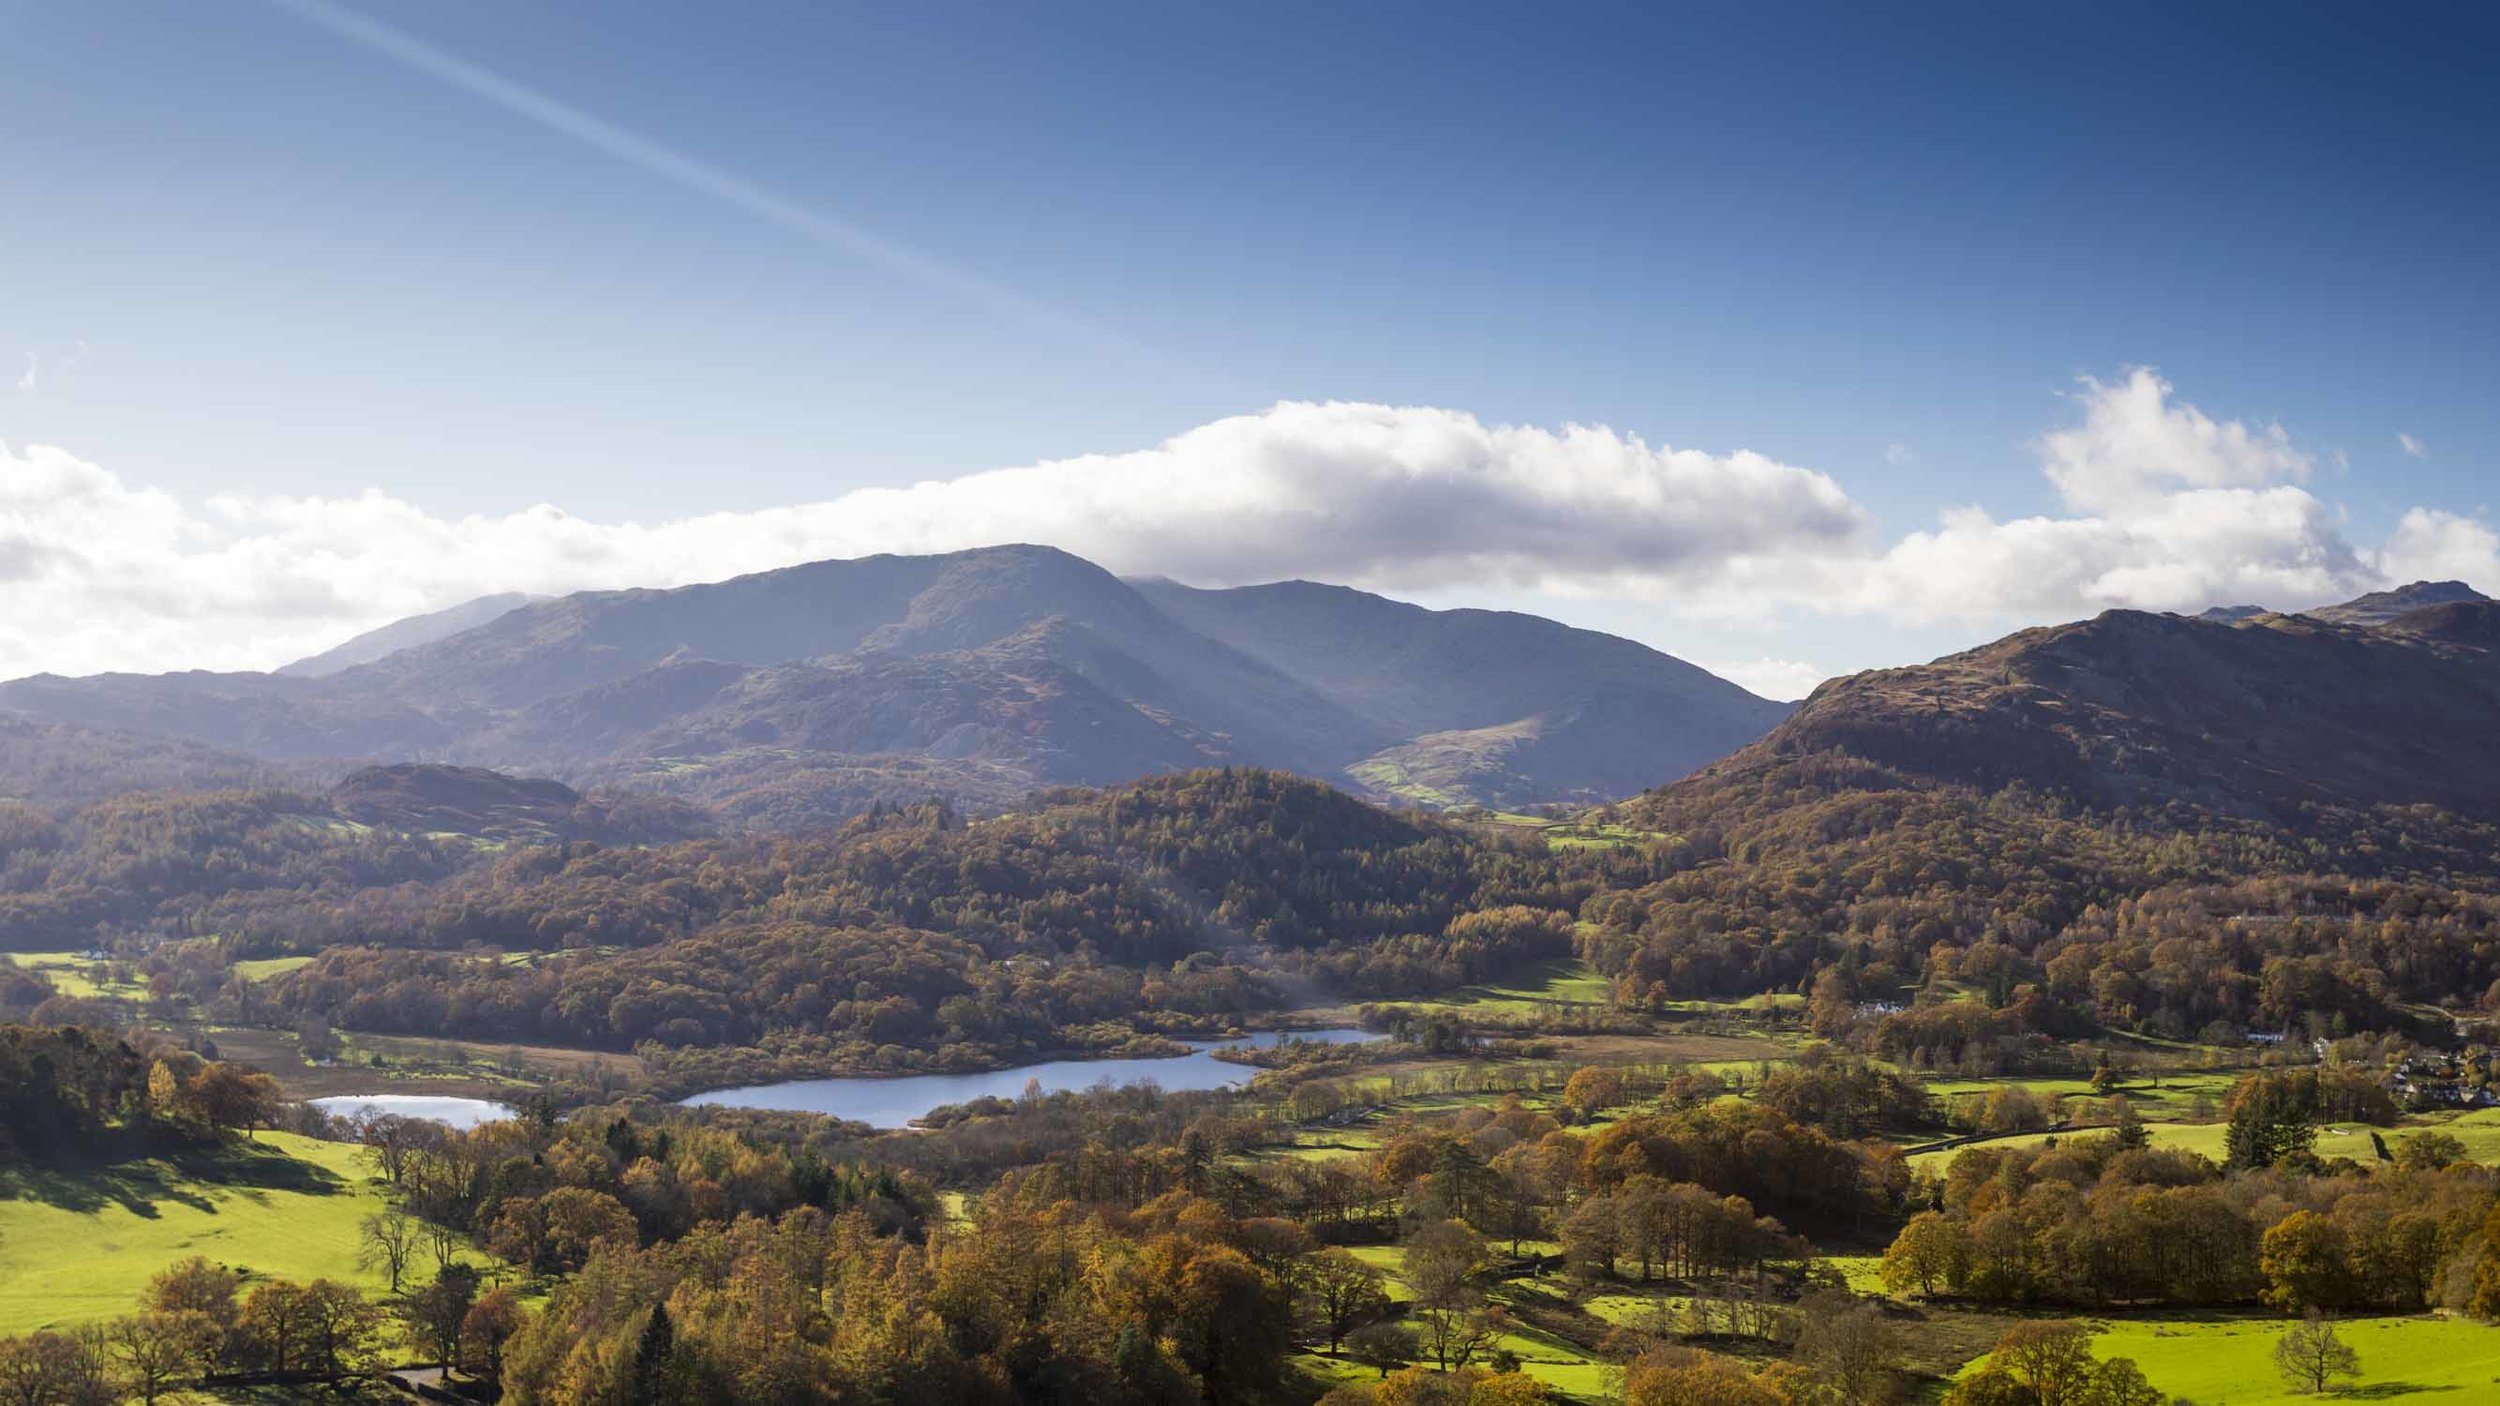
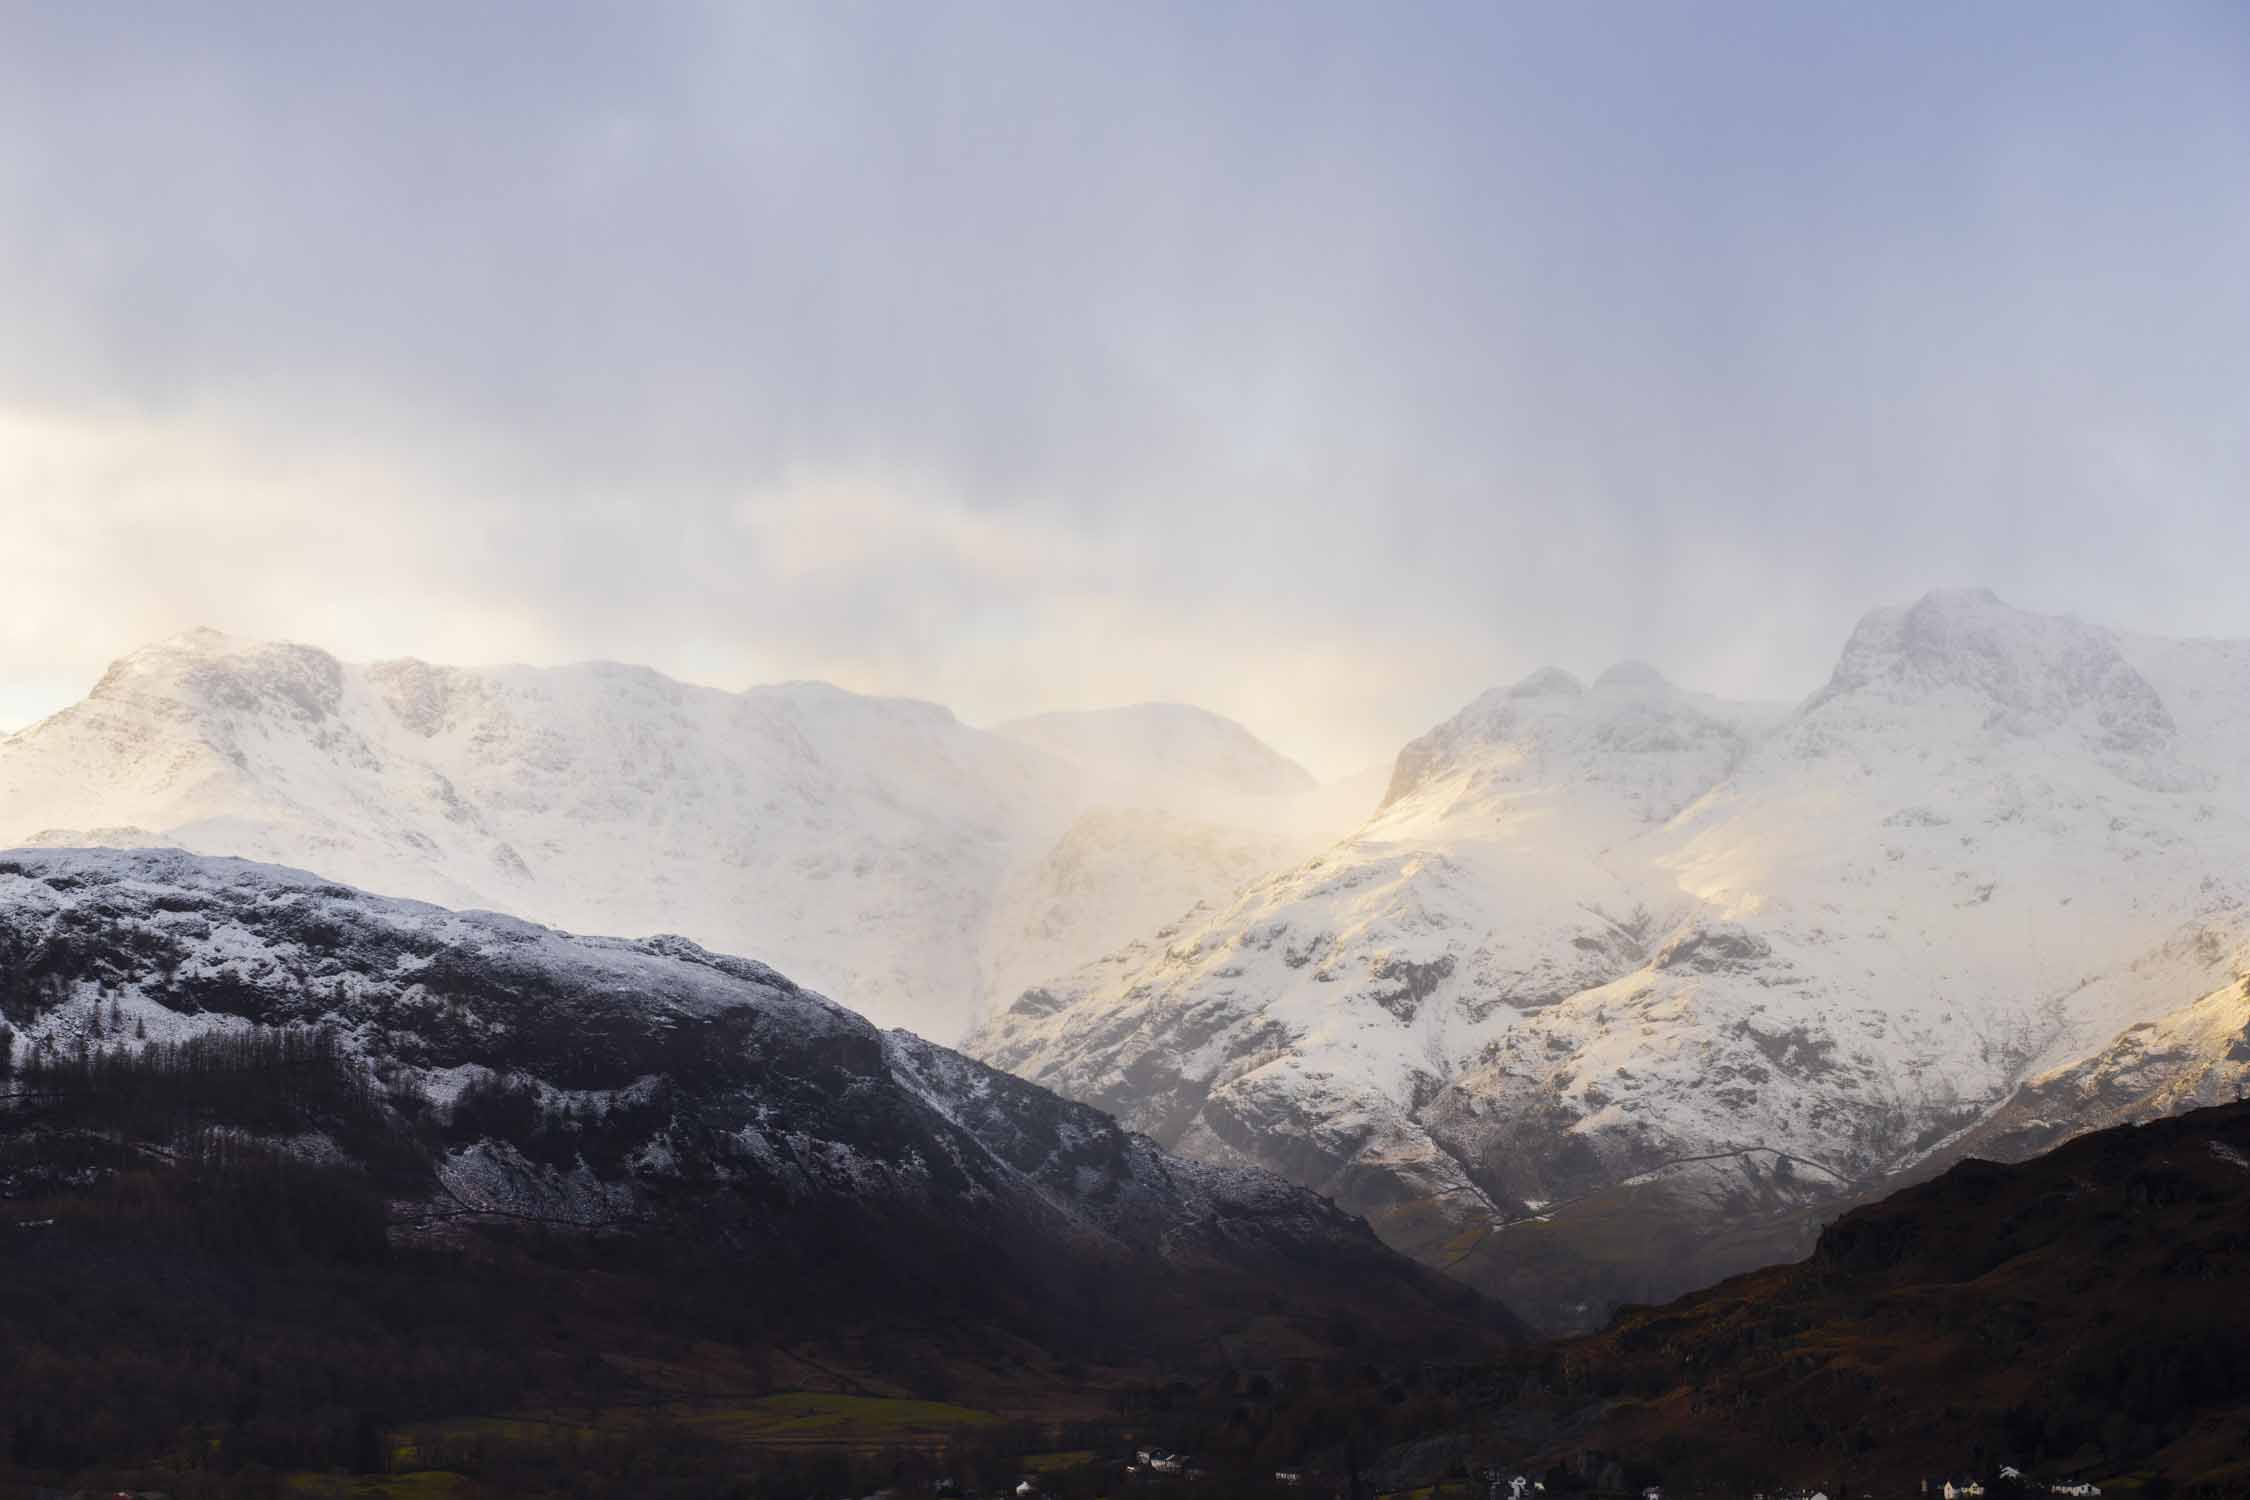
On my recent landscape photography vlog, where I collaborated with Gary Gough Photography, we hiked up one of the biggest mountains in the Lake District called Great End. It stands at 900m with an 800m climb from the car. With my bag as light as possible, so I could achieve everything i wanted, the bag still weighed in at over 20kg. I therefore wanted to create this video so you could see what i had with me and what I had to sacrifice and leave behind.

The extra weight from the wild camping gear meant I could not bring the full range of lenses that I normally do. Water alone is shockingly heavy. On a hot day hiking a mountain you will need at least a litre of water every couple of hours. One litre of water weighs 1kg, heavy. Thankfully the water purifier meant I could carry less and refill but it is something that is vital to think about. However I still had to leave the 24-70mm lens behind. Normally my go to lens, I suspected I could get away with the 17-40mm and 70-200mm. I also didn’t want to sacrifice the drone.

Despite the weight and the hard climb it was absolutely worth it once we got to the top. Enjoying challenging adventures like this though hinges on being prepared and having the right gear. Once you do you are free to enjoy the stunning views and experiences that wild camping and photography have to offer.

Photo and Video Editing Setup with the iMac Pro

We take a look at what’s in my photography and video editing setup for 2018. It includes the iMac Pro with an amazing 10 cores to take productivity and creativity to the next level.

Check out all the gear:

A really important part of any photo editing setup is your workspace. This has nothing to do with size but having a place to sit, edit and to be comfortable is going to let you be more creative and productive whatever level you are at. In the past, my spaces have been the corner of a room, I had a full blown home studio in the last place and now that the kids need more space I have this office. I am really happy with it. I have worked hard to get it right, I’ve got a new desk and it feels productive.

As I’ve mentioned a few times before, on top of all this, I had been maintaining a part time job to give the family a bit of security. About 3 weeks ago I quit that part time job so I am now full time at this……whatever this is…….photographer, filmmaker, youtuber. I’m going to be doing lots of different things, both on and off this channel but virtually all of it with be around photo and video production.

So right at the centre of my new setup is a new iMac Pro. The workhorse that is going to be pumping out content on a daily basis. It’s a stunning machine…..frighteningly expensive but I have invested back into all of this so I have a machine that will speed up everything I do. No more waiting for Lightroom and Premiere Pro to catch up. It is expensive but I recently sold my 2009 iMac for £500 after I bought it for £1500 nearly ten years ago. If I get the same kind of value out of this machine then it will have been well worth it.

I’ve then got the iMac driving this second monitor. This is the Viewsonic VP2785. It’s designed for photographers and covers 99% of the Adobe RGB colour space and comes colour calibrated straight from the factory. It’s a stunning monitor that will act as my main editing screen for photos and also the play window when editing video.

Next up I have storage. The iMac has a built in 1TB SSD which is very very fast but is by no means big enough to store all my image and video files. So for that I have this Drobo 5D3 that connects via thunderbolt. It’s fast, it currently has an 18TB capacity and it should keep me going for at least the next couple of years as I add in extra drives when required.

Since this is now my livelihood I have invested in a battery backup. Just after moving in we had a few issues with the power repeatedly going off. I thought at one point I had lost everything off the Drobo which would have been annoying restoring everything from backups. I managed to get it going again but it’s not a problem I want to face again. Now if the power goes off the battery kicks in an keeps me going for another hour or so giving me the chance to shut down safely.

Next is the printer. The beautiful Canon Pro 10s. I’ll be doing a video about printing in the next few weeks so we’ll discuss that a bit more then.

Post processing wise I am using Adobe Lightroom. I use this for virtually all my editing these days and am going into Photoshop less and less. I use Adobe Premiere Pro for video editing and I just love the Adobe package. It works seamlessly across all your devices and just keeps you productive.

Canon 6D Mark II Real world Review

I review the Canon 6D Mark II DSLR camera and head to the Lake District to put it through it’s paces from a landscape photography perspective.

If you have seen my camera reviews before you will know I am not interested in repeating all the specs and obvious elements. I want to get the camera out into the real world and use it exactly like a photographer would. In the video we look at the abilities of the camera mostly from a landscape photography perspective when we headed to Loughrigg Fell in the Lake District.

Canon 6D Mark II Review-2.jpg

Full Frame Sensor

The whole point of the Canon 6D Mark II is the entry into using a full frame sensor. This has a number of advantages. It usually includes improved dynamic range (not so much in this case - read on), better low light ability and least obviously - the potential to use better glass, particularly at the wide end. High end lenses like the Canon 16-35mm L are perfect for landscape photography and on a full frame camera you get the full 16mm wide end coverage. Putting this lens on a cropped sensor camera effectively increases the 16mm to a more narrow 25mm which can be limiting in some situations.

Canon 6D Mark II Review-3.jpg

Build Quality

Build quality of the camera is the usual Canon quality. It is a plastic build but it feels solid and secure and the weight also benefits from this. It has a flip out screen, which is missing from the higher end cameras for the sake of durability, but I find them particularly useful. When the camera is low down near a stream, or close to the ground, having the screen point up towards you is a real back saver. The flip screen means you can also use the Canon 6D Mark II for vlogging. Not a cheap vlogging option, but it is possible.

Image Quality

Next is the image quality. There are not many cameras out there today that provide poor image quality. This camera is no different. Image quality is superb for stills and you can quite happily use the 26MP sensor to create massive prints. Sadly though dynamic range was not as good as I would have hoped, especially at low ISO. This might put off some landscape photographers who might be looking at rivals from Sony and cameras like the Nikon D750. Personally when it comes to stills I am not concerned too much about dynamic range. Using bracketing can easily capture all the dynamic range in a landscape scene.

Canon 6D Mark II Review-6.jpg

Portraits and Focusing

The dynamic range of the camera improves dramatically as ISO increases. Therefore, like many full frame cameras, The Canon 6D Mark 2 is excellent in low light. Any noise that does appear has a film grain type feel rather than the harsh noise often associated with crop sensor cameras. This means the camera lends itself to shooting portraits as well as landscapes. Depending on the lens you attach to the camera it is capable of capturing stunning portraits. However I would be reluctant to use it at a wedding or for any other professional portrait work. The focus system covers a smaller area of the frame than higher end cameras like the Canon 5D Mark IV which can be limiting when you have to focus and re-frame more often that you would like. Having said that, for most, that will not be a problem. The focus system is still very accurate and fast. It also has the dual pixel autofocus system for video. This Canon system is really second to none for video focus and it very very rarely misses including when using face detection.

Canon 6D Mark II Review-4.jpg

Video Quality

Video quality is reasonable but again the dynamic range can be limiting. When I was out in the mountains getting detail across the frame was not easy and I was often left with blown out skies. This could probably be improved by using a flatter picture setting rather than sticking with the built in presets like I did. There is also no 4K option and the 1080p quality is softer than the Canon 5D Mark IV and more in line with the cropped sensor Canon cameras. However the ability to shoot 1080p at 60fps does provide the option of producing some slo-motion footage.

Canon 6D Mark II Review-9.jpg

Conclusion

Overall I had a superb time using this camera. If you were to buy it, you would be very happy. Just be aware it is not a professional level camera. We should not be expecting it to be though given the price point of £$1600. Indeed, the camera only comes equipped with one SD card port. To remove the slight limitations mentioned above you are looking at upgrading to the pro level Canon 5D Mark IV which is more than double the price. The Canon 6D is an all round performer suitable for all different genres of photography and will perform them all to a good standard. In many respects the upgrade to full frame is something many photographers aspire to and this camera allows you to do it much sooner with only very slight downsides. It is a shame the dynamic range is not better at low ISO but that is being hypercritical. An all rounder at a great price point for a full frame camera. A solid 4 out of 5.

Landscape Photography - Hiking and Backpacking Gear

We look at all the hiking and backpacking gear I use when I am out shooting my landscape photography.

In a couple of my recent vlogs I have mentioned the importance of having the right gear to keep you safe when you are hiking and backpacking up mountains and tough terrain to capture your landscape photography. Since then there have been a number of requests to share what hiking and backpacking gear I am using including the clothes I wear.

Clothing in layers

When it comes to clothing the most important thing, to help you enjoy the great outdoors in comfort, is layers. Using layers of clothing has two main benefits. Each layer traps a thin veil of air that warms up and provides insulation to your body and keeps you warm. It also means that you can control your temperature more easily by adding or removing layers. In the video I show you each aspect of my photography clothing and links can also be found below.

Navigation Tools

When venturing out into the wilderness, navigation is also vitally important. If you are up a mountain and the weather moves in it can become very difficult to find your way even if you are just trying to re-trace your steps. Relying on a mobile phone is a risky move. Many of the nav features on a phone require a 3G signal and the remote locations we visit often leave us without signal. They also have a habit of dying quickly and fading when at altitude in the cold wind and weather. A map and compass is the cheapest option but a specialised GPS navigation system is also an option.

Survival Gear

Finally there a number of extra little safety items like a first aid kit, a survival bag, a knife, a lighter and a torch. You can see what i use below in the affiliate links below.

And remember - do not forget your food and water!!!!

Subscribe to the YouTube channel.