Photography Tutorials

Water Drop Photography | EVERY STEP from start to print

We take a look at the amazing world of water drop photography. I show you how I created this beautiful piece of art from the original concept through to the stunning final print.

Buy the print - https://www.firstmanphotography.com/water-drop-prints/cyclone

Squarespacet - For a free trial and 10% of you first purchase go to - http://www.squarespace.com/firstman

Follow First Man Photography for the latest updates:

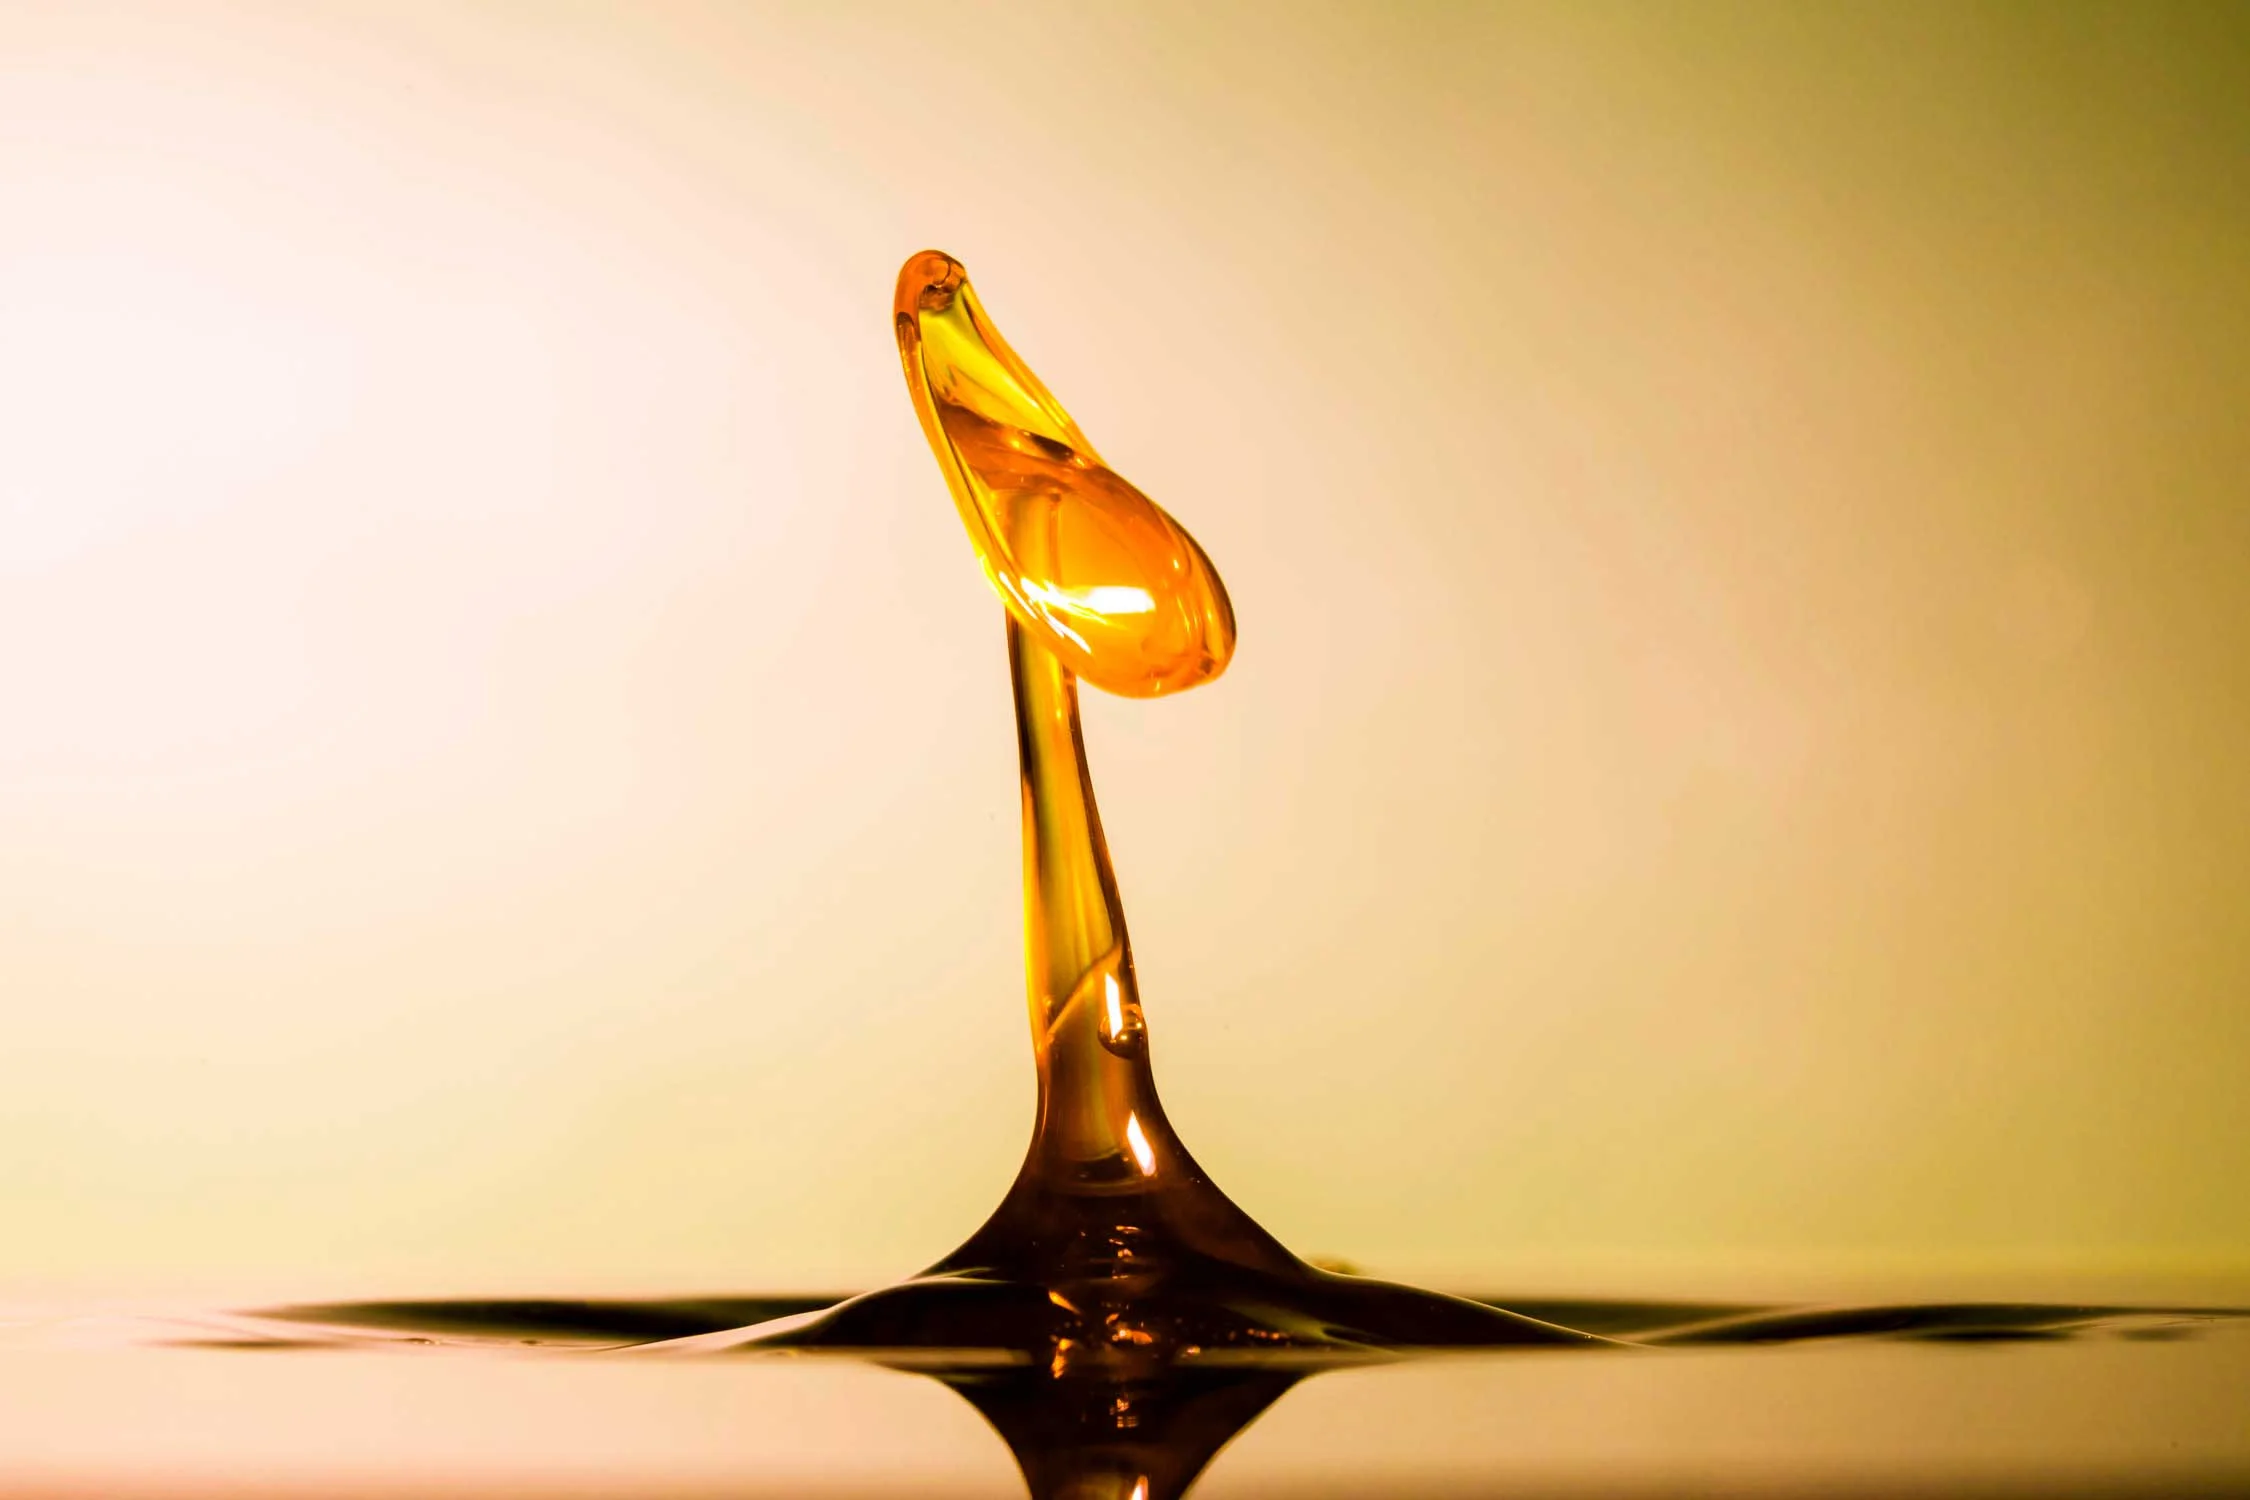
Welcome to the world of water drop photography.

Type a quick search of ‘Water Drop’ or #waterdrop and you will quickly see just how popular this area of macro photography has become. I have written before about why shooting these kinds of images improves your skills as a photographer, but that does not explain why people love them so much.

Water Drop Portfolio-9.jpg

Freezing a moment in time  

Shooting water drop photography highlights the pure essence of photography, capturing a moment in time. We see thousands of water drops every day, but rarely pause to consider their architecture and movement. During a particularly heavy rain storm we may marvel at the size of drops bouncing off the ground, but the rest of the time we take it for granted or do not notice. Freezing this moment forces us to appreciate the beauty, complexity and symmetry of a most regular occurrence and brings into sharp focus the importance of water in our lives.

All about colour

The addition of vivid colours, opaque liquids and well controlled lighting, adds drama to the scene and gives the images that ‘wow’ factor that is becoming increasingly rare in today’s world.

Water Drop Portfolio-10.jpg

More than a photography tutorial 

This is a bit more than a photography tutorial. I wanted to provide an overview of what it is all about. If you want to give it a try for yourself then please click the link above to watch my in depth tutorial.

Photography Blogs

My video photography blogs are designed to entertain and document how I go about capturing my work. If it provides photography tips and inspiration along the way then please share it with your friends so more people can benefit from the content. If you enjoyed this photography vlog I would really appreciate it if you subscribed to the channel so you can come along for the journey.

The Cyclone.jpg

Water Drop Photography - The Secret to Perfect Drop Mixture

Blog-Cover-3.jpg

Next level water drop photography

In this video I’m going to show you how to make the perfect drop mixture for your water drop photography.

I am probably best known for my water drop photography. I love it, many of you love it so it's likely that every now and again it will pop up on my channel and today is one of those occasions. I now have a series of videos dedicated to water drop photography:

In this video I answer a question many of you have asked me and that is what do you add to liquid to give it that glass like effect. Well the secret is xanthan gum and I'm going to show my technique for mixing up the perfect water drop photography solution.

Like I said before you can use various liquids but I find you gain greatest control by using xanthan gum. Xanthan gum can be bought very cheaply form health food stores and will last you a long time because you only need a very small amount to thicken the water..

You want to start with around one pint of warm or hot water. Xanthan gum really does not like dissolving in water so using warm water helps it along. Take about half a teaspoon of Xanthan gum and sprinkle it into the water. Stir well and then wait. Much of the gum will stick together and refuse to dissolve but I find leaving it overnight allows the maximum amount to dissolve.

If there are any lumps left in the mixture I will sieve them out. If your mixture is really thick you just need to water it down to get the required consistency.

Consistency

You can play around with this but you do not want it to be too thick or it will not come out the dropper at the right time because it will stick in the nozzle. A consistency like melted butter or olive oil is around where you need to be.

This is then my base mixture for a shoot. During the shoot I will the add colour to the liquid in the form of food colouring to provide different types of shots and the addition of milk will add an interesting opacity to the liquid that can really add some extra interest to the shot.

This then pours into the SplashArt reservoir ready to create some beautiful water drop collisions.

I tend to go all out and make extra mixture to fill my water bath, but again, you can experiment with this.

Please subscribe to the channel for new videos every Wednesday and every Sunday.