An introduction to macro photography using affordable gear.
In this video tutorial we give you an introduction to macro photography and show you how you can start capturing beautiful macro images without breaking the bank.
Macro photography has a reputation for being expensive as it introduces the need for specialised gear and expensive lenses. Whilst a dedicated macro lens can be extremely useful it is not the only way we can get in close and magnify the micro.
A number of options exist for capturing macro photography with the gear you already own and most cameras built in the last few years will have some kind of macro mode. Many compact cameras, phones and DSLR kit lenses have the ability to focus very close to your subject. This is essentially what achieving macro photography shots is about.
There is much theory out there about what true macro photography is, where you achieve at least 1:1 magnification (where the actual size of the subject is the same as the projected image on the sensor). Often this only serves to discourage people from getting into this exciting world. Very simply we want to magnify small things and make them look larger than life in our final image.
All camera lenses have a minimum focus distance. If you get too close to the subject the lens will no longer focus. This is exactly the same as to how your eyes work. If you hold your finger very close to your face your eyes will not be able to focus on it. Macro lenses are specially designed to focus in very close but there are different, cheaper, types of gear that we can also use to reduce this minimum focus distance.
Let’s discuss a couple of options.
A macro photography reversing ring is a very cheap piece of kit and attaches to the filter threads of your lens. Once the lens is detached it can be reattached the opposite way. It then allows you to focus much closer and magnify your subject. However the electrical connection to the lens is broken so you will not be able to adjust the aperture and any image stabilisation the lens has will not work along with auto-focus. Likewise, if your lens is focus by wire, manual focus will also not work. You then have to focus by manually moving further away or move in closer. With some lenses the aperture can be locked before detaching the lens. Do this by setting the aperture as required and then hold down the depth of field preview button whilst detaching the lens. This should not cause any damage to your lens or camera but is not recommended by camera manufacturers. Wide zoom angles of the lens will mean more magnification and zoomed in will show smaller in the frame. This is opposite to when mounted normally.
Macro extension tubes are an attachment that adds space between your lens and camera. They have no optics so do not alter image quality but allow closer focusing since the lens is moved away from the focal plane. This allows you to turn many lenses into a macro lens. It works especially well with prime lenses like a 50mm or 85mm. Many macro extenders have electronic contacts so will still have aperture and stabilisation options and auto-focus. Macro extender tubes can also be coupled with a dedicated macro lens to get even closer. This is an excellent option to test the waters of macro photography but is slightly more expensive than the reverse ring. Macro extenders are very simple pieces of kit so please do not waste your money buying the Canon or Nikon versions when £20 versions from Neewer do the job just as well. See link below.
Macro Extension Tube Set for Canon Mount
Armed with this gear it is then a case of shooting and seeing what interesting images can be found. Apply all the usual rules of composition and you will soon be capturing some great images. For ideas of what to shoot with macro photography please subscribe to my channel where there will be two more videos in this series. The second will be shooting images using a more advanced set up, including a macro lens and a macro flash, and the third will show how to do focus stacking.
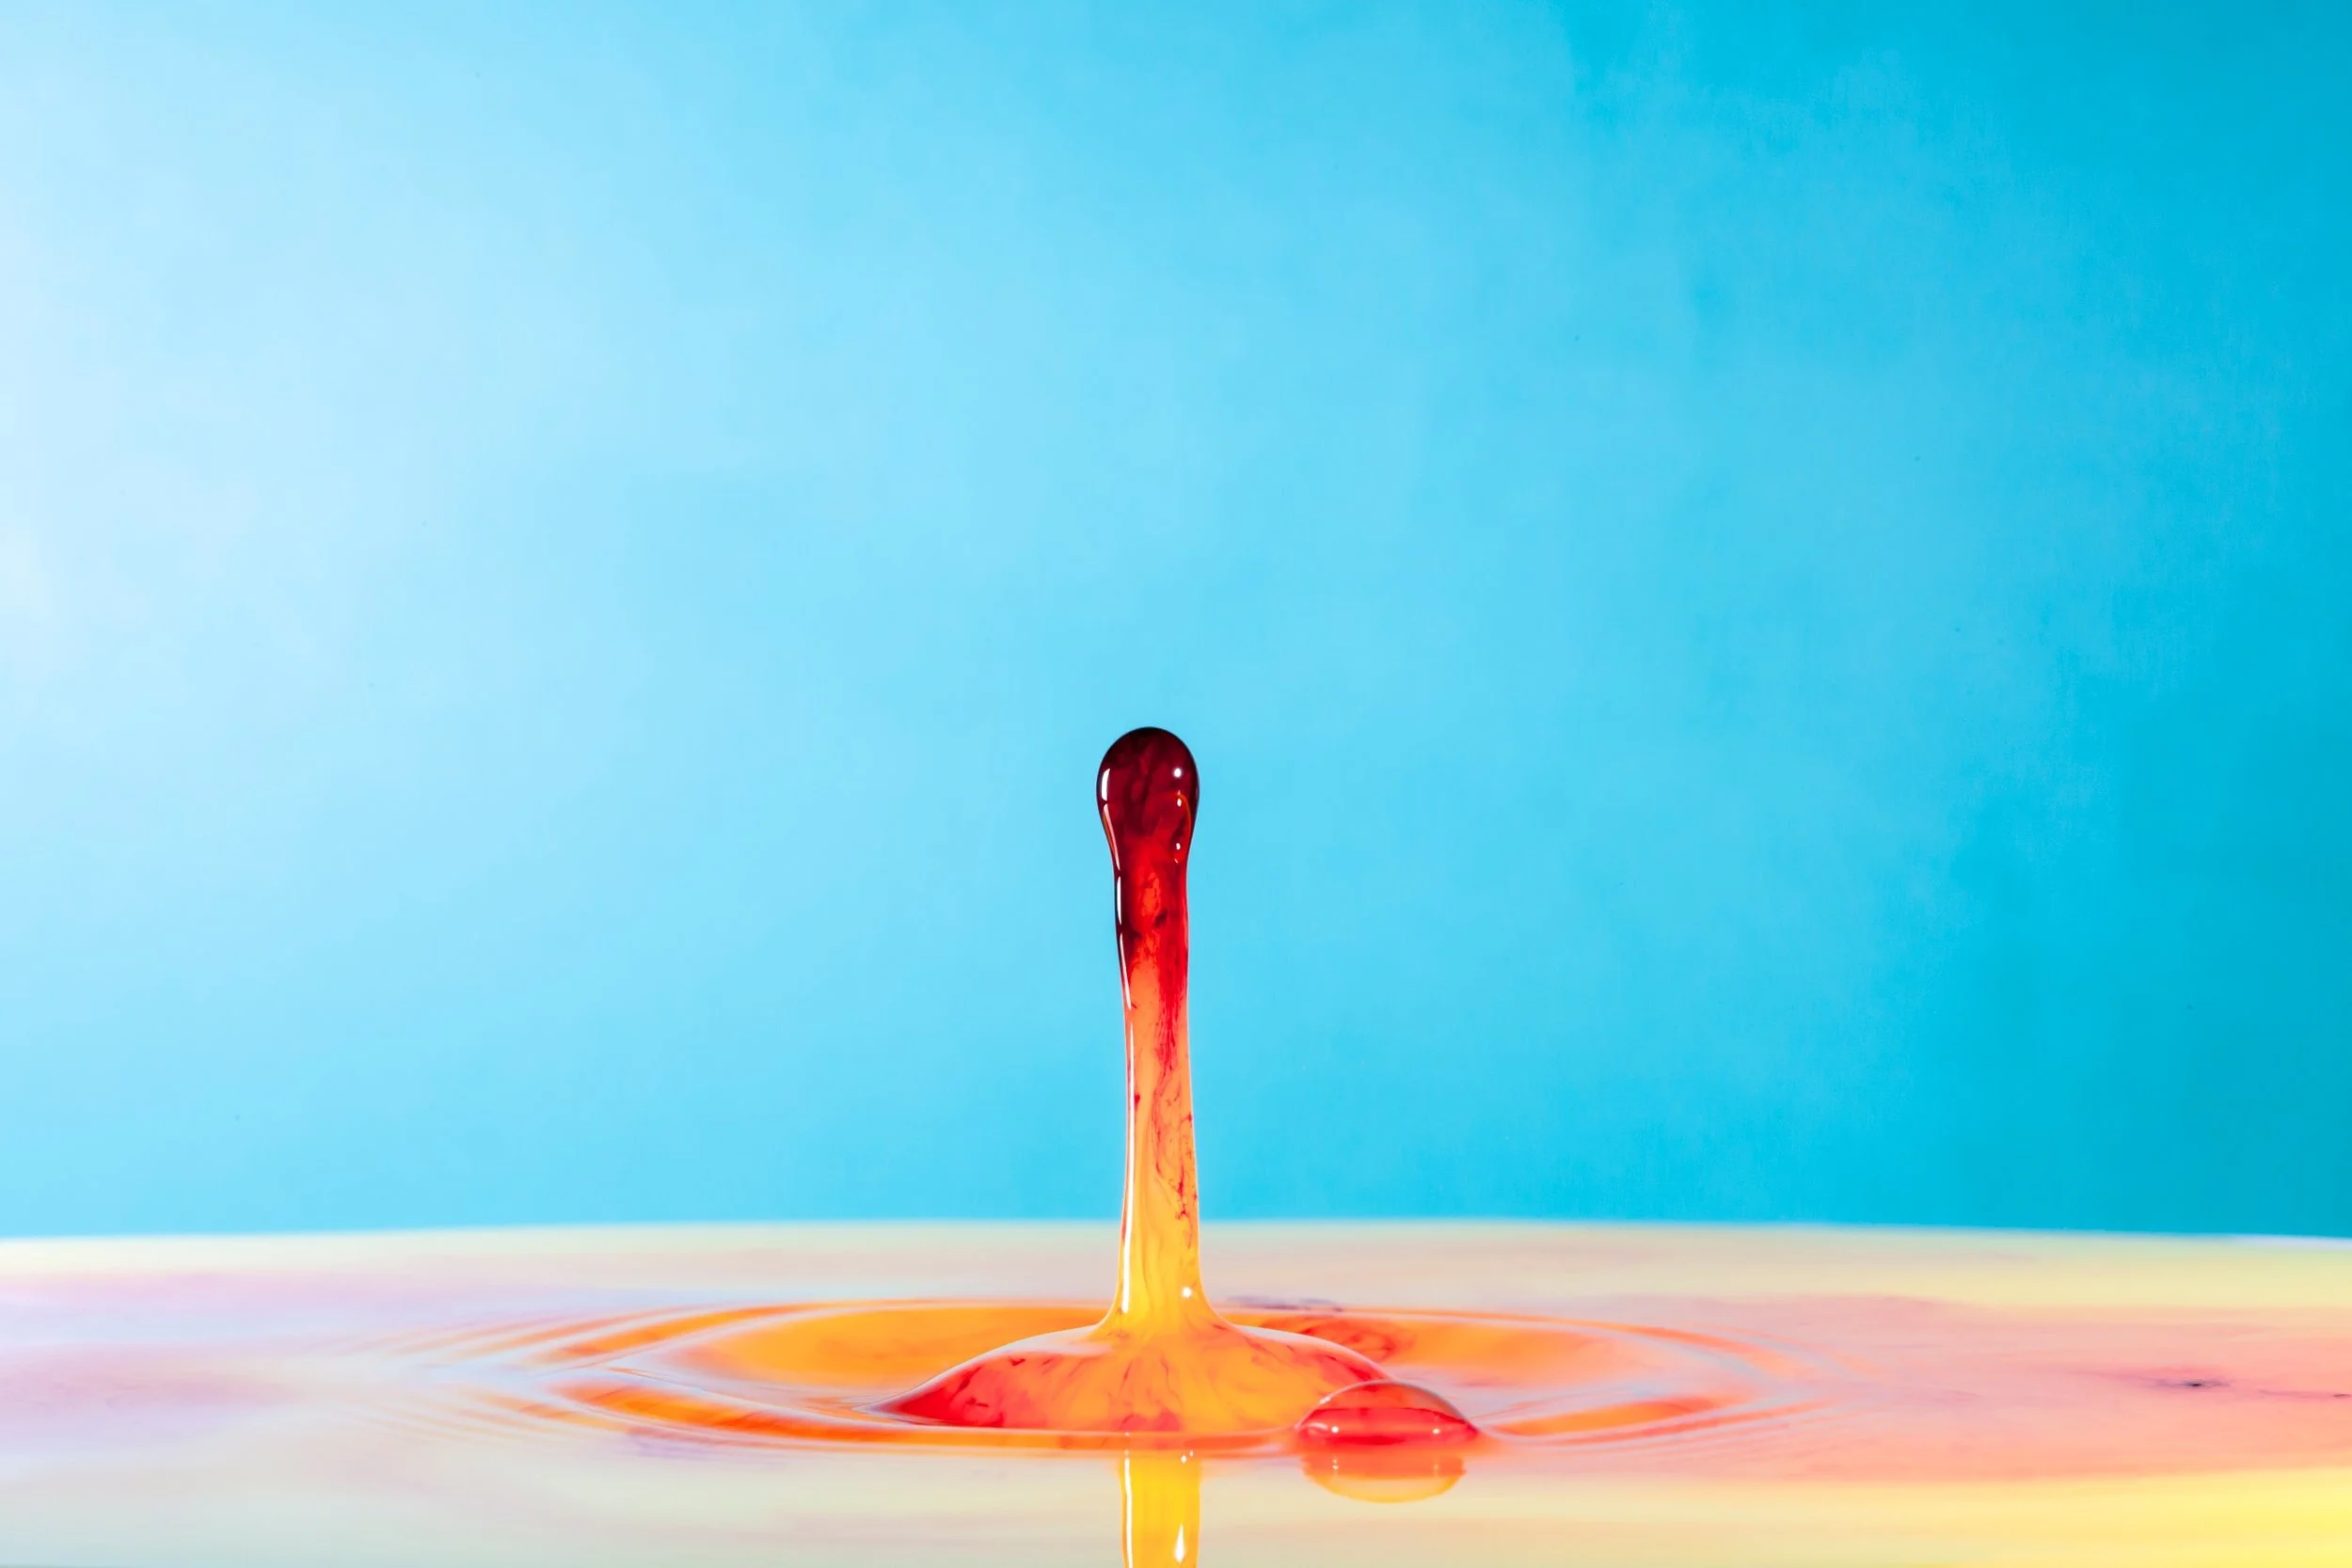
In the meantime check out my video on how to do water drop photography that is an exciting use of macro photography. Water Drop Photography Tutorial
Follow me on Instagram - http://instagram.com/adamkarnacz


