Everything you need to know to start printing your photographs perfectly today! Whether you’re using a lab or you’re own printer I’ve got some tips to really help you out.
Printing your own pictures is a truly satisfying experience. It is the final step to creating an image and brings the work to life. I genuinely believe that photography is an art and when you print out a picture and hold it in your hand, it is difficult to argue that it is not. You can see and feel the amount of work that has gone into creating the image. It takes on a new life once you can physically hold it in your hand and becomes something special and meaningful.

Imagine driving a great car. It is a decent experience. You drive around in it everyday and it is enjoyable and satisfying. Some people notice you, others do not. It is just like leaving your images in digital format. But every now and again, when the sun comes out, you take a drive down an awesome coastal road, beautiful girl/boy next to you, rolling with the top down; it is an absolutely magical experience and everyone takes note. That is the kind of feeling printing your work can invoke. It’s similar to the the normal process but also vastly more enjoyable and fulfilling.
With that picture in your mind, if you have not printed your work before, you really must. So how do we do it? To reproduce images accurately there’s a few steps to follow before we go ahead and print. This applies to whether printing using a lab or printing at home and will help to avoid being disappointed with the final results.
Brightness Adjustment
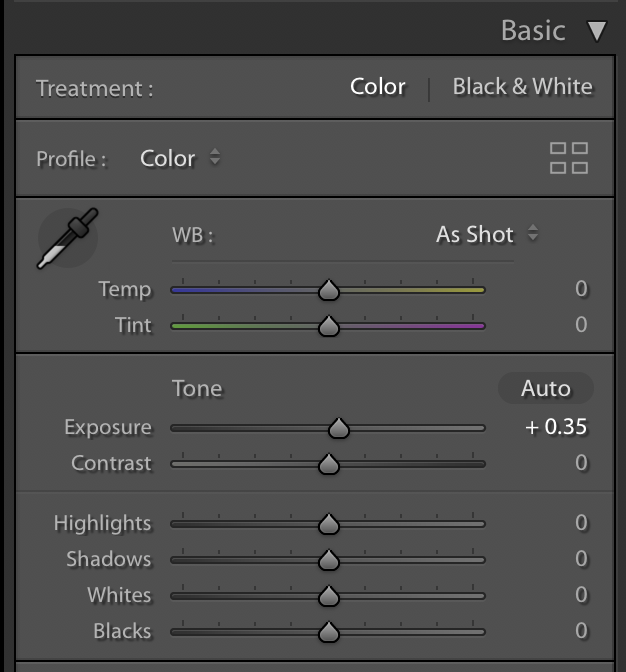
Assuming Lightroom is the editing weapon of choice, (other editors are very similar) the first thing to do is create a virtual copy of the image. This acts as a print file without upsetting the original edit. Looking at images on a screen, the perfectly backlit monitor adds brightness to the image, even with a calibrated monitor, which creates and evenly illuminated picture. Once printed, the image is front lit and room light can be inconsistent and the image is at risk of looking dull. This can be compensated for by increasing the exposure by about a third to half a stop. Not too much to blow out the highlights, but just enough to give the brightness a little boost and avoid disappointment.
Lab Vs DIY
Having your own good quality photo printer is a very nice thing. I have been using the Canon Pro 10s which prints up to A3+ size. It produces prints that are equal to the quality of a lab and the results are exceptional. Cost is an issue though with replaceables like paper and ink and the upfront cost of the printer also needs to be taken into account. It is a personal decision for each photographer but you will probably ‘know’ when the time is right.
A lab can often work out cheaper if your printing is sporadic. Labs are also more versatile in terms of the size of print, the material you can print on and you can easily try out different papers. The downside is the lack of control. Results can often be disappointing and colour not accurate. Taking shipping or visits to the premises into account, time is also a factor and it takes longer to get the print in hand.
Exporting
Printing at home is easy because we can print directly from Lightroom using the print module. The higher end Canon printers also come with Canon Print Studio Pro. This Lightroom plugin gives ultimate control over your prints and is designed to work with those specific printers.

The lab will not be able to read a raw file so the photo will need to be exported as an image file. Most good labs accept a wide range of file types to provide ultimate versatility to customers. However, to get best quality, the preferable file format to use is a TIFF file. These are uncompressed so no information is lost like it is with a JPEG. The file size will be much bigger but the results will also be more accurate.
Colour Accuracy
Accurate colour is important because we want our images to print out to match how they were edited on the screen. A beautiful orange and pink sunset will be ruined with a print containing a nasty green tinge. There is a lot happening to go from screen to paper, so we must use ICC profiles to make it easy. ICC profiles are plugins for photo editors that are based on the type of printer being used and the type of paper we choose. Once installed into software such as Lightroom we can enable soft proofing in the develop module, select the paper being used, and the ICC profile will simulate how the print will look on paper. Adjustments can then be made as required prior to print. Good labs should all provide ICC profiles by way of a free download. When printing at home, paper companies also provide them for your printer model.
Paper Type

Generally there are three kinds of paper:
- Glossy
- Semi Gloss
- Matt
The type and quality of the paper being used can massively affect the final print. It is very much a subjective thing and something that requires personal experimentation. As a general rule though I use a glossy finish for images that are heavily saturated and colourful. The glossy finish helps the colours pop and it works perfectly for the water drop images I create and gives them extra impact.
Semi Gloss - I think is my favourite. I have been using Canson Baryta for years and it’s just a magnificent paper. It feels and looks extremely professional and the high quality paper works extremely well on a wide range of images. The majority of landscape prints I sell are printed on this.

Matt or Rag paper - Good cotton rag paper is the best bet for a matt finish. Good rag papers will have a high DMax rating which means they hold the blacks very well. Rag papers are perfect for black and white images because it holds really strong contrast. They are also great for certain landscapes and colour portraits when a more muted fine art feel is required.
Borders

Many photographers like to have a white border around the edge of their print. My preference though is to print borderless whenever possible. Borderless printing maximises the size of the print and once it is in a frame, with a mount, the overall work has a border but also maximise the size of the paper. A border can be useful though. It lets you put a footnote on the print, makes it easier to handle and some people prefer the double border in the frame. Some printers also do not print borderless with certain types of paper like heavy rag paper and also when using a custom paper size. A border also makes it easier to attach to the mount.
Printing is an in-depth topic and much of it is subjective. The best thing to do is to start printing and experiment for yourself. One things is for certain, you will not regret it once you are holding your physical work in hand.
You can also head over to store check out all the prints I have for sale. I would be honoured if you choose to buy one and it also helps me keep the lights on.