Is the software version of the Graduated Filter better than the real thing?
In this video tutorial we look at the power of the graduated filter tool in Adobe Lightroom.
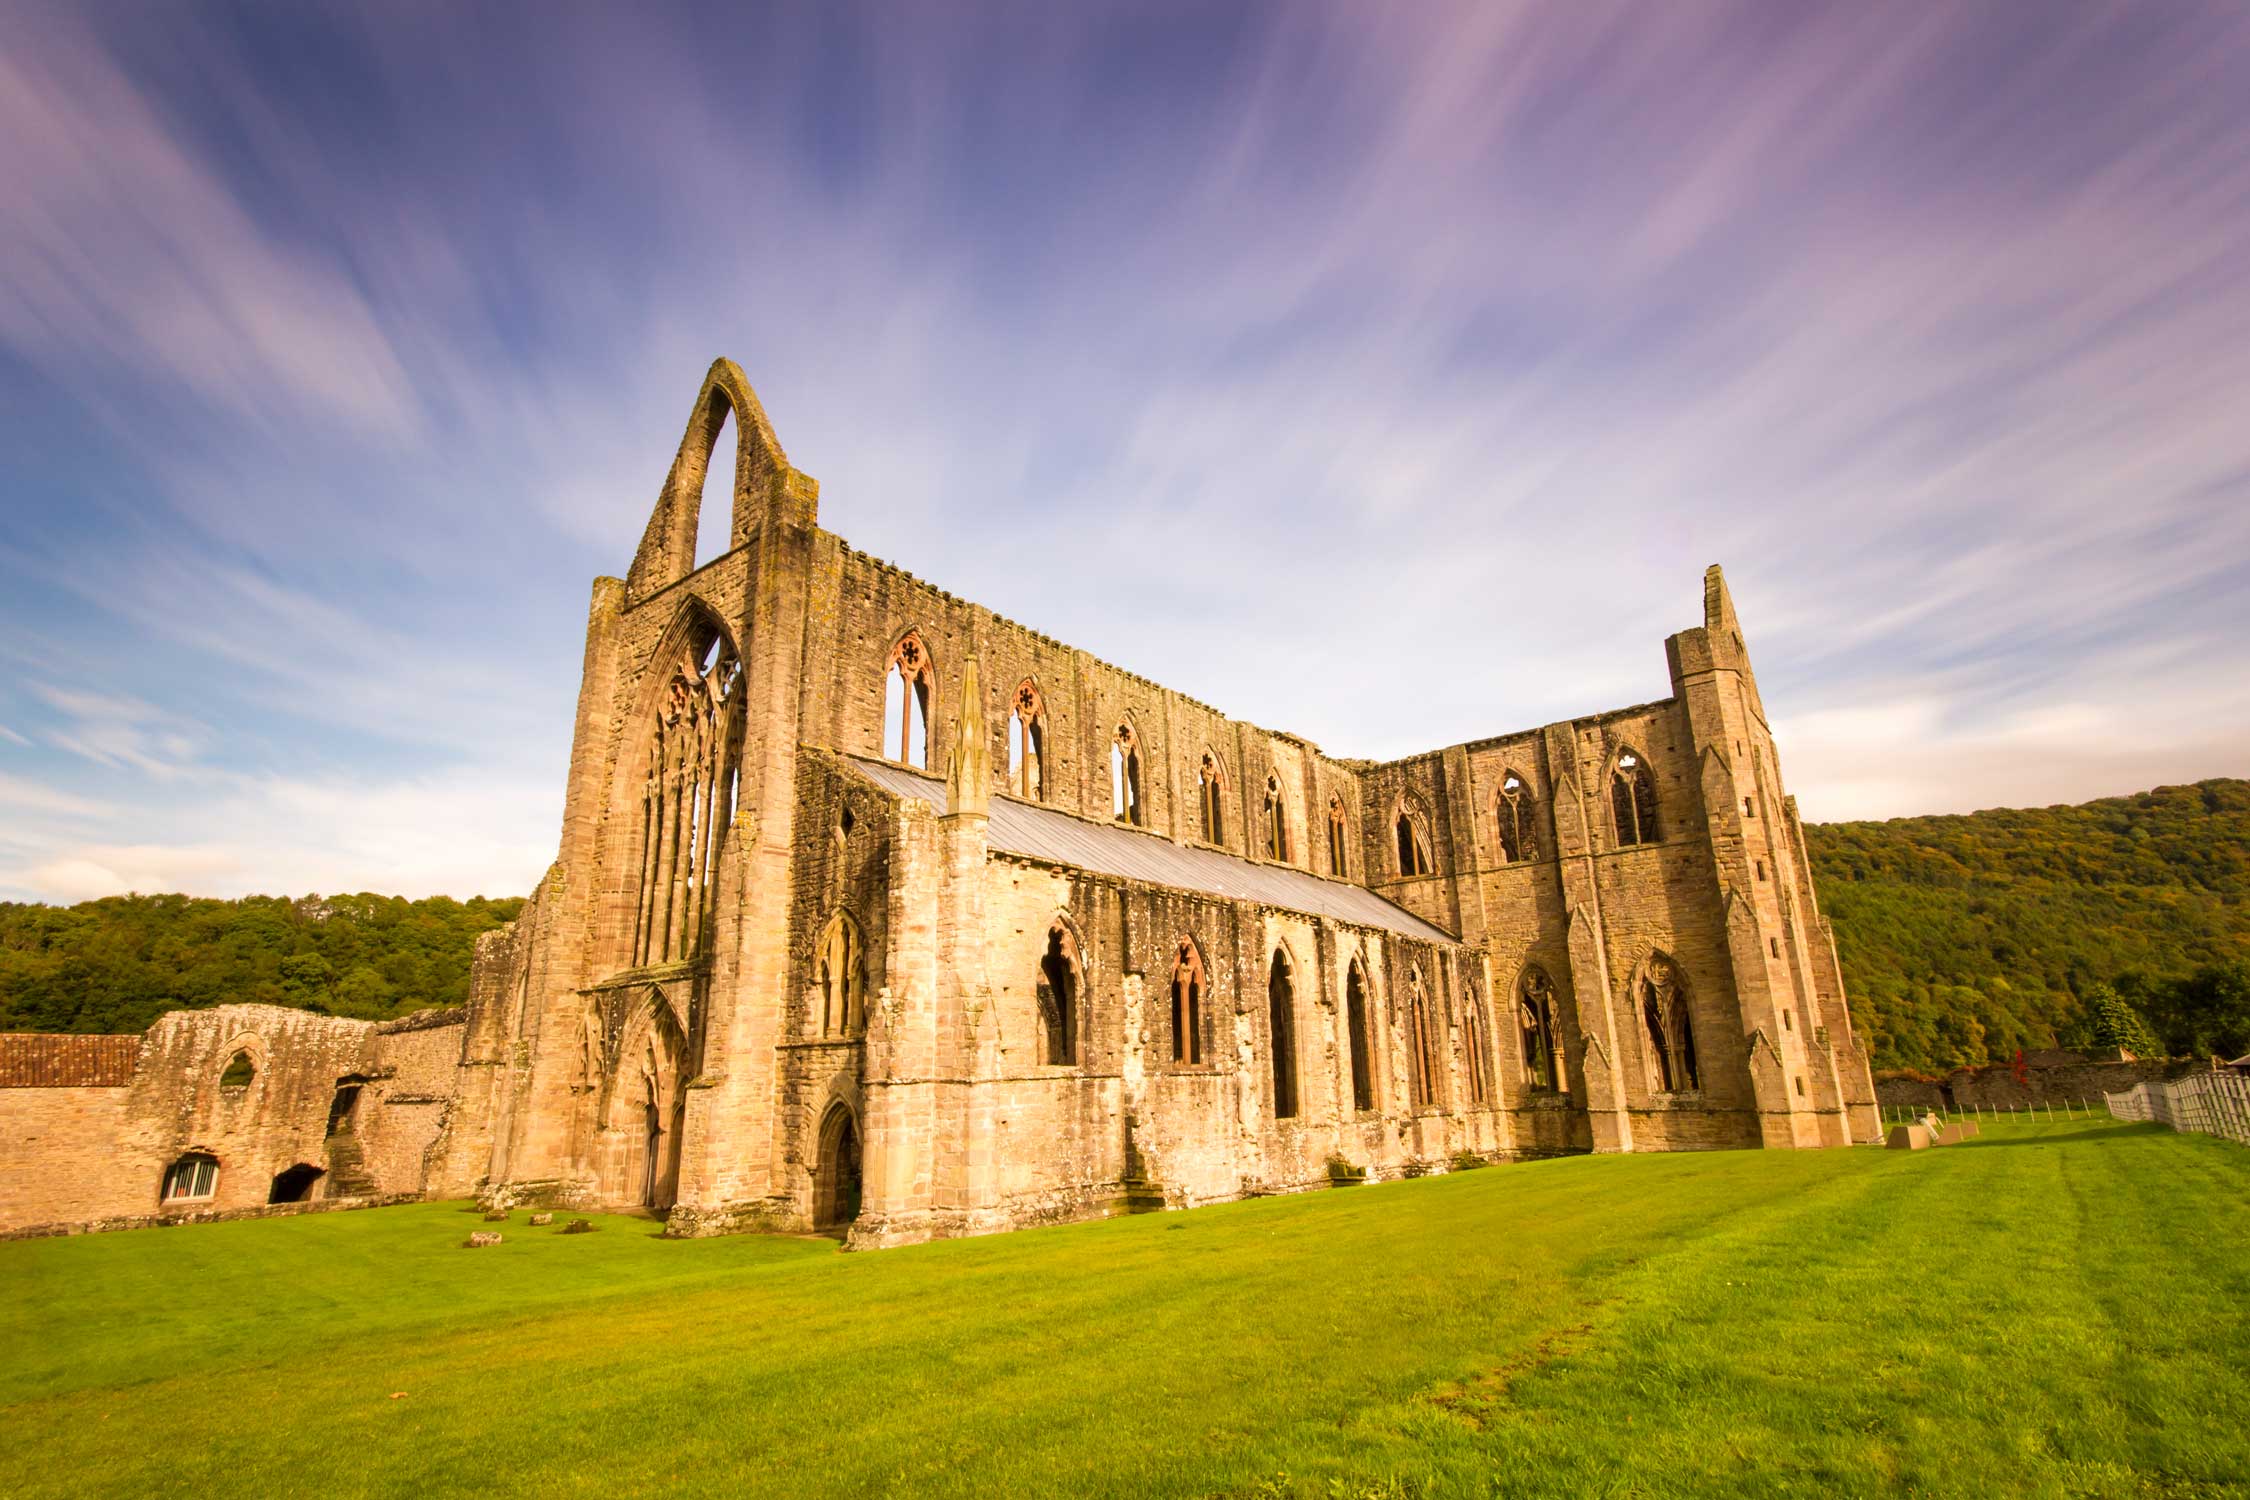
A neutral density graduated filter is used to control exposure across your scene when you have two different exposures in your shot. An example of this is on the majority of landscape photographs where the sky is around 1 to 2 stops brighter than the foreground. The filter attaches to the front of your lens and darkens the top portion of your frame. This can be adjusted depending where your horizon line is.
I have talked before about how the usefulness of these physical filters is in serious decline.
https://www.firstmanphotography.com/blog/camera-filters
Essentially, if you are shooting RAW, in many circumstances the dynamic range of modern cameras will be able to capture the scene without the use of the physical filter. Once your picture is put into Adobe Lightroom or camera Raw the computer can pull the detail out we are looking for using the graduated filter tool.
It does this by using the graduated filter tool. It is very easy to use. Simply select the tool, drag a gradient across your image, then you have a range of adjustment that can be made to that gradient. This is more useful than the physical filter because other adjustments can also be made to the gradient than exposure alone. Contrast and highlights are obvious examples but the ability to adjust white balance gives the ability to adjust the colour of the sky where the RAW image may not match what your eyes perceived at the time.
There is no suggestion of cheating as you are only bringing back detail using the graduated filter that was already present and probably also what your eyes perceived.
Subscribe to the Youtube channel.