Photography Tutorials

How to shoot RAW files on your iPhone

Blog-Cover-1.jpg

iOS 10 will let you shoot raw files on your iPhone with Lightroom mobile. The results are simply amazing.

Most people interested in photography will be aware of RAW files. They are essentially digital negatives. They contain all the data the camera sensor collects in an uncompressed format so no data is lost. This means you have much greater flexibility when editing, giving more accurate and detailed adjustments with things like exposure, white balance and colour tone. Just not possible when dealing with compressed files like jpegs.

Thanks to a recent update in Adobe Lightroom Mobile and to Apple’s iOS 10 you can now shoot DNG RAW files with your iPhone and the results are simply astounding. It's like having a whole new camera.

In the video I will show you how to shoot the images, how you can edit them in either Lightroom mobile or your desktop and then look at a few comparison shots so you can see what can be achieved.

Lightroom Mobile

You need to actually shoot your image using the Lightroom app rather than the iOS 10 native camera app and make sure the DNG RAW setting is selected. Once you do, go ahead and shoot your shot. You then have all the editing functions you normally have using Adobe Lightroom. You can start your edit on the phone and then move over to the computer if you wish.

I am amazed about how effective the iPhone camera now actually is. Pulling detail out of highlights and adjusting exposure that is just not possible with jpegs.

Here you can see an image edited from the native camera app. Details are lost in the highlights and you are limited to how much exposure can be adjusted. Look what happens when the same shot is captured in RAW. The difference is amazing.

[tie_slideshow]

[tie_slide]iphone-raw-2[/tie_slide]

[tie_slide]iphone-raw-3 [/tie_slide]

[/tie_slideshow]

The post processing that can now be done is just much much greater. Like turning an image like this:

iphone-raw-4

Into an images like this:

iphone-raw-5

Adobe Photography Plan with Lightroom Mobile

To get this feature you will need to subscribe to the Adobe Photography plan. That gives you Lightroom, Photoshop and Lightroom mobile and this awesome ability to take your smartphone camera pictures to the next level.

Get Lightroom mobile and the Adobe Photography Plan - Click here

PhotoPills Photography App - The Swiss Army Knife of Photography

Blog-Cover.png

The PhotoPills app will take your photography to the next level

In this video we take a look at the PhotoPills photography app. We explain what it is and go over a few of the features to see how this app can really help you capture some amazing images.

Photography Planning App

I have talked before on my vlog about how planning and preparation is key to photography. PhotoPills is an amazing tool to do that. If you you shoot landscapes, sunsets, astro photography, long exposures, star trails or time-lapses then this app is a must for you. Essentially it is a collection of tools that makes planning your shoots easy. It includes things like an exposure calculator, a time-lapse calculator and tools to let you know where the sun, moon and Milky Way will be at certain times of the year and in a given location.

Sadly PhotoPills is not available for Android yet. They are currently in the process of making an android version now that should be out by the end of the year.

Augmented Reality

The app has some excellent features and including an augmented reality mode. If you find yourself in a beautiful location that you think might make a nice shot, you can launch the augmented reality mode and it will show exactly where the sun will be at a particular time and where it will set.

I couldn't live without this now. It saves me so much time and basically all my research and planning for a shot can be done in the app. If you spend some time getting to know the app, follow some of Photopills own excellent tutorials you really will see your photography move to the next level and you'll be capturing amazing images that no one else has.

What it doesn't do is control he weather though.

Cost

It costs about £7.99/$9.99 but that is he most straightforward £7.99/$9.99 you will ever spend. Check it out now.

PhotoPills website - http://www.photopills.com/

Download from the app store - Click here.

Please subscribe to my YouTube channel.

Water Drop Photography - The Secret to Perfect Drop Mixture

Blog-Cover-3.jpg

Next level water drop photography

In this video I’m going to show you how to make the perfect drop mixture for your water drop photography.

I am probably best known for my water drop photography. I love it, many of you love it so it's likely that every now and again it will pop up on my channel and today is one of those occasions. I now have a series of videos dedicated to water drop photography:

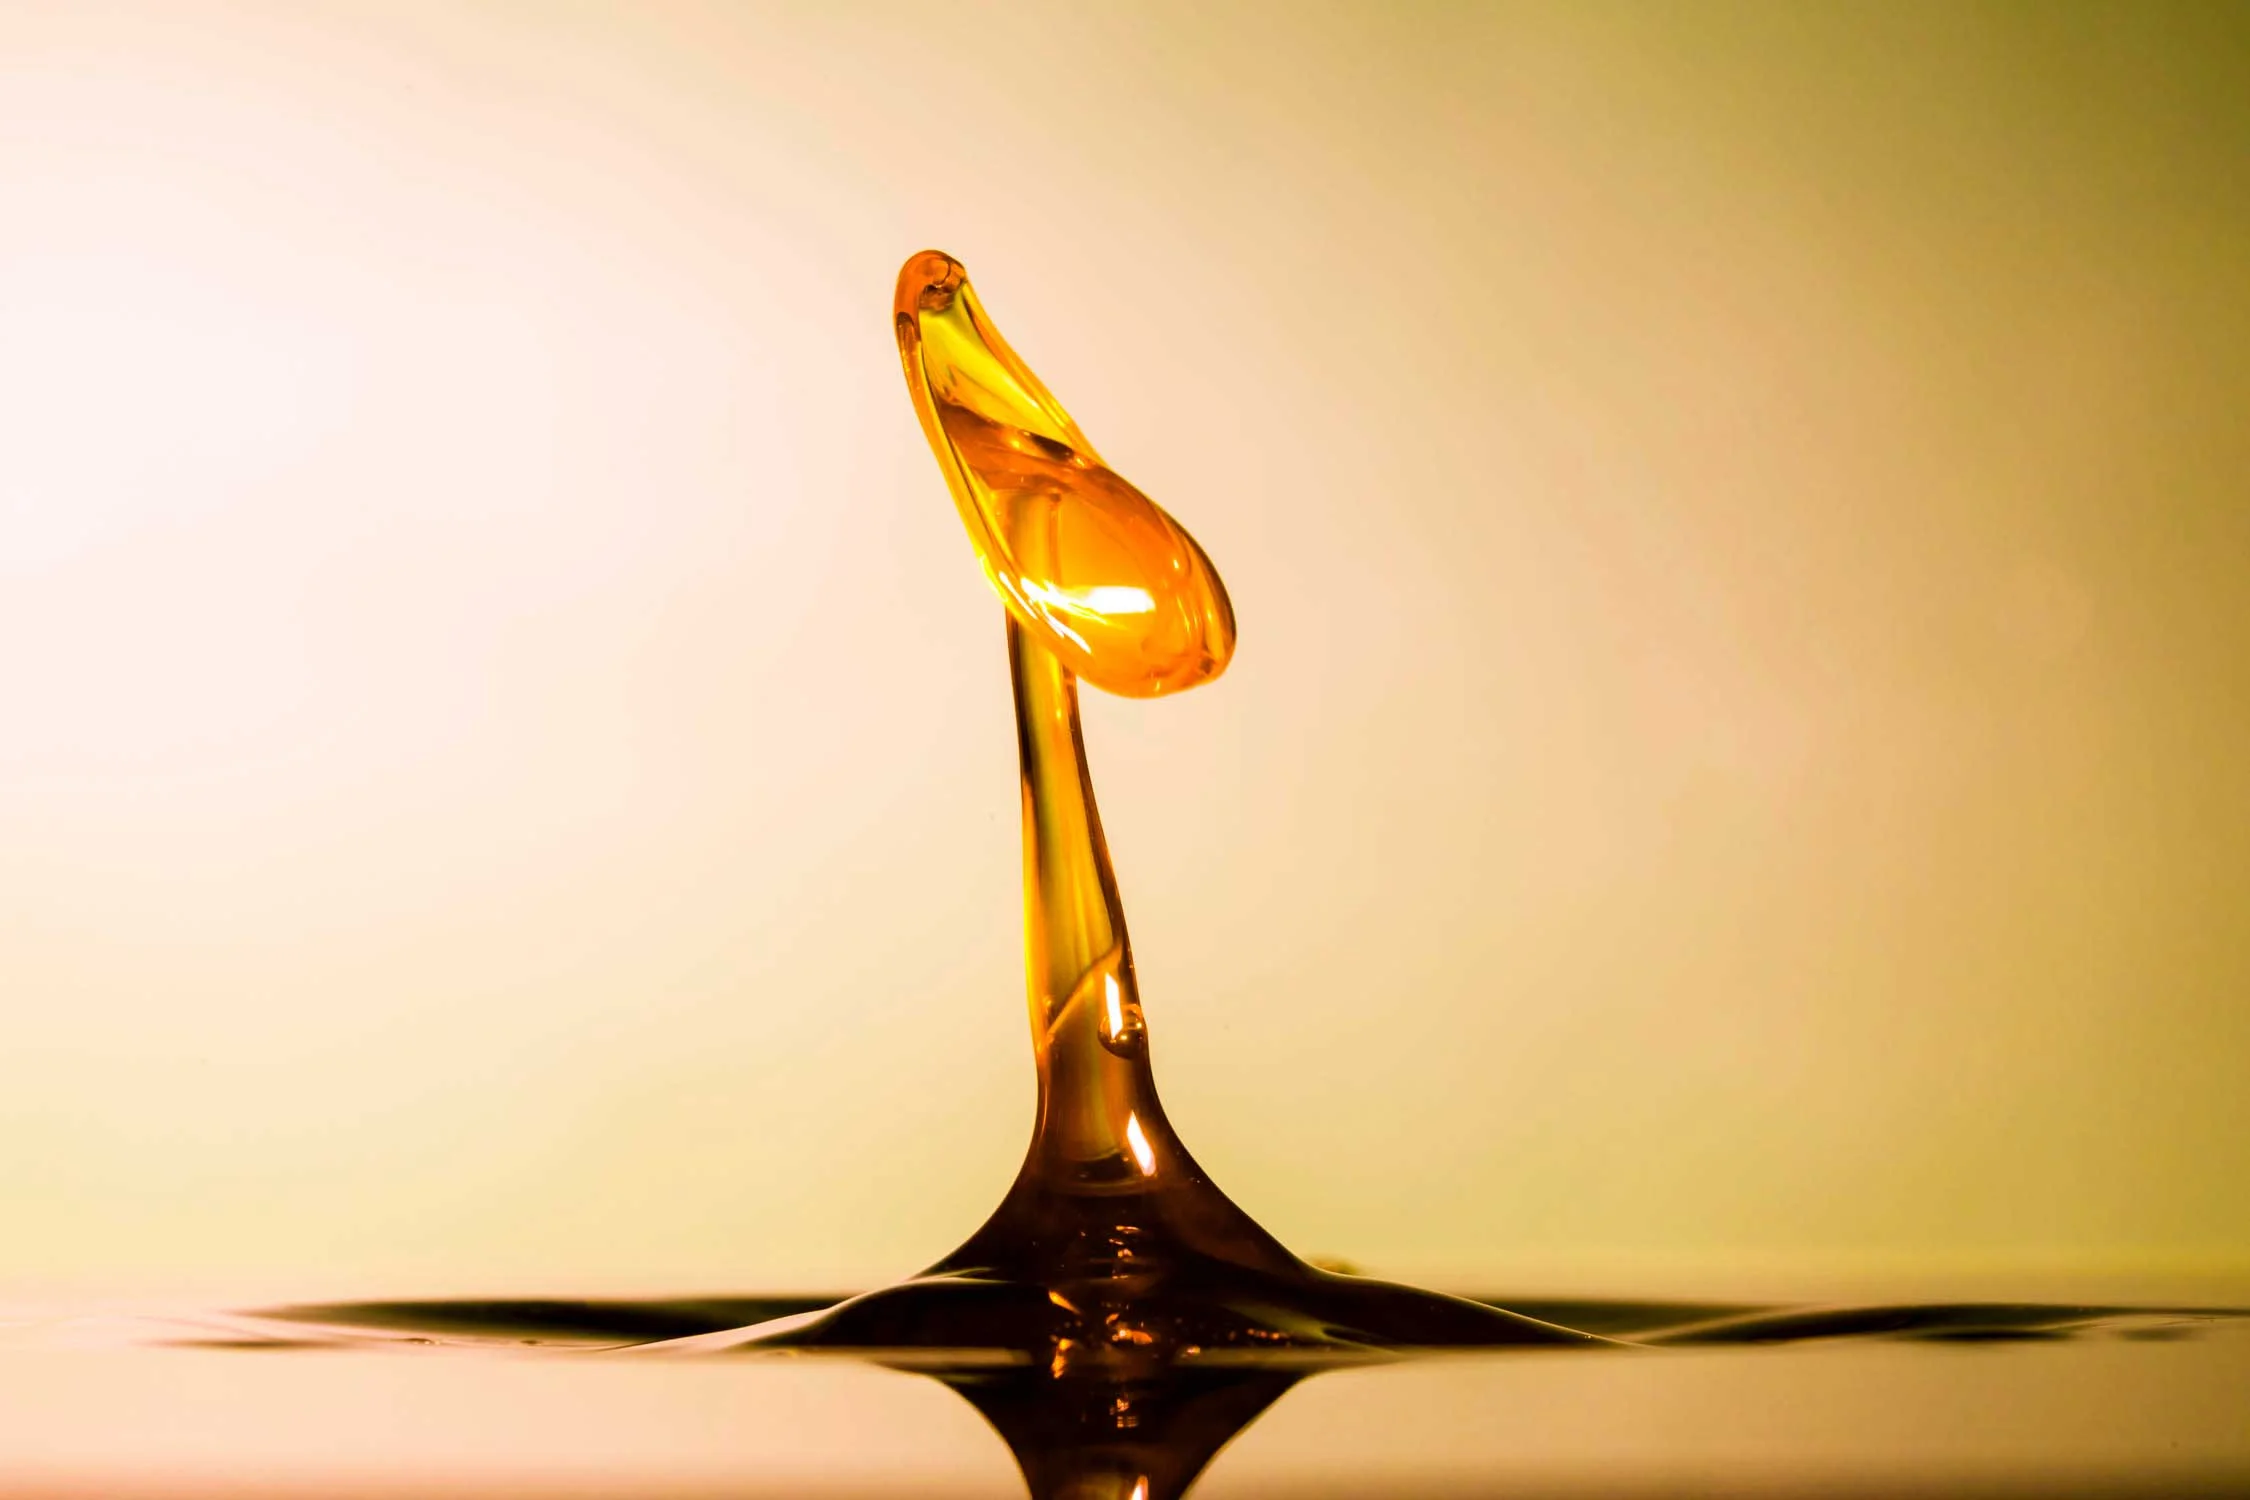
In this video I answer a question many of you have asked me and that is what do you add to liquid to give it that glass like effect. Well the secret is xanthan gum and I'm going to show my technique for mixing up the perfect water drop photography solution.

Like I said before you can use various liquids but I find you gain greatest control by using xanthan gum. Xanthan gum can be bought very cheaply form health food stores and will last you a long time because you only need a very small amount to thicken the water..

You want to start with around one pint of warm or hot water. Xanthan gum really does not like dissolving in water so using warm water helps it along. Take about half a teaspoon of Xanthan gum and sprinkle it into the water. Stir well and then wait. Much of the gum will stick together and refuse to dissolve but I find leaving it overnight allows the maximum amount to dissolve.

If there are any lumps left in the mixture I will sieve them out. If your mixture is really thick you just need to water it down to get the required consistency.

Consistency

You can play around with this but you do not want it to be too thick or it will not come out the dropper at the right time because it will stick in the nozzle. A consistency like melted butter or olive oil is around where you need to be.

This is then my base mixture for a shoot. During the shoot I will the add colour to the liquid in the form of food colouring to provide different types of shots and the addition of milk will add an interesting opacity to the liquid that can really add some extra interest to the shot.

This then pours into the SplashArt reservoir ready to create some beautiful water drop collisions.

I tend to go all out and make extra mixture to fill my water bath, but again, you can experiment with this.

Please subscribe to the channel for new videos every Wednesday and every Sunday.

Aviation Photography - Lightroom Photo Edit

Blog-Cover-1.jpg

It’s not everyday a helicopter flies so close to my house, when that happened today aviation photography came to the front and I captured a shot. The image was far from perfect so in this video I take you through my editing process to bring it up to scratch. Get Adobe Lightroom and Photoshop today - https://www.firstmanphotography.com/get/photography-plan

The free trail has currently been replaced for a limited time purchase offer. Please see the Adobe site for details by clicking the link above.

Aviation Photography

I must admit that I am not the biggest fan of aviation photography. I really dislike shots that feature an aircraft surrounded by nothing but blue sky. This is especially the case when the rotor blades of helicopters are frozen in time.

To capture the image of the helicopter today I used my Canon 400mm f5.6L lens. I stuck it out the window, whilst handholding, and took the shot having waited for the chopper to get into a good position where I was happy with the composition.

I much prefer aviation photography when there is a sense of movement in the image. To achieve this I reduced my shutter speed down to 1/50 second. The chopper was hovering so I managed to hold the camera steady enough to capture the image with some lovely movement in the rotor blades. This caused a slight loss in sharpness and the image is far from perfect but in the video I walk you through the steps I took to bring it up to scratch.

In the video I also use the clone stamp tool in Adobe Photoshop to remove an irritating telephone wire that I could not prevent being in my frame.  Watch this Aviation Photography Lightroom photo edit it now to see how I post-processed the image.

Subscribe to the YouTube channel.

Best Vlog Camera Video Settings

Facebook-and-Blog-Cover.jpg

Vlog Camera Settings Tutorial

Since posting my video on unboxing the perfect vlogging setup I have been inundated with questions about what are the best settings for you vlog camera. So this short video is here to answer that.

https://www.firstmanphotography.com/gear/unboxing-perfect-vlog-setup

I have created a video before about the best settings to use when shooting video with a DSLR and this uses very similar settings with just a couple of little tweaks.

https://www.firstmanphotography.com/tutorials/dslr-video-settings

Firstly you will need a camera with a video autofocus function, something like the Canon 700d or the more advanced Canon 70d or Canon 80d. Switch into video mode and open the menu. make sure Movie Servo AF is enabled and the AF method is in face tracking.

Secondly.  Set your frame rate. The best frame rate to use for a vlog camera is 30fps in the US and 25fps pretty much everywhere else This is linked to your countries power frequency - google it if you want to know more. This gives the most natural feeling for a vlog as opposed the the more filmic look of 24fps and the hyper-real 60fps.

Put the camera in manual mode.

The next thing to set is shutter speed. This must be set at double your frame rate. 1/50 sec in most of the world and 1/60 if you are in the US. Once that is set you can forget about it.

It then becomes a case of balancing your exposure with the aperture and ISO.

To get an understanding of the exposure triangle I cover this in my free eBook. Head to the link below, fill in your details and i’ll send you a free copy of the ebook.

http://www.firstmanphotography.com/ebook

For those looking to get up and running quickly, set your ISO to auto and put the aperture as low as it will go. This will work in most conditions apart from really bright conditions where you will need to push the f/number up to bring the exposure down

For finer control, balance the ISO and aperture manually. For example, if you are outside during the day, set the ISO to 100 and adjust the aperture when the light conditions change. Inside, boost the ISO to something like 800 or 1600 and again, adjust the aperture to control exposure.

You will need to practice and figure out what works best for you. Make sure you stick to double your frame rate for the shutter speed and keep your ISO down as low as possible to obtain an image free of noise.

Subscribe to the YouTube Channel

How to Capture Birds in Flight

Blog-Cover-3.jpg

Flying Bird Photography Techniques

Wildlife photography is an extremely popular area of photography Capturing birds in flight is one of the most challenging and rewarding shots to capture in all of photography especially when there is often no second chance.

In this video we going have a look at:

  • The gear you will need
  • Discuss the settings that will produce the most consistent results
  • Go through a couple of techniques for actually shooting the shot.

Gear 

Any modern DSLR will be good enough for capturing birds in flight. Many photographers talk about the extra reach a cropped sensor camera gives but I really would not worry about this. This is not the limiting factor in capturing great shots. It is much better to choose a camera with  great auto focus system.

A good long lens is a must for wildlife photography. These lenses can get expensive but the combination of length, quality and auto focus speed are what really matter. Cheaper kit style long lenses like a Cnon 70-300 often just will not focus quickly enough to capture a bird in flight no matter what camera you put it on.

Something like the Canon 400mm f5.6L is ideal and won't break the bank entirely. Check out my review of this here - https://www.firstmanphotography.com/reviews/canon-400mm-f5-6l-review

IS is not massively important because we use such a fast shutter speed that will freeze the action but a lens with lateral IS can really help tracking your subject.

You may also want a tripod or mono pod to assist if your gear starts to get heavy.

Settings

So once you have the gear we need to think about the settings we're going to use.

The first thing to set is the Focus mode.

Continuous auto focus is where you need to be. They have different names on different cameras but it want Ai servo on a Canon or afc on nikon. Where one shot focus locks in on the subject this will continue to adjust focus every time the subject moves in relation to your camera. This is what you want when tracking the bird.

You will need to keep the bird over your focus point. I use the centre focus point but this is personal taste. If your camera supports it, try using the five centre focus points or just try it on auto.

Next is our main camera mode. You can use shutter priority mode but we should start as we mean to go on so flick the camera into manual. This may sound scary but once you have practiced a bit the settings are simple and make a lot of sense.

Firstly shutter speed should be set at least 1/1000 second. This will ensure the bird is frozen and sharp. You can increase your chances of getting a sharp shot by stopping down to increase your depth of field. Use around f/7.1 or f/8 if lighting conditions are reasonable. You then need to use ISO to balance your exposure depending on your light. Many long lenses have max apertures ranging from f/4 to f/6.3 so you can expect to be using ISO settings of up to ISO 1250, especially if you stop down. To keep your image clean I would resist going beyond 1250.

Technique

I am a big fan of hand-holding and it's where I get the most positive results. It is also why I love the 400mm f5.6L because it's not too heavy and I can handhold it all day meaning I can more mobile. The technique I use is to plant my feet and then twist at the hips. See the video.

You can also have the camera on a monopod that gives you a small amount of movement. For heavy lenses you will need a gimbal head for your tripod that will provide good movement and the ability to properly track your bird.

So that's the basics, and probably the easy bit. You then need to go out and start finding our feathered friends. They are not always too keen to fly nicely in front of your lens so when the opportunity comes, don't miss.

Subscribe to the YouTube channel.

Other Videos - https://www.firstmanphotography.com/reviews/canon-400mm-f5-6l-review

Check out my good friend, and awesome nature photographer, Lyle McCalmont who gets me into all the right spots to shoot birds in flight. Thanks for letting me use your images again.

Check out the gear used in this video:

Canon 400mm f5.6L - UK - https://www.firstmanphotography.com/get/canon-400mm-f5-6l-uk Canon 400mm f5.6L - US - https://www.firstmanphotography.com/get/canon-400mm-f5-6l-us

DSLR Video Tips - 3 Ways to Accurately Focus Your Camera

Facebook-Cover.jpg

How to focus your DSLR when shooting video.

Accurate focus is massively important. It is very off-putting when your subject is even slightly out of focus and it can result in people quickly turning off.

In the video I show you three ways to focus your DSLR. The first is for YouTube style videos like this, the second is shooting on the move using manual focus and the third is using the advanced autofocus features of a new camera like a Canon 80d, Canon 70d or Canon 700d with face detection.

Like any photography, the most important thing to get in focus is your subjects' eyes if you are filming people.

Static

In a static situation like this, or an interview, where your subject is not moving manual focus is the best way. Before shooting a video set up something like a light stand or a microphone stand. Position it as close to where your eyes will be as possible. This will be the point where You focus the camera.

Once that is set move over to the camera, switch on live view, position the focus area on the stand at the point where the eyes were positioned, zoom into 10x and then use the auto focus to accurately focus in. Lock the focus into manual before returning to the original position. This is a good way to ensure your focus is accurate to a very fine margin. Remember do not then adjust your position, or the camera position, or you will have to go through the process again.

Manual Focus

This sounds complicated but is actual very simple. Put your camera into manual focus mode and start filming. Use the focus ring to adjust focus as necessary for your shot. Extra accessories like a follow focus, magnifying screen or external monitor can make this easier. You can also shoot with a smaller aperture so your depth of field is large. This means your focus does not have to be quite as accurate.

Auto Focus

The last way is using autofocus on newer cameras like the Canon 700d or the Canon 70d or Canon 80d. With face detection switched on the cameras do a pretty good job of keeping you in focus but you can also tap the screen to focus into that area. Combined with the new STM lenses this makes auto-focusing a real pleasure although sometimes it will hunt around going in and out of focus for no apparent reason.

The method of focus you use is entirely up to you but having the ability to use all three will ensure you are armed to focus your DSLR whilst shooting video in almost any situation.

Subscribe to the YouTube Channel

Lightroom Quick Tip - Black and White Photography Toners

Blog-Cover-1.jpg

Take your black and white photography to the next level.

Get a FREE trial of Adobe Lightroom - https://www.firstmanphotography.com/get/photography-plan

Black and white photography is a particular favourite of mine and I will often convert a colour image to black and white. Most often I will envisage a mono image at the time of shooting knowing that the scene in front of me will look better in black and white.

Black and white works well when the tone of the image is more important than the actual colours. Some images can look messy in full colour but will look beautiful in black and white due to the really interesting tones.

Black and white processing can also be used to rescue images taken with high ISO in extremely low light. The noise introduced by the high ISO can look very pleasing in mono offering a look similar to ‘film grain’.

Once you have shot and processed your black and white photography you can potentially take it to the next level by adding a colour toner to the image. Sepia is one such tone. This colour was introduced from a particular chemical used in the dark room that increased the longevity and archival properties of a photography.

Adobe Lightroom offers the ability to add tone to your black and white photography using the split toning panel. Using this you can add colour to the highlights and the shadows independently, hence split toning.

Another method is to use the Google NIK Collection that offers a series of finishing toners that add a full array of toners that mimic those that were historically popular in the darkroom. In the video I show you how you can easily add black and white toners using Adobe Lightroom and the Google NIK Collection. Download both programs and have a go adding tones to your images to see what you think. Let me know if you agree and this can take your black and white photography to the next level.

Subscribe to the YouTube channel.

Mentioned Videos:

How to Clean Your Camera Lens (and How Not To)

Blog-and-Facebook-Cover.jpg

We show you how to clean your camera lens.

The question, how to clean your camera lens is a good one. Cleaning your lens will maximise the quality of the images your camera can produce. On one of my videos recently someone pointed out how dirty my lens was with large finger print marks on it.

This sparked some thoughts which have led to this video. Firstly in the video I show yo  how to clean your camera lens properly. I then show you how to clean your camera lens in a non-recommended way. I also share a few thoughts on this subject and why I think is often preventing people from taking their photography to the next level.

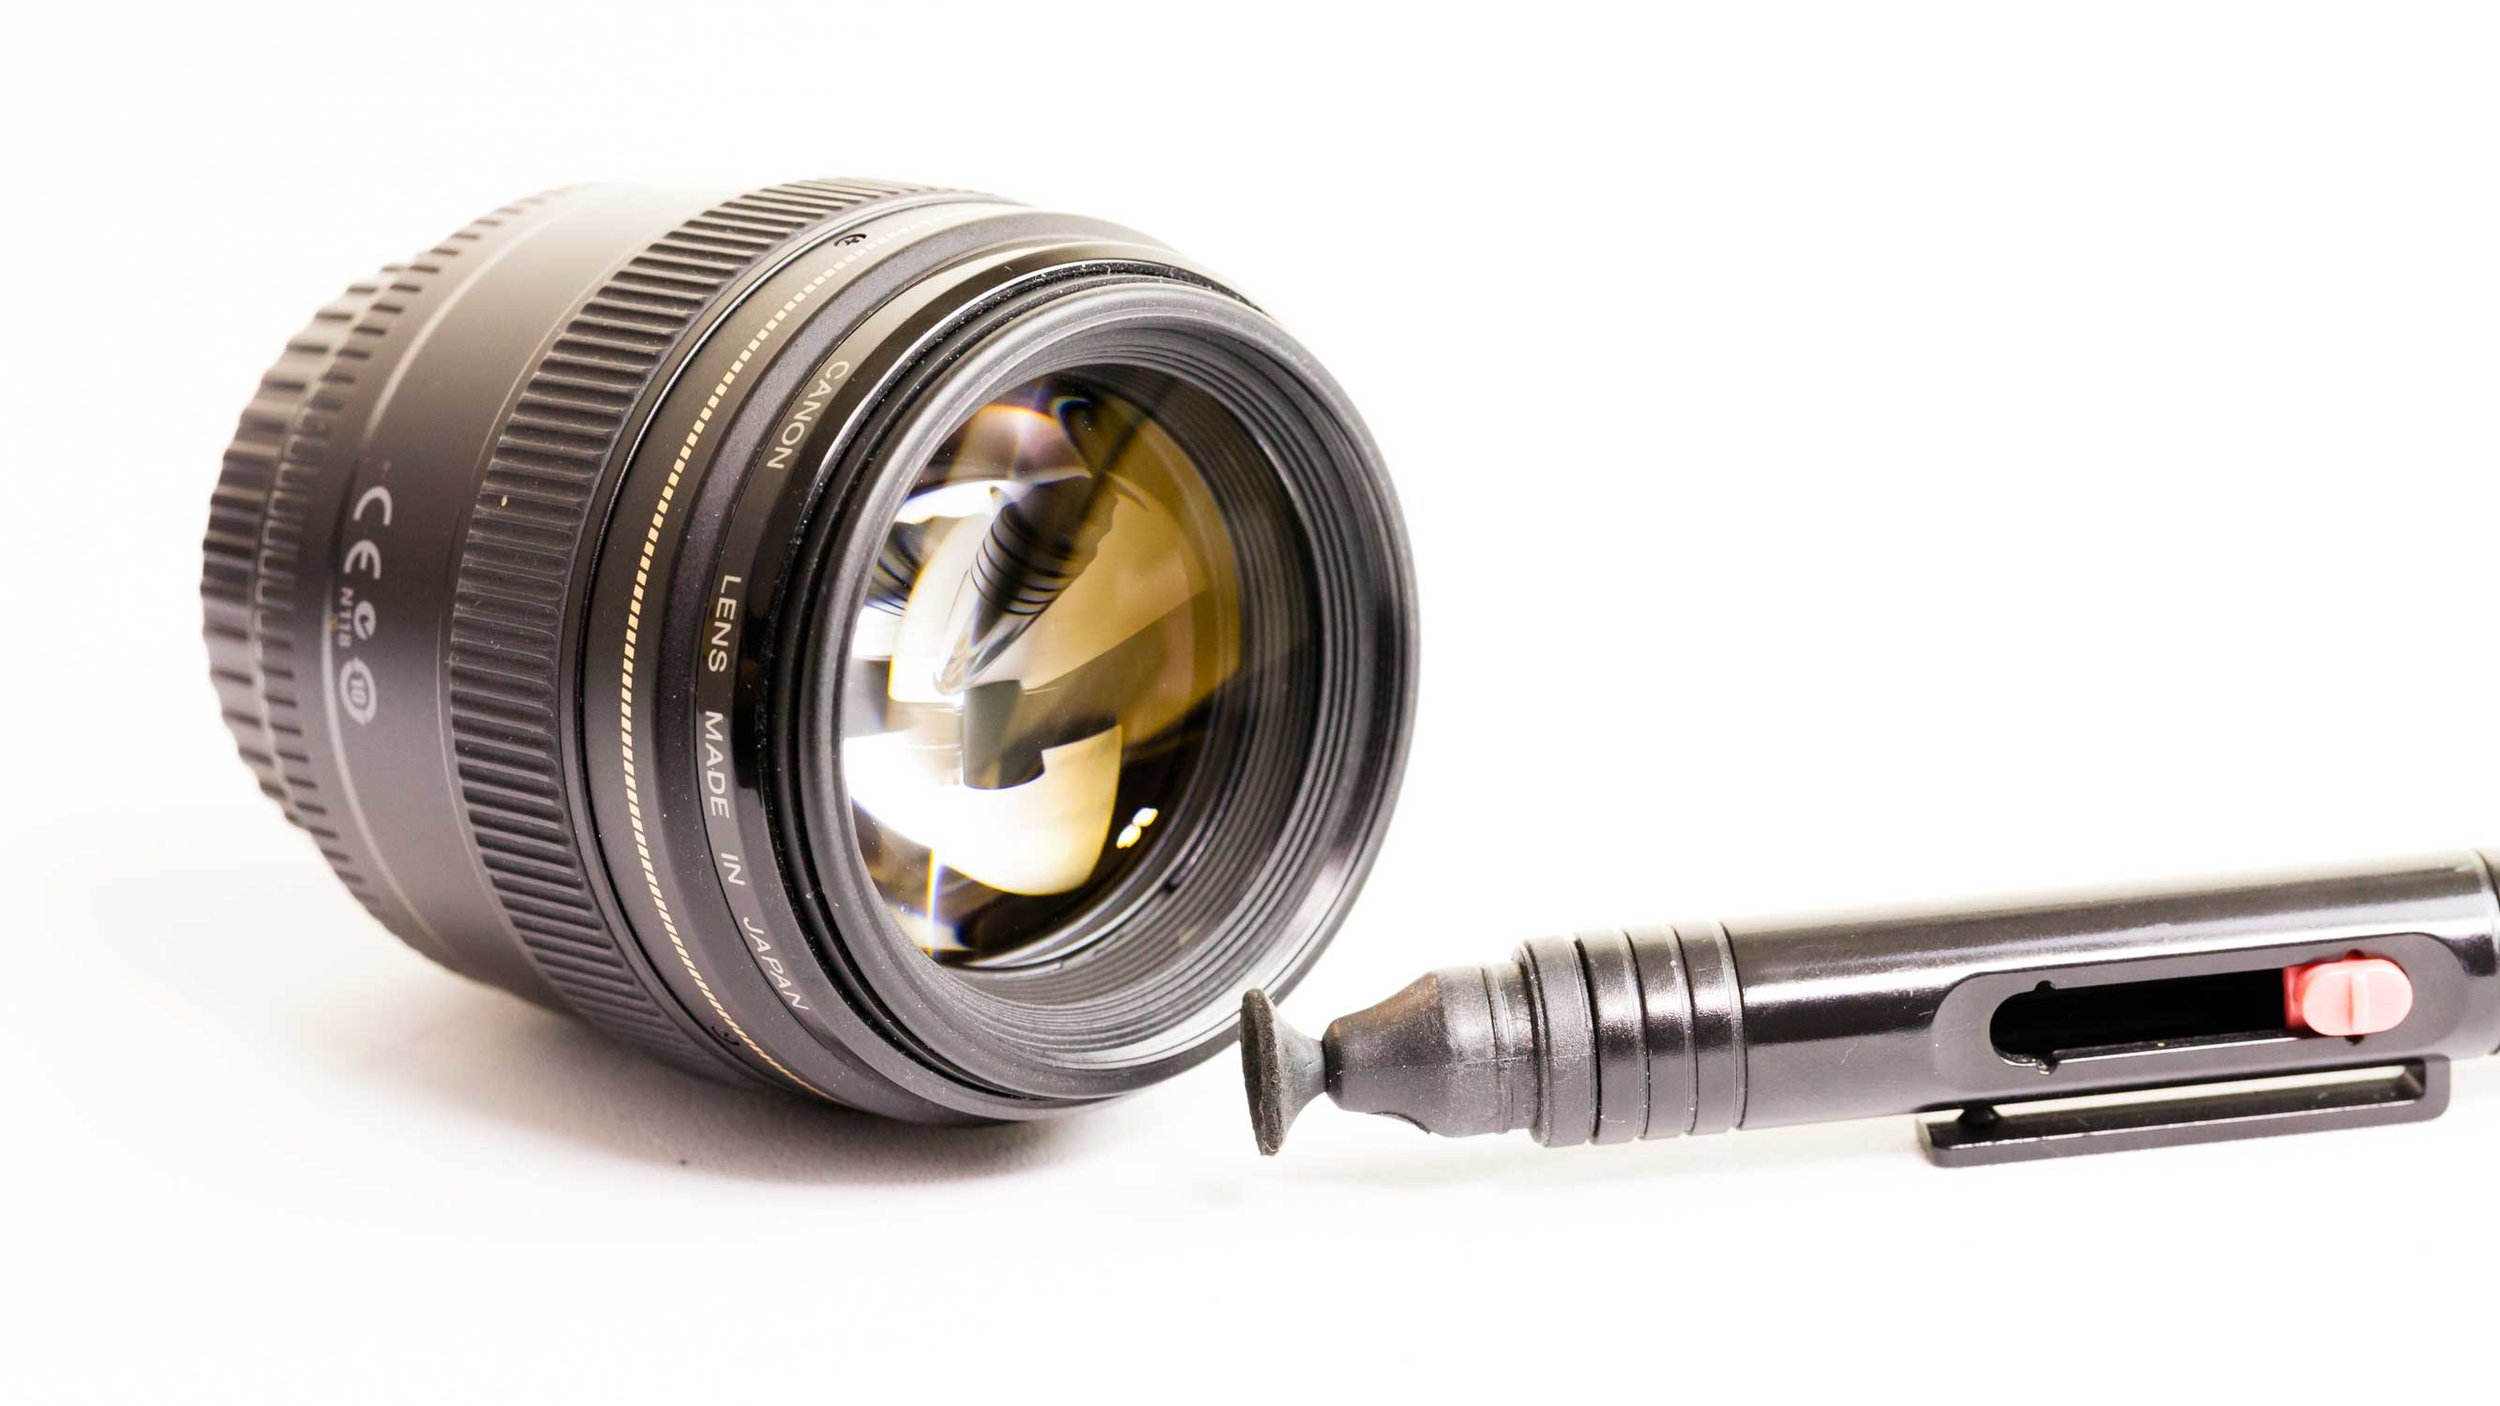
Firstly take your lens and inspect how dirty it is. Roll it around in your hand catching all the different light so you can see all angles of the front element. If it's not dirty, don't clean it. Excessive cleaning can potentially cause damage. Especially to the coating.

If you think it needs cleaning, first remove dust and specs using either a lens cleaning brush or a blower. Use a lens pen or microfibre lens cloth and start to clean your lens in circular movements starting from middle and working your way to the edges until any marks or finger prints are removed.

If there are any stubborn marks place a small amount of lens cleaning solution onto your cloth and then repeat. Avoid putting it directly onto the lens, or using the lens pen, to prevent excess solution getting on your lens. Don't forget to check the rear element as it is much more likely to show marks in your image.

So that's that. For me though cleaning my lenses is just not that important. Fingerprints, dust and many marks simply do not show up in your images. I am certain this obsession with clean glass and gear is holding many people back. Your lens is a tool, use it like one rather than giving it more love and attention than you do your friends and loved ones.

If I notice some dust or a blotch on my lens I generally just blow on it and then take a scruff of my t-shirt and give it a wipe. This is easily suitable in 90% of situations including weddings and in the field. I never want to be in the field where I miss a shot because I am faffing around with lens cloths, blowers and lens solution. Some photographers become vicious about this subject and will likely attack me for this. For the record I recommend you use the first method. I just think too many of us are wasting time focusing on the gear. We're all intelligent people, be sensible, do what's right for you, but really focus on capturing the moment and capturing beautiful images. In the highly unlikely event that your lens gets scratched, is it the end of the world? No, when you spend less time worrying about your gear, when something does go wrong, it's annoying for a moment but it won't cause you loads of stress. It just won’t.

Subscribe to the YouTube Channel

How to Make a YouTube Video

Video-Cover.jpg

Everything you need to know how to make a youtube video.

Since starting this channel one of the most requested videos i have been asked to make is how I make my videos.

How to make a youtube video is the kind of video that every Youtube creator seems to make and I feel some of them are very narrow and don’t always give all the information that people are looking for to create awesome videos.  This however is a photography channel so we’re well placed to give you all the info you will need to start filming professional looking YouTube videos.

Before you start thinking about what gear you are going to buy you need to think about the style of video you want to make that fits the content you will be creating.

You can have a plain background like the grey background I use in many of my videos. It is good for reviews and unboxing’s and gives the video a focused and professional look with a background free from distractions.

You can film at a desk like in my tutorial videos to give a more relaxed feel. It is a good angle for mixing in with screencasts or gaming videos to add a layer of interest to those videos and provide a closer connection to the audience.

You can film outdoors. Or you can vlog. We all like to vlog right? Check my vlogs here - https://www.firstmanphotography.com/category/vlog

Or you can create a shot with dreamy background blur for beauty videos. These are particularly common.

Once you have decided on style you can start to look at the gear you will need. Vlogging is the most simple setup. I have covered my vlog setup in a previous video. Click here to view - https://www.firstmanphotography.com/gear/unboxing-perfect-vlog-setup

The first thing you’ll need is obviously a camera. A DSLR or mirrorless camera will give you the best quality with the ability to use a variety of lenses. A point and shoot is also an option but will not have the same quality.

Next to think about is the sound. On board camera sound is so often tinny and unpleasant due to the tiny microphone included with your camera. At the very least you will need a better microphone that will attach to your camera. Something like this Rode VideoMic Pro will be perfect. You can take sound to the next level by removing the microphone from the camera and getting it closer to you. This is my setup and the rode video mic plugs into this Zoom H4N recorder. I clap at the start of my videos and then sync the video and the sound later on in post production.

These are two vital things to think about. The final bit of gear you will need to take your videos to the next level is a proper lighting setup. When vlogging and shooting outdoors you might not need extra lighting but when shooting videos indoors it becomes important.

I use two main video lights that can be bought relatively cheaply on amazon. It’s also important to light up your background to provide some separation between you and your back drop. It adds another layer of interest to your video that will keep your viewers engaged. I use this home-made DIY panel. I really like it as it is small, low powered and offers a slightly different coloured light, so when used with my main lights creates this interesting and slightly purple light.

Once you’re all set you need to focus you camera. Some cameras like the 70D and 80D from Canon have sophisticated autofocus that tracks your face but otherwise it's just a case of focusing the camera where your eyes will be. You do this by placing something like a mic stand in your place and then focus on that or just get someone to help you.

Once all the gear is in place it's just a case of getting going and doing the hard bit and creating some awesome content.

Best of luck.

Subscribe to the YouTube channel.

See the gear I use below:

I am not recommending any particular video light setup at this time. Search 'video lights' on amazon and I use two 4x135w lights.

Best DSLR Video Settings

Blog-cover.jpg

Make Movies with these DSLR Video Settings A lot of questions have come in recently about video. So for the next week and a bit we’re going to be looking at various aspects of creating videos. In this video we look at basic DSLR video settings.

Shooting video is becoming more and more popular whether we are doing it with our iPhones or our cameras. A recent surge in vlogging and daily updates on Snapchat means there is more video being shot than ever before.

Most DSLR cameras can now shoot video and they can offer extremely high quality video, especially when attached to a nice large aperture lens. This can go a long way to elevating your videos above others in this very noisy world. The controls can often seem complicated so getting the right settings for DSLR video can can seem daunting.

The first rule is unlike photography as we do not really want to use shutter speed to affect our exposure. The shutter speed must be set according to the frame rate we are using. A frame rate of 24 or 25 fps will mean we need a shutter speed of 1/50 second. You effectively need to double the frame rate. If you are shooting at 30fps then you will need 1/60 sec.  When shooting at 60fps you will want 1/125 and so on.

24fps is what is used to make movies and is often described as having a filmic look. 25fps and 30fps have a very similar look that is more like real life. Which of these you use will depends on where you live as they hark back to the frequency of the power line coming into your house, whether it is 50hz or 60hz. It gets overly technical but most of the world will be using 25fps where as the US, Canada and much of south america will use 30fps. This is effectively the difference between PAL and NTSC.

ISO settings for video will ideally be 160 or multiples of this i.e. 320, 640 or 1250. This is not a hard and fast rule but they seem to create less noise in videos than the other settings. In some circumstance auto ISO may work for you.

The aperture setting for video can then be used creatively to achieve the background blur you are looking for but often you will have stop down to get proper exposure. If you want a shallow depth of field in bright conditions then you will need to add a neutral density filter to cut down the light coming in.

Most consistent results will be achieved by using manual focus. Most films and tv shows are filmed with manual focus using a person to ‘pull focus’. Some new cameras like the 70 and 80D have more sophisticated autofocus systems that are very effective.

DSLR cameras do not currently capture RAW when shooting video. There is therefore little chance to change the colour, contrast, exposure and white balance as we do with stills. Getting your dslr video settings right at the point of shooting is therefore extremely important. Set your white balance according to the conditions and then set your picture style. The portrait setting picture style it good for taking footage straight out the camera but if you want to make changes in post-processing it is best to shoot the image a flat as possible. This means reducing the contrast, saturation and sharpness right down.

The settings I use produce a nice flat image that then gives me good control in post.

  • Sharpness down to zero
  • Contrast down to zero
  • Saturation down half way
  • Colour Tone leave as it is

On some cameras you can then save these settings as a preset to then have easy access to them next time you come to shoot video on your DSLR camera.

Subscribe to the Youtube channel.

How to Use the Guided Upright Tool - Lightroom Tutorial

Blog-Cover-1.jpg

Correct Perspective in Lightroom with the Guided Upright Tool

Get a FREE trial of Adobe Lightroom and Photoshop today and use the new Guided Upright tool. Click here - https://www.firstmanphotography.com/get/photography-plan

Abobe Lightroom received an update this week available to Creative Cloud members. The update brought an interesting new feature called Guided Upright that is only available to Adobe CC members.

Guided Upright is a tool designed to correct perspective in your images. We have always been able to do this in Photoshop through various Transform tools but this new tool in Adobe Lightroom opens it up to a wider group of users and makes the process quick, easy and effective.

guided upright

The tool is particularly useful when correcting images of buildings such as cityscapes and other images including straight lines. When shooting cityscapes with an ultra wide angle lens the buildings can appear distorted and the lines are not straight from top to bottom or left to right even though you have your horizon perfectly lined up. This is an unavoidable physics problem caused by the wide perspective of the lens. A tilt shift lens, using the shift feature, can correct this naturally but these lenses are usually very expensive. That leaves us to correct it in post-processing and the Guided Upright it my new favourite tool in Lightroom.

Watch the video now for the tutorial on how to use the Guided Upright Tool. When correcting your images, Lightroom will generate white space in your image due to how it has manipulate the picture. This can be resolved by either cropping or zooming slightly, or my preferred method, to clone some of the image back into the white space. Using the content aware fill feature in Photoshop is a particular effective way to do this. This is also covered in the video.

You can see the subtle and effective changes that can be used in this picture that mimics what a tilt and shift lens does.

lightroom tutorial

guided upright tool

Subscribe to the YouTube channel for new videos on a Wednesday and Sunday.

How to Use the Graduated Filter - Adobe Lightroom Tutorial

Blog-Cover.jpg

Is the software version of the Graduated Filter better than the real thing?

In this video tutorial we look at the power of the graduated filter tool in Adobe Lightroom.

A neutral density graduated filter is used to control exposure across your scene when you have two  different exposures in your shot. An example of this is on the majority of landscape photographs where the sky is around 1 to 2 stops brighter than the foreground. The filter attaches to the front of your lens and darkens the top portion of your frame. This can be adjusted depending where your horizon line is.

I have talked before about how the usefulness of these physical filters is in serious decline.

https://www.firstmanphotography.com/blog/camera-filters

Essentially, if you are shooting RAW, in many circumstances the dynamic range of modern cameras will be able to capture the scene without the use of the physical filter. Once your picture is put into Adobe Lightroom or camera Raw the computer can pull the detail out we are looking for using the graduated filter tool.

It does this by using the graduated filter tool. It is very easy to use. Simply select the tool, drag a gradient across your image, then you have a range of adjustment that can be made to that gradient. This is more useful than the physical filter because other adjustments can also be made to the gradient than exposure alone. Contrast and highlights are obvious examples but the ability to adjust white balance gives the ability to adjust the colour of the sky where the RAW image may not match what your eyes perceived at the time.

There is no suggestion of cheating as you are only bringing back detail using the graduated filter that was already present and probably also what your eyes perceived.

Subscribe to the Youtube channel.

How to do Panorama Photography

Blog-Cover-4.jpg

Capture the world in wide with Panorama Photography

Panorama Photography or panoramic photography has become very popular since the feature was introduced on mobile phones. Images can be easily created being moving the phone around in an arc and capturing the scene in front of you.

However there is still a lot of value in capturing these images using a DSLR or mirrorless camera thanks to the extra quality. Comparing an iPhone panorama to a DSLR/mirrorless panorama is like comparing any other image in these different formats. The DSLR is always going to offer better quality.

panoramic photography

The key to capturing amazing panorama photography is to get out and travel to somewhere amazing. This may seem obvious but so often this seems to be forgotten. The effort, hard work and investment is what takes your photography to the next level.

Beyond that panorama photography is achieved by taking several images and then stitching them together to make a very wide image using Adobe Lightroom.

Get a FREE trail of Adobe Lightroom click the link below

https://www.firstmanphotography.com/get/photography-plan

It can also be done in Photoshop but Lightroom makes it extremely easy. Maximum detail can be achieved by shooting the individual shots in portrait rather than landscape orientation. Ideally the images would be captured using a tripod but handholding is perfectly possible using the right technique.

Panorama photography really doesn't translate very well on screen due to the lack of screen real estate. Undoubtedly the best way to communicate panorama photography is to print it. Print it. Print it large. A beautiful landscape panorama printed very large packs a huge punch with a wow factor beyond compare. Trust me. Try it.

The tutorial was shot in the town I grew up in and my day is featured in my up coming vlog due for release this Sunday.

Please subscribe to the Youtube channel.

Lightroom Quick Tips - Why You Should Use Virtual Copies

Blog-Cover-3.jpg

How to use the Lightroom Virtual Copy feature.

In this video I give you a quick tip about why you should be using Lightroom virtual copies.

Get a FREE trail of Adobe Lightroom - Click Here.

Adobe Lightroom is a power house of image editing and organising software. One of the key features is the non-destructive workflow. This is where the original image file is never adjusted. Lightroom simply creates a reference to that file, within the catalogue, and that is what you edit and see within Lightroom.

Sometimes though you might want to edit the image in a number of different ways. This could be a colour version, a black and white version or simply a re-visit to an image you have edited before. Thankfully, Lightroom provides this feature allowing virtual copies to be created. This is where Lightroom creates another reference file from the same original, and untouched, image file meaning you then have two versions of the same image within Lightroom that can be edited in different ways.

To create Lightroom virtual copies simply select the image you want to copy, right click and select ‘Create Virtual Copy’. To then edit a previously edited image from scratch - right click the newly created copy and under ‘Develop Settings’, click ‘Reset’.

Lightroom virtual copies are a powerful and simple feature that can easily be used in your Lightroom workflow.

If you haven't done so already please subscribe to the First Man Photography YouTube channel and it will help you take your photography to the next level.

Lightroom Mobile Tutorial Gone Wrong

Blog-Cover-2.jpg

How to edit Raw Files on an iPad, iPhone or Android using Lightroom Mobile.

To get a FREE trial of Adobe Lightroom and Lightroom Mobile click here - https://www.firstmanphotography.com/get/photography-plan

When I started out shooting this video I had a solid plan in mind and was looking to raise the bar on my normal tutorials. Sometimes things don’t go to plan though and events can take a different direction. Watch the video now to see what happened.

However this is still a video about Lightroom Mobile which is an excellent system that allows us to edit RAW files on mobile devices like an iPhone, iPad or Android device.

Raw files are amazing things and contain a massive amount of data so are not yet the natural Partner of mobile devices. Adobe have therefore come up with a pretty slick method of dealing with this.

We start Lightroom and import your raw files into your computer as Normal. Add the images to a collection and then hit the sync with Lightroom mobile.

Once this is done you can head out with your iPad, iPhone or Android device and start editing the photos. You have access to many of Lightroom’s normal adjustments and are free to head out and edit wherever you choose.

Once the files have been adjusted on the iPad, Lightroom Mobile will sync them back to your computer with the RAW file fully adjusted.

It is an extremely useful, and easy to use feature, when you don't want to carry a laptop around or you quickly want to share or adjust your images whilst showing your work to colleagues, clients or friends.

Give it a try and let me know what you think or if you've already been putting it to good use, I would love to know.

Subscribe to the YouTube channel.

HDR Photography Tutorial - Using Adobe Lightroom

HDR-Blog-Cover.jpg

See more of the world with HDR photography.

In this video I show you how to do HDR photography using a simple technique in Adobe Lightroom. Get a FREE trial of Adobe Lightroom today - https://www.firstmanphotography.com/get/lightroom

HDR stands for high dynamic range.

When we see the world through our own eyes your brain and eyes work cleverly together to perceive many different shades. We can see detail in very bright sunny areas and also lots of detail in shadow areas.

The processor inside a camera is by no means as powerful as our brain so struggles to capture detail in both bright areas and those in shadow. Although cameras increase their dynamic range with every new model that comes out they still have some way to go.

Thankfully we have a way to get round this using HDR photography. All you need is your current gear and the power of Adobe Lightroom. It is a simple method of taking two or three shots with different exposures, to capture the shadows, mid tones, and highlight areas in separate images and then merging them in Lightroom.

When HDR images became popular many people were creating highly stylised pictures that made images look unrealistic and felt like someone had thrown up all over the picture. Thankfully you can use HDR to your advantage to create some beautiful images of scenes where there is high contrast and your camera just cannot cope.

Firstly you need to get out with your camera to somewhere great and capture a beautiful scene. Many cameras now have a HDR mode, like your iPhone, but if you want those high quality images you will want to use your DSLR or mirrorless camera.

The video explains how to do HDR photography:

  • Take an image focusing on the mid tones.
  • Apply those settings to manual mode
  • Use bracketing. This takes three shots consecutively at set exposure intervals.
  • Adjust the bracketing depending on the dynamic range of your scene
  • Take your shot. You need to keep the camera as still as possible. It is possible to handhold but better off using a tripod.
  • Merge in Adobe Lightroom.

HDR photography is fun and easy to do and this tutorial will get you started so you can shoot some beautiful images of your own.

Watch Episode one of the First Man Vlog - https://www.firstmanphotography.com/vlog/vlog-no-1

Subscribe to the First Man Photography YouTube channel.

How I Import, Edit and Organise My Photographs.

Workflow-blog-cover.jpg

See my post processing workflow using Adobe Lightroom.

Your Photography workflow is something that is worth getting right from day one. It will help you to stay organised, work quickly, and easily reference an image again in the future. I have not always followed this advice in the past and it has been a time consuming and unhappy process correcting matters.

Adobe Lightroom now makes organising and editing your photos easier than ever. The catalogue system keeps everything together and allows you to edit in a non destructive manner. However, how you store and organise your files on your hard drives is entirely up to you.

Get a FREE trail of Adobe Lightroom - Click here.

I find that it is best to organise jobs or shoots into year categories first and then something more descriptive as you go down a path level. For example, 2016>Weddings>John & Carrie or 2014>Landscapes>Scotland>Ben Nevis and so on. This could work for you or you might find an equally effective method but some form of categorisation is definitely required to stay organised.

At the beginning of the workflow I extract the images form the camera by removing the memory card and plugging it into a card reader. I find this a faster and much more reliable method than asking your camera to talk to your computer via a USB cable. I will also copy the files directly to my hard drive in the place I want to store them rather than using Lightroom’s import features. This is my own preference but I feel more control using this method.

Once the files are on the hard drive I will then import them into Lightroom by adding the folder to the catalogue. This opens the import window and you can add keywords, to assist your future searches, and add copyright information and change metadata.

The images them begin to load in and you can instantly start to view them. The next step is to grade the images deciding which ones are keepers and which can be discarded (although I never delete images altogether). I then go through a second grading to narrow down to the images I want to use and then edit. Once the images are edited they are ready to be exported and presented to the world.

The final stage of the workflow is to transfer the completed files to an external hard drive where they will live out their days in archive. This is done by dragging the folder containing the images within Lightroom. Doing it within Lightroom ensure both the Lightroom catalogue reference and the physical file are both moved. You are then left with space on your main HD for the next job.

Please make sure you back everything up too. Click the link below to see my back up solution.

https://www.firstmanphotography.com/blog/3-steps-better-photo-storage-backup

Subscribe to the YouTube channel.

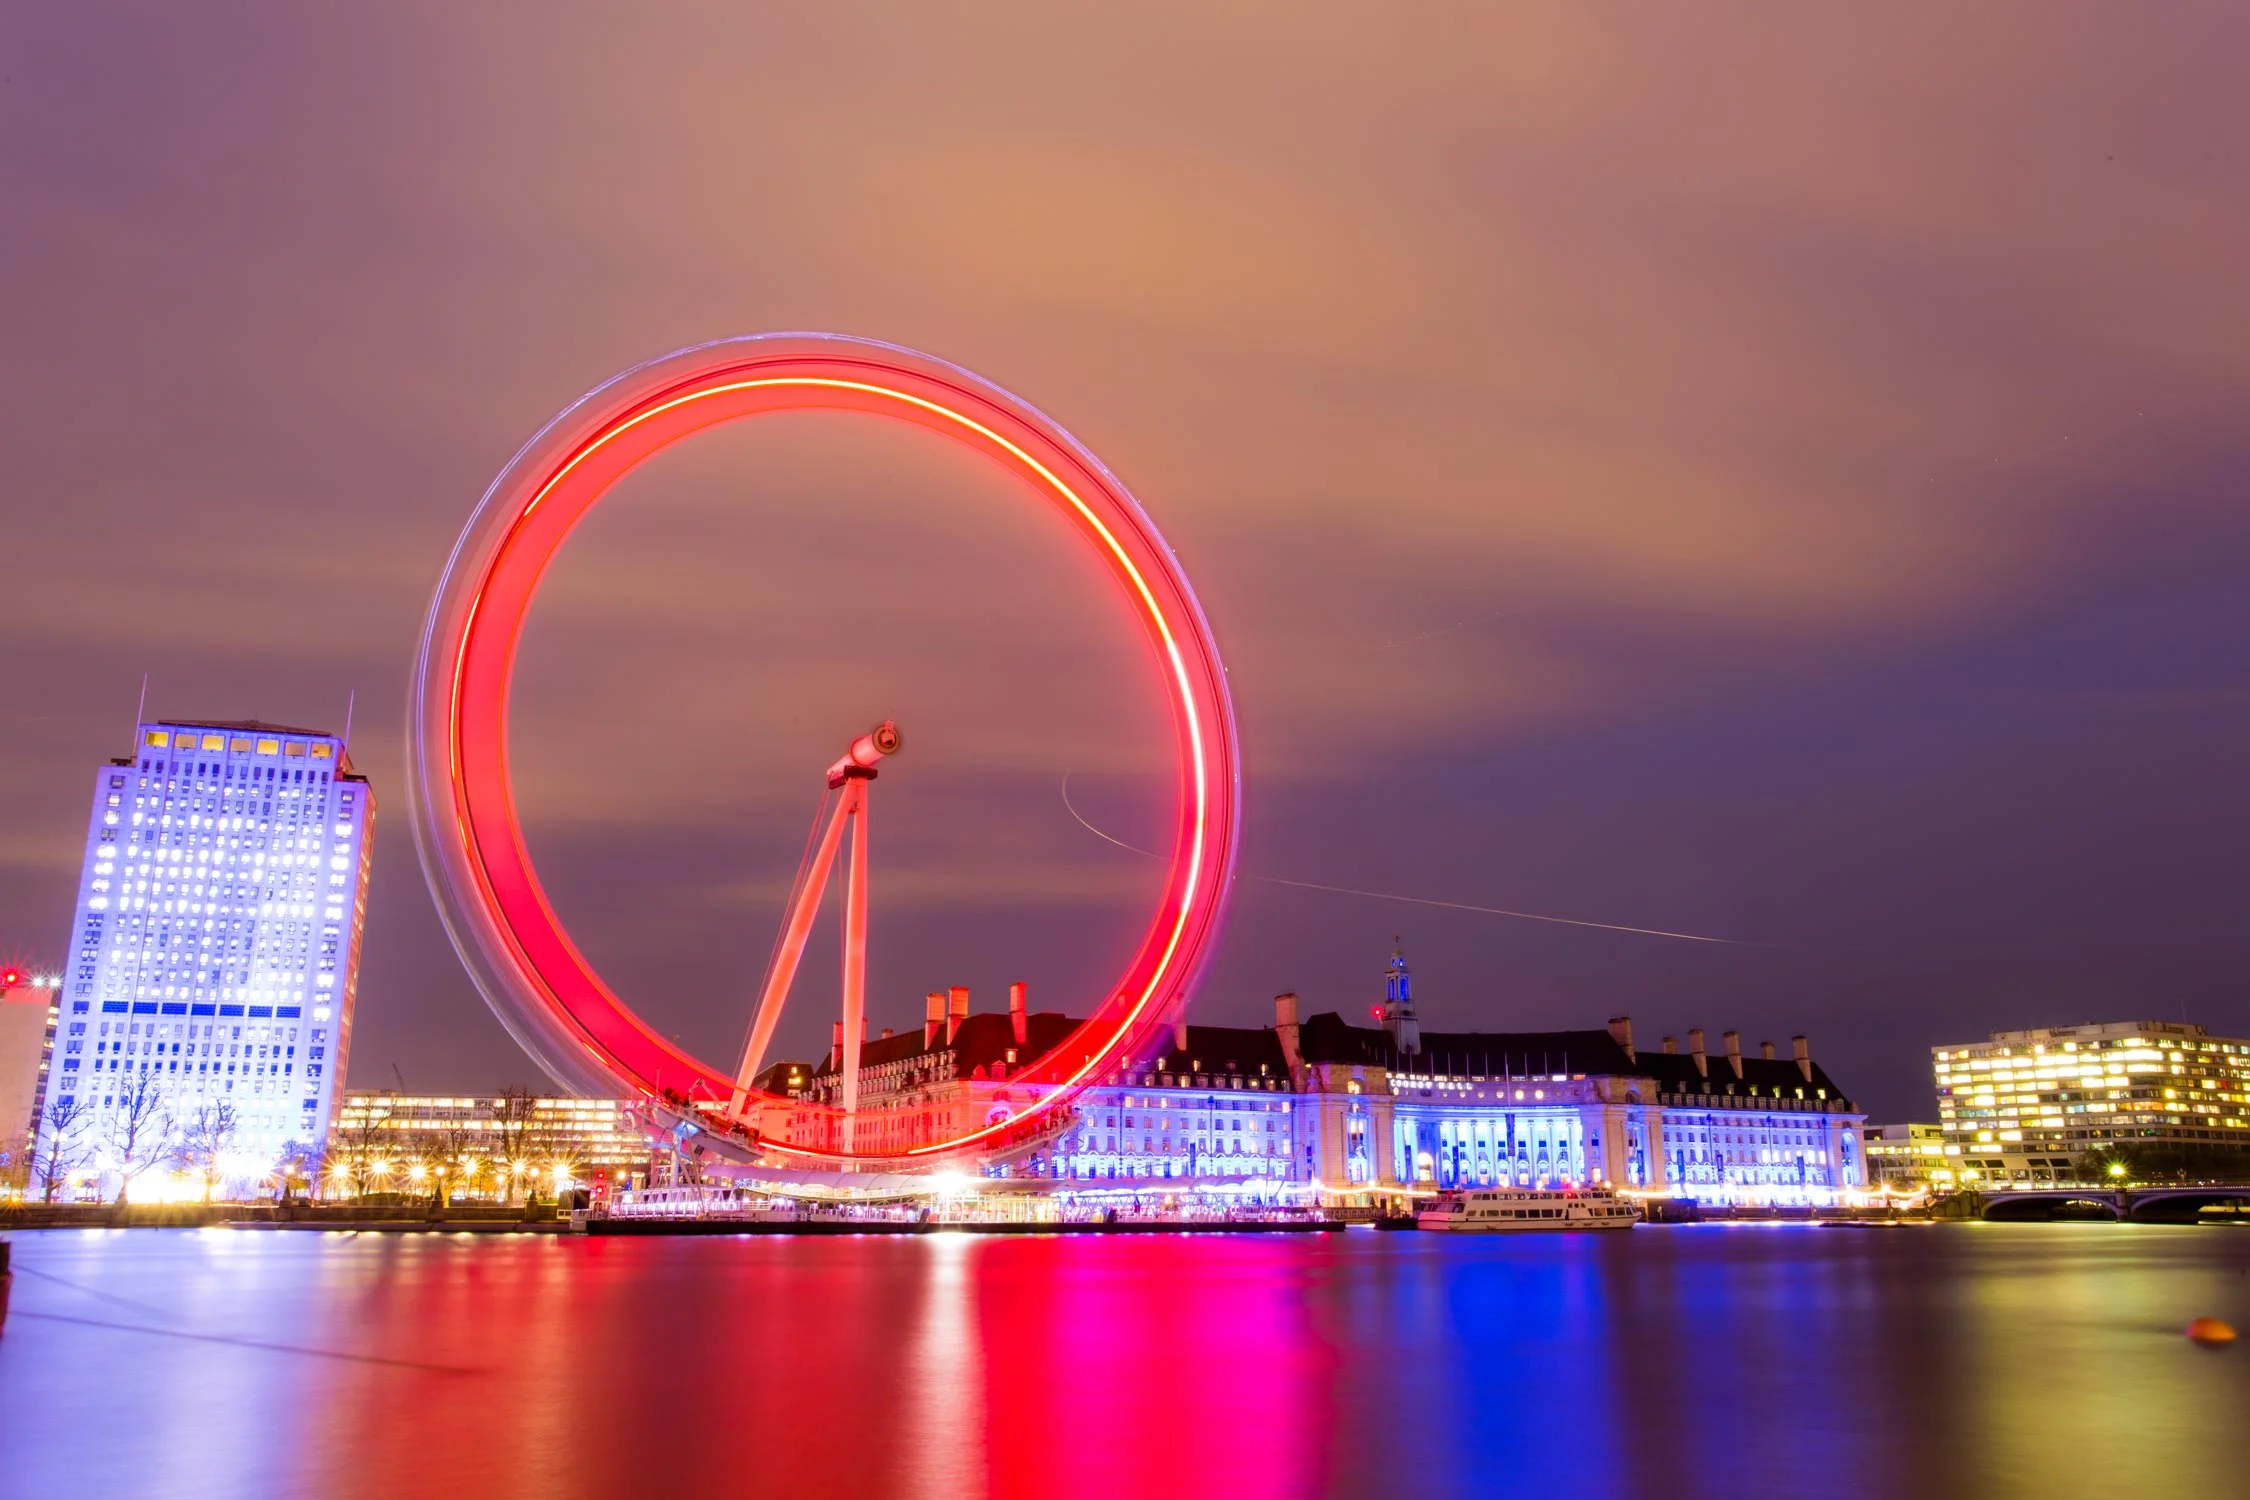
London Eye Photo Edit

Blog-Cover.jpg

See how I use Abobe Lightroom to edit this long exposure of the London Eye.

Get a FREE trial of Adobe Lightroom  - Click here.

On my recent trip to London I had a very small amount of free time that I put to good use to head out and take a few shots around the Westminster area. This included a long exposure photo of the London Eye. Whilst it is not a totally unique shot, it is one I have wanted to capture for a while to have it in the bag.

Normally when shooting a long exposure I will use a 6 stop or 10 stop neutral density filter to cut down the light coming into my lens. It was already dark in this situation though so using the filters would have resulted in a very long exposure time when maintaining an low ISO. I therefore wanted the longest exposure I could get without the filters and this meant going to f/22 with the Canon 17-40mm lens. The exposure ended up being about 3 minutes which is enough to give the nice ring of light on the wheel and smooth out the River Thames.

I shot the image at 28mm. I would have liked a slightly wider composition but there were floating cranes at either side of me blocking the view.

In the video I put the long exposure image into Adobe Lightroom and go through the edit. The edit is very simple as we remain in Adobe Lightroom but you will be able to get a feel for the editing process I go through when I am in post-production. Hopefully you will be able to pick out what you like, and what you don’t like, and apply the techniques to you own images.

To have a go editing this image click the link below to download the RAW file. Feel free to use image for personal use, including printing. All I ask is that you credit me if you share it online.

Download RAW

If you haven't done so already, please Subscribe to the YouTube channel for new videos every Wednesday and Sunday.

Other videos:


How to Do Time Lapse Photography

Time-Lapse-Blog-Image.jpg

The amazing world of time lapse photography.

Time lapse photography is very simply a series of images taken of the same scene over time and then combined and speeded up into a video sequence effectively speeding up time.  The images are taken a few seconds apart so because time passes between each frame it gives the interesting animated feel that does not exist when simply speeding up standard video.

[embed width="" height=""]https://youtu.be/dH6F8SmbLog[/embed]

Time lapse photography is generally used in video work but can also be an extremely effective tool for photographers to add interest to their portfolio and grab the attention of viewers. Especially on services made for short videos like Instagram and Facebook. Video can make many photographers feel very uncomfortable. However they are well placed to produce great time lapse photography because they are created using a normal camera and requires photography skills such as capturing proper exposure and a great composition.

The only gear you will need is a camera and somewhere stable to mount your it.  A wall or the floor will work but a tripod is ideal. You will also need an intervalometer. Some cameras have this built in and others you will need a separate device. These are extremely cheap to buy online. The intervalometer simply fires the camera over and over again at a set interval.

To shoot time lapse photography you need to be in manual mode so the exposure remains constant throughout the final time lapse video. You will get better shots if you go somewhere interesting that includes a lot of movement. Cities work well with people and vehicles moving around for example.

[embed width="" height=""]https://youtu.be/Uih7uo8G2PQ[/embed]

To shoot your time lapse movie you must be in manual mode. Capturing consistent exposure on each image is vital to making your time lapse look realistic and authentic. Go somewhere interesting that includes some movement. Places like cities work well with lots of traffic and people moving around. Next you need to come up with a great shot bearing in mind you are creating a video. You therefore are composing a 16x9 aspect ratio image as opposed to the usual 3x2. You can use the cameras video mode to give you a better idea of the crop that happens at 16x9.

When setting your interval, five seconds between shots works well. If things are moving faster in your scene try something quicker like 3 seconds. We are creating a video file so you need to think about your video frame rate. I shoot most of my videos at 25 frames per second so when the camera has fired 25 images that will create 1 second of footage. My time lapses in this video are about 8 seconds long so included about 200 images.

The video shows how to put your time lapse video together in Adobe Lightroom and Photoshop so go ahead and give it a try for yourself. Get a FREE trial of Adobe Photoshop and Lightroom - Click here.

Subscribe to the YouTube Channel.

Music: