Landscape Photography Vlogs

Breaking the Rule of Thirds to Unify my Seascape Photography…& more

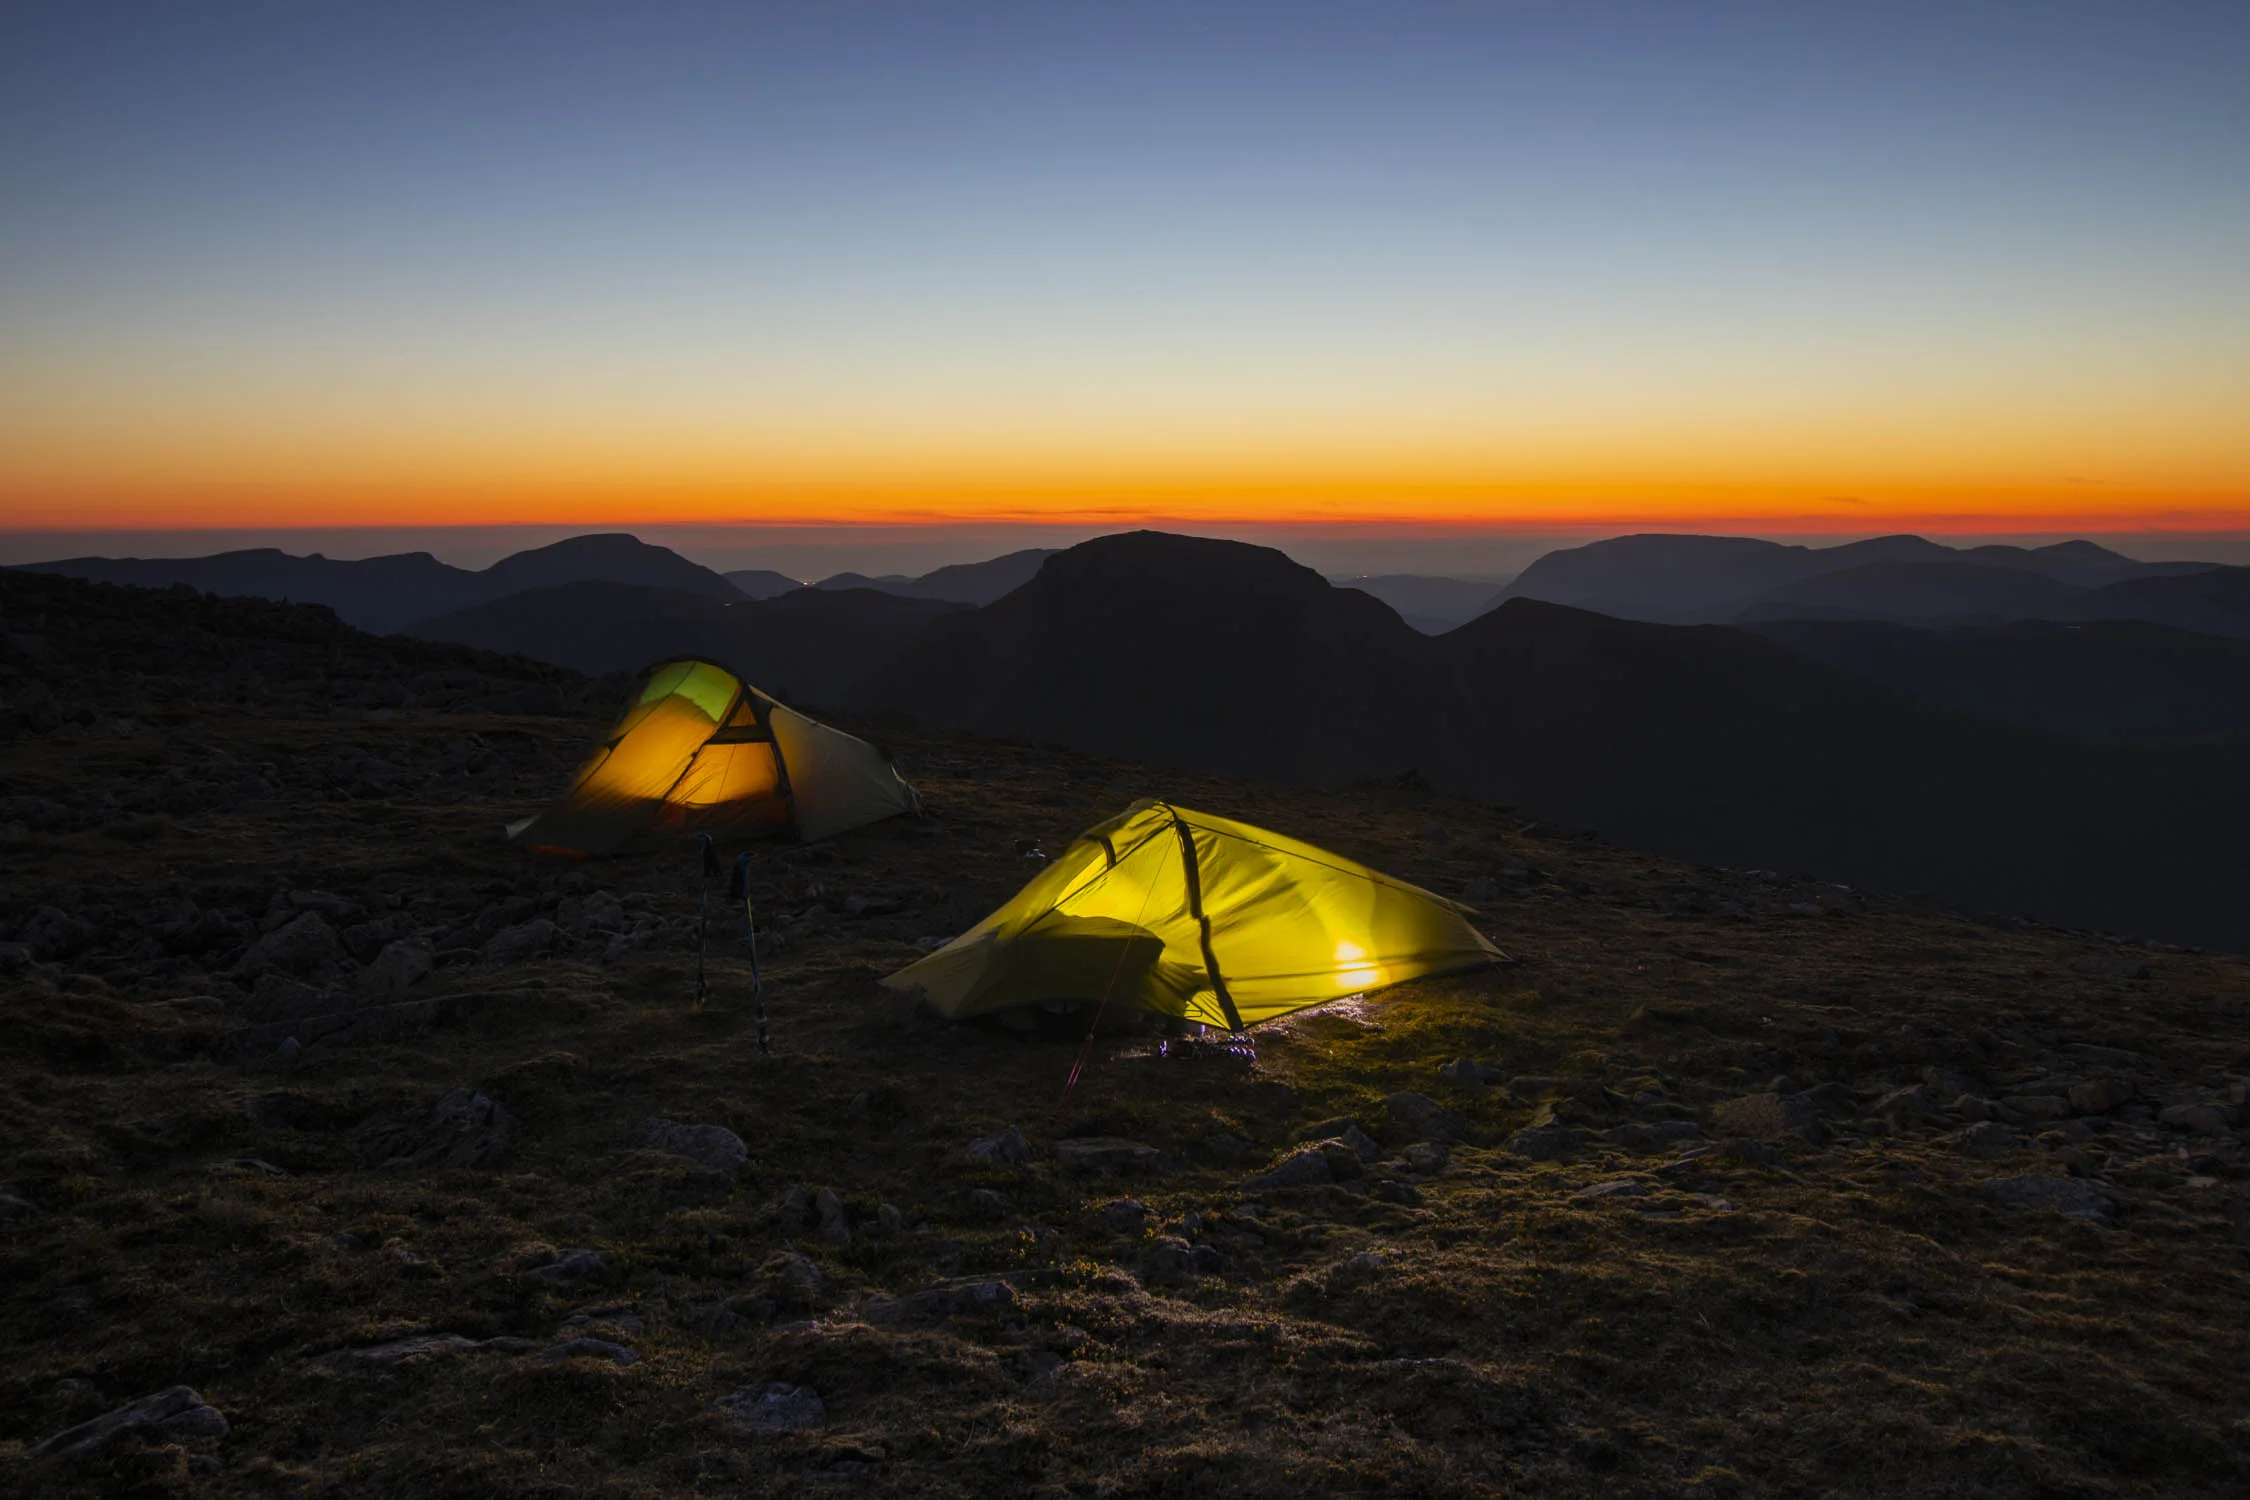
Today I break the rule of thirds, suffer a failure on the moors and get up for some summer sunrise seascape photography. 

Get a FREE trial with Squarespace and 10% off your first order - http://bit.ly/SquarespaceFirstMan


Follow First Man Photography for the latest updates:

Instagram - http://bit.ly/InstaFirstMan

Buy Prints - Click here

Landscape Workshops - Click here

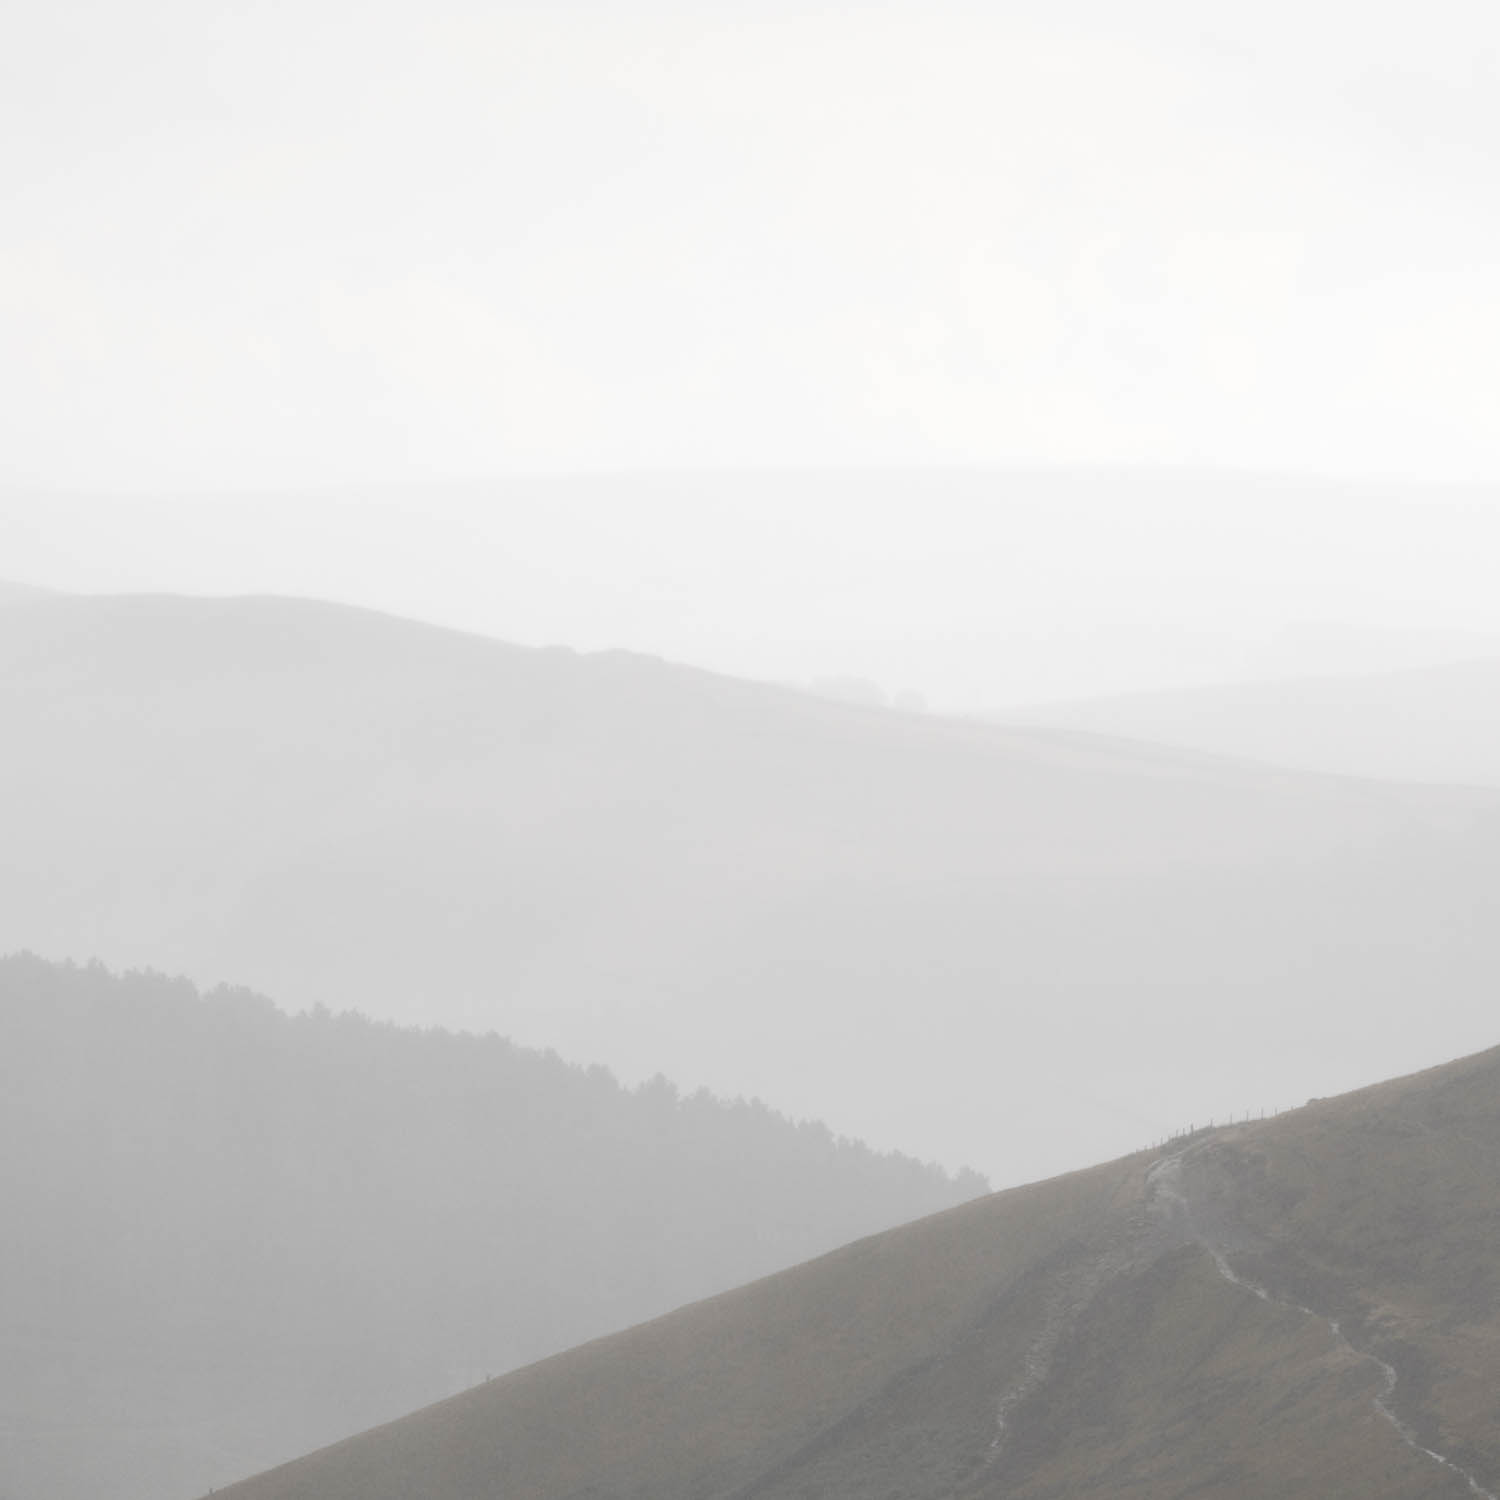
In this video I head to the beaches of North Yorkshire to shoot some seascape photography before heading back to the studio to show the photo editing. It eventually worked out with some long exposure photography and by breaking the rule of thirds. It did not come easy though after spending three days searching for an image. This included heading to Roseberry Topping, hitting the moors without luck and encountering miles of poorly flowering heather without any good light. It was very frustrating. It was also brilliant.

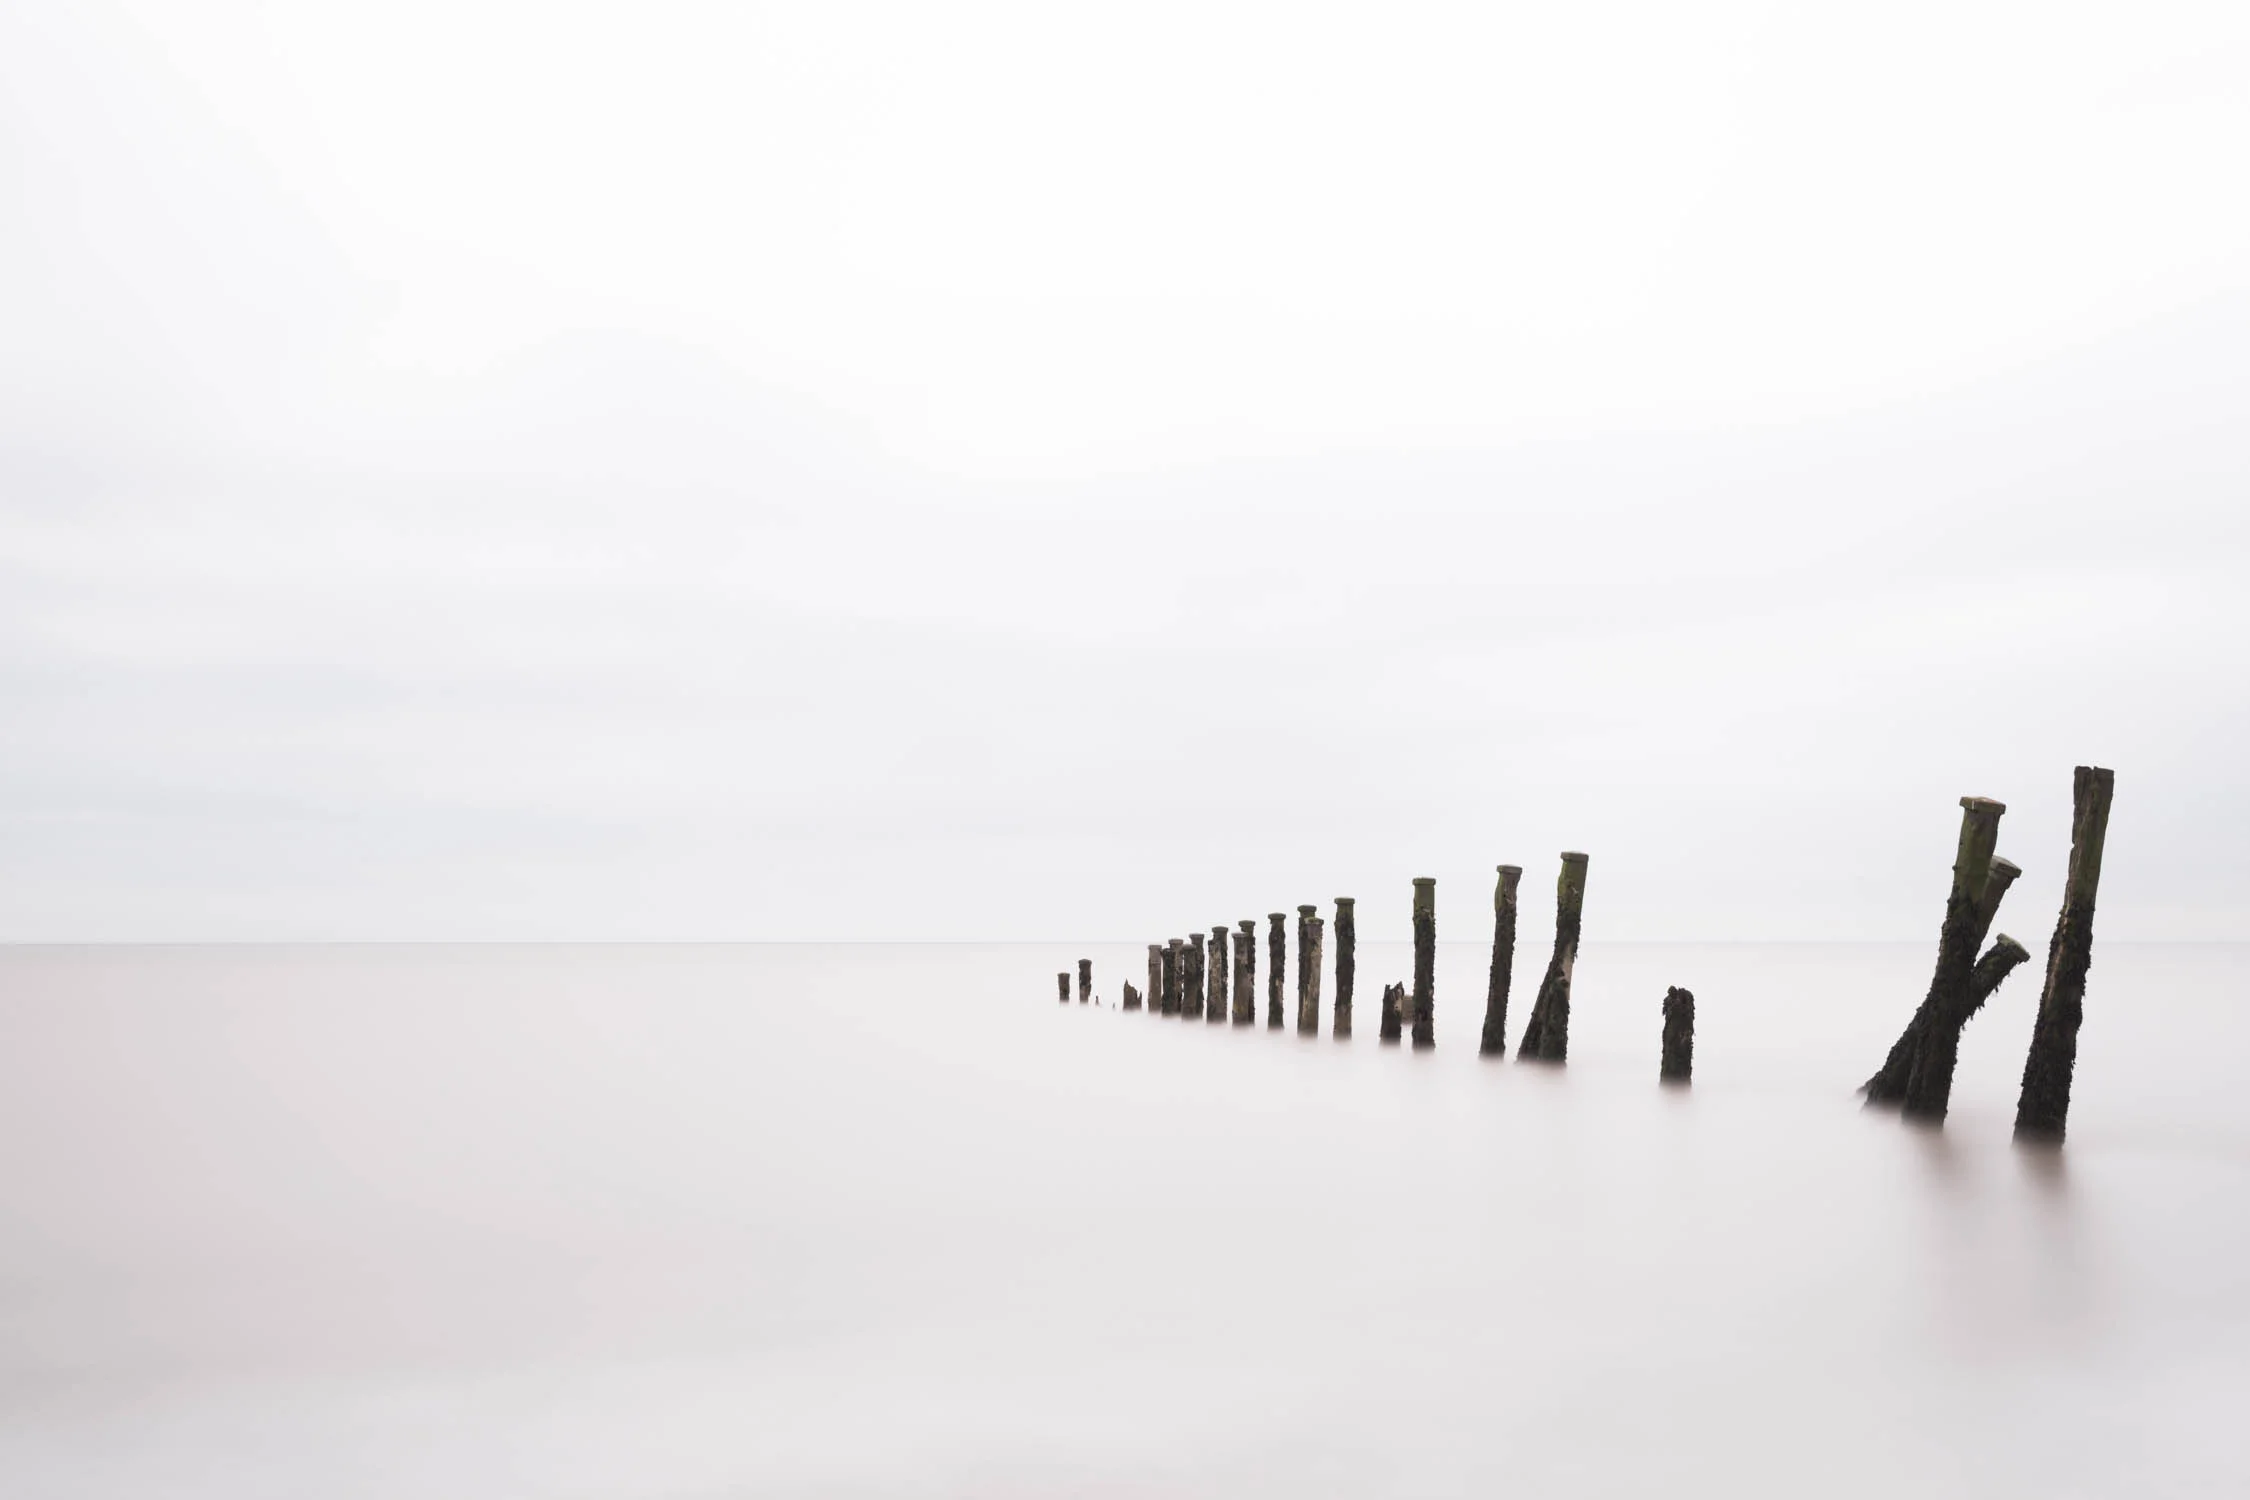
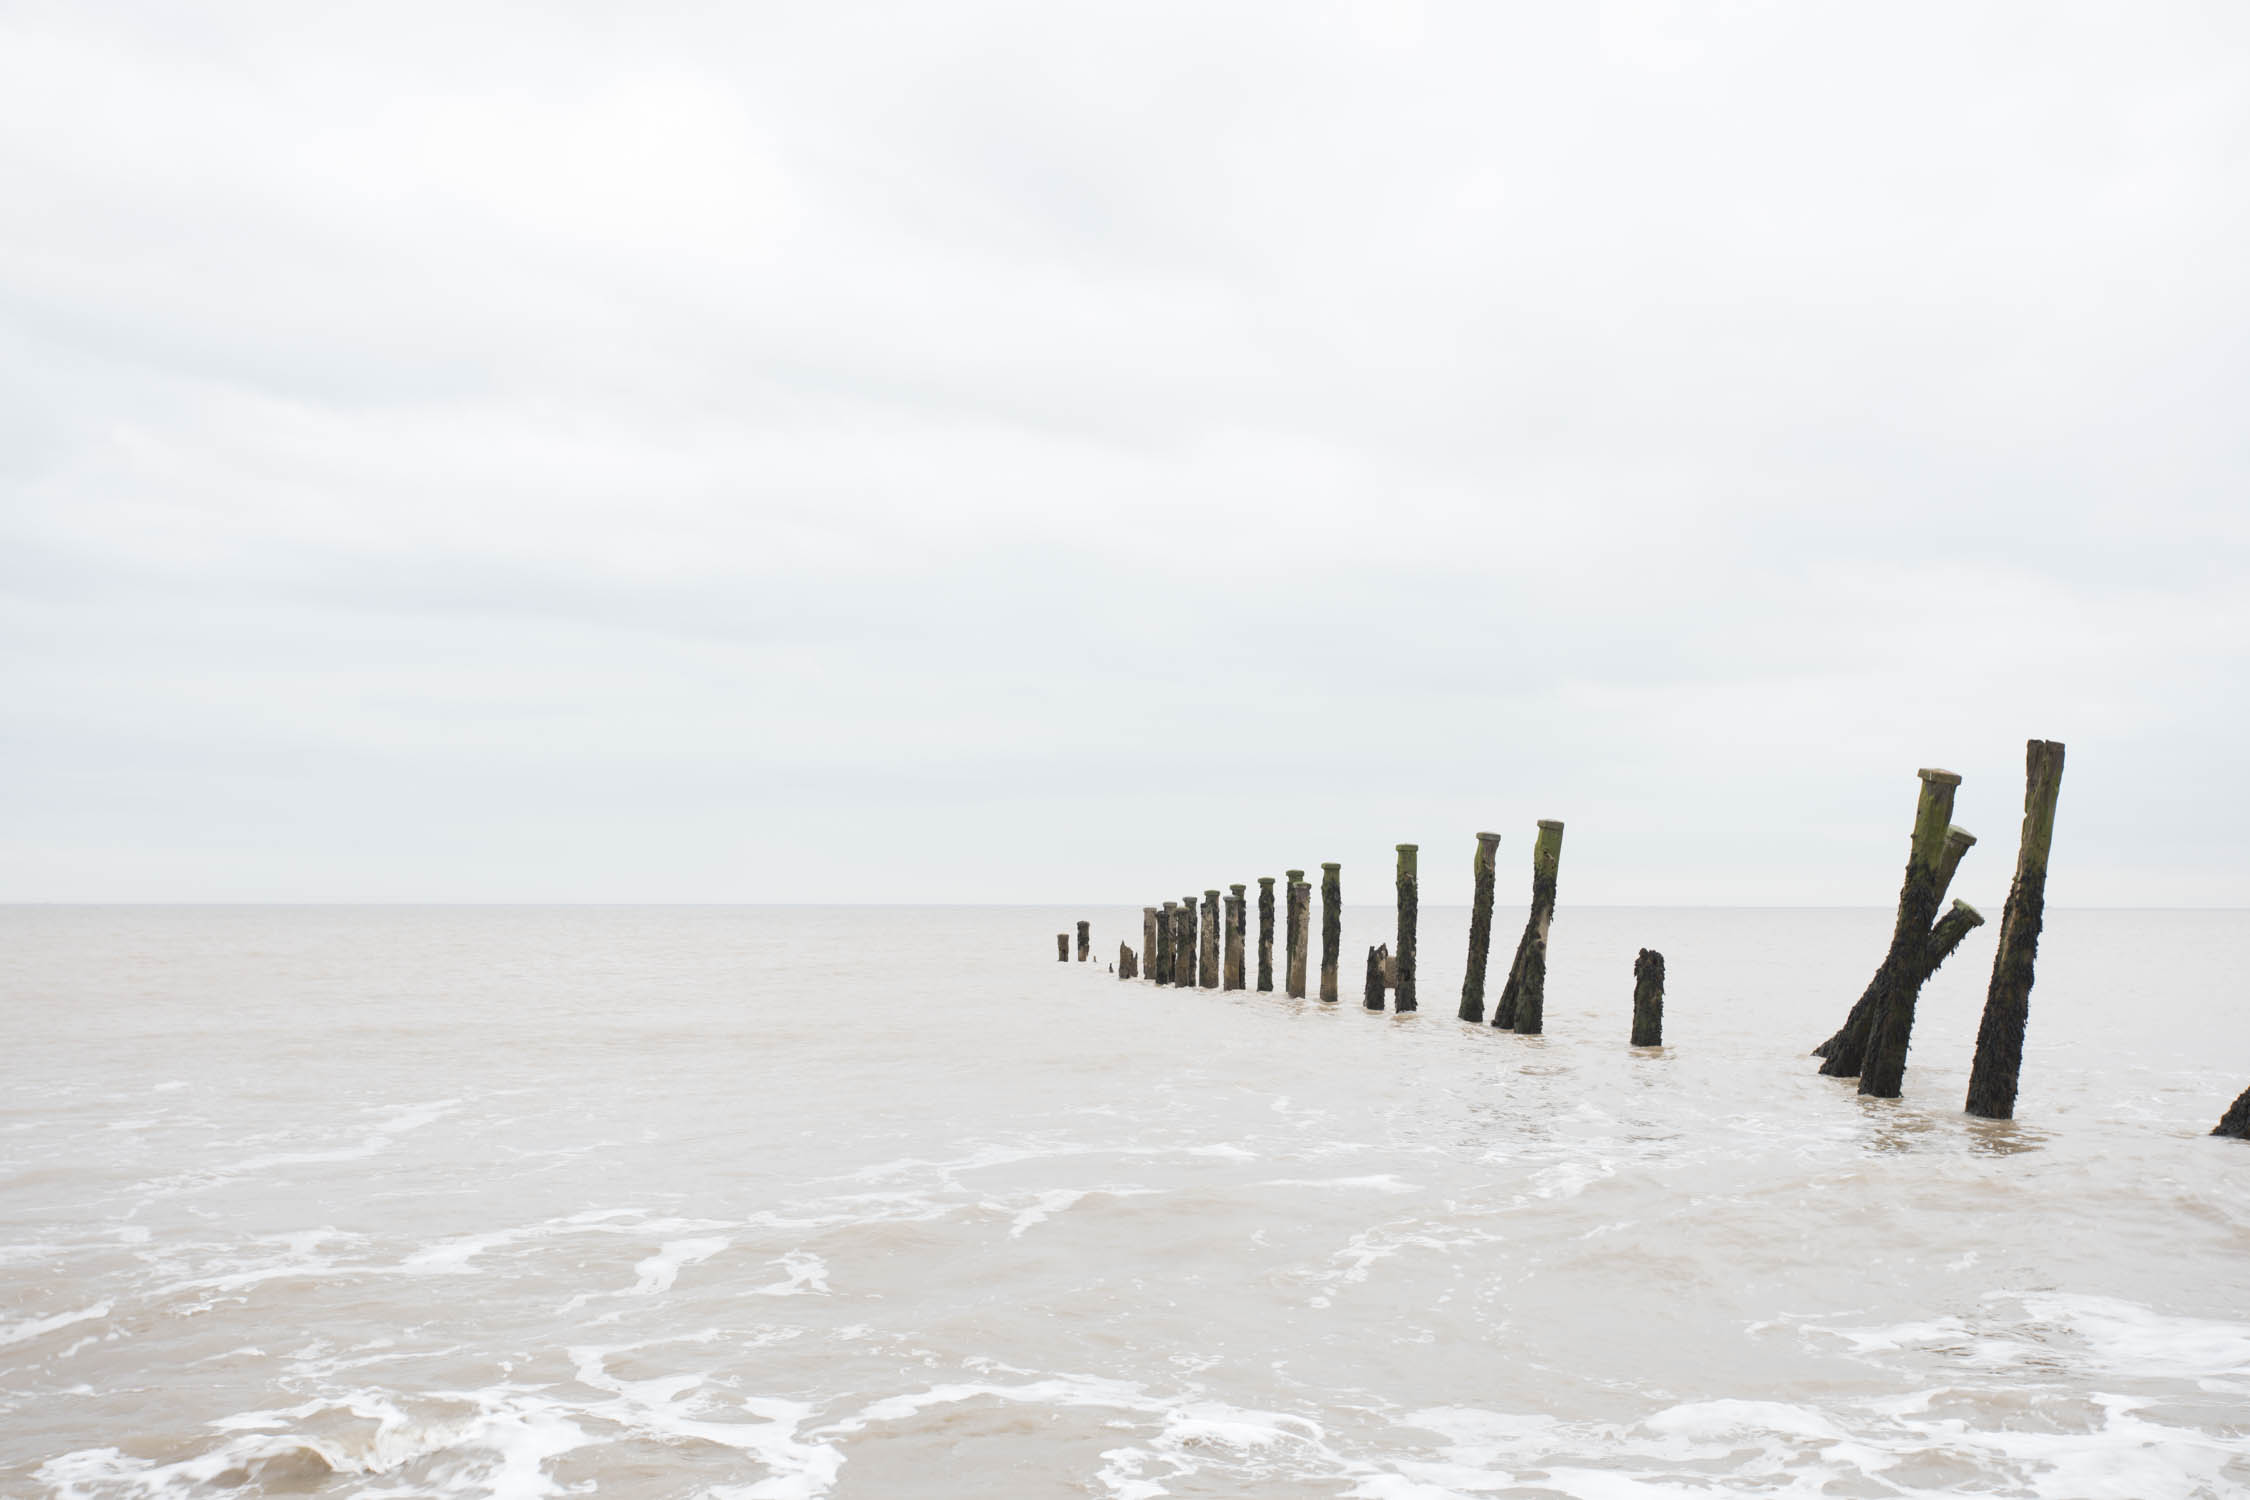
It finally forced me to get up early for a sunrise and the coast seemed to offer the best of the weather. The summer beaches in the UK are very popular so to get a clean landscape, sunrise is where it’s at. I headed to Saltwick Bay near Whitby and was welcomed with a tiny amount of Light creating in the sky creating a small possibility of getting a good images. I was lucky enough to have some interesting green rocks on the shore line. Breaking the rule of thirds allowed me to fill the sky with colour and maximise the interest in the foreground created by the rock.

Next I moved along the coast to Sandsend. A place I know very well. Heading to a familiar location is always a good tactic when things are not going totally to plan. It increases the ability to capture a good image when the pressure to discover a new composition is removed. Revisiting old scenes is a valid tactic and will always provide results that are different from previous visits.

On this occasion I ended up with two to three good pictures and it felt like a good reward for three days of toiling. It provided an opportunity at the end of the video to show the edit in an Adobe Lightroom tutorial type segment. I hope you enjoy. 

Using Long Exposure Photography to Exploit Bad Light

We don’t always get great landscape photography conditions. Bad light can be exploited though by using techniques such as long exposure and black and white photography. Especially when combined and edited using Silver Efex Pro from the NIK collection.

Workshops - Click Here

Instagram - http://bit.ly/InstaFirstMan

Get a FREE trial of Adobe Lightroom CC and Photoshop - http://bit.ly/AdobeFirstMan

In this video I head into the depths of the Yorkshire Dales for a day of landscape photography in some less than ideal conditions. 

It’s easy to imagine photographing a beautiful landscape in great weather. It’s warm, the sun is about to light up the evening sky and life is good. It’s an appealing experience that we chase over and over again. On the other hand amazing images can be captured in rough, stormy weather with unique conditions. But what about those grey days in between? Here in the UK we have a lot of them. They can be bleak and getting off the sofa to go out and take pictures is not an obvious choice. However, there are great shots to be captured in all conditions if we are willing to get creative.

One effective method to make the most of grey conditions and flat light is to use long exposure photography. It creates interest by smoothing out clouds and water and creating an ethereal feel. I have talked in depth about long exposure before:

See here - https://youtu.be/vKAu0IluyR4

Whilst grey conditions produce flat light it does not necessarily mean it is bad. An extreme long exposure of over two minutes essentially turns textures of the sky and water into smooth tones. It creates new possibilities with composition and the soft light adds to the overall fine art photography feel of the image. Combining this with a black and white conversion can add to the image even more and create something unique on a day when no other photographers were out.

Black and white images can be post processed much more heavily than colour images which creates extra creative possibilities, especially with contrast. Using Silver Efex Pro from the NIK collection is a brilliant way to edit black and white pictures. Whilst this video is not a silver Efex pro tutorial I go through the edit of the image I capture to show how the app can make your black and white images pop.

Landscape Photography in Bad Weather / Good Weather

Braving bad weather can result in stunning landscape photography conditions. I travel to the Peak District and face a classic day photographing in typical changeable British Summer weather.

Kinder Scout-4.jpg

Follow the Yorkshire_Walker - http://bit.ly/Yorkshire_Walker

In this landscape photography vlog I head over to the Peak District to climb Kinder Scout with a weather forecast of changeable conditions. When you look at a weather forecast and it shows rain, it is all too easy to stay on the couch. The thing is, changeable conditions in low pressure can result in some of the best photography conditions available. Moving from sunny to rain and back again produces clouds that can make a shot utterly unique, something that is getting harder and harder for a landscape photographer.

Kinder Scout-2.jpg

Watching landscape photography tutorials such as this can make things look easy. If you are heading into the great outdoors, especially when climbing in to the hills and mountains it is very important to be prepared and stay safe, even in summer.

Kinder Scout-3.jpg

The day was fantastic and ended when the weather cleared leaving me to capture some sunset photography making the most of the early flowering heather that the Peak District had to offer. I headed home happy with a can full of very different landscape images.

Kinder Scout-5.jpg

5 Ways to Simplify and Improve your Landscape Photography

Improve your landscape photography by simplifying your images. 

When working with clients on a workshop, the single biggest thing people are looking to improve is their composition skills. Finding a good composition will often result with a photographer being told they have ‘the eye’. This is fine, but it also implies it is a god given talent that cannot be improved upon. I do not believe this is the case. Certainly some are more creative than others but there are still skills and knowledge that can be learned to improve photography composition.

Although it may play a part, simplifying an image is not just about removing items or objects from the picture. What we are really talking about is simplifying the story. For this we must first understand what the story actually is. What are you trying to convey to the viewer? What emotions are you trying to evoke? What is the story? Without this, an image will be a purely technical exercise and will be left lacking. The story can only come from you so there is no prescriptive method. However, when standing in front of a scene, think about how you are feeling, what does the landscape say to you? Is it a beautiful scene? If the answer is yes, then why? Being in touch with your own feelings is vital in making the work personal to you. Aim to tell the story of landscape from your own point of view.

The next stage is to consider the actual composition of the scene in front of us. Rules of composition work. They are often a good starting point once a subject has been established. Identifying a subject is not always easy, but look for the good light, good shapes and interesting features and things should become easier. Subjects can include anything from a rock in the foreground, a tree, a distant mountain or cliff, a sky full of colour or even the whole scene itself. An image can also include more than one subject if the story flows from one to another. Leading lines are a good narrative tool. They tell the viewer where to begin and guide them through the scene and story. The rule of thirds is also worth considering until you find something better and the rule is broken.

To simplify the image, focus down onto the story and use composition and technique to achieve it without distraction.

1. Long Exposure

Take the image above which looks out from the Scottish mainland to the Isle of Skye. There are a number elements that make the image work. Firstly the leading lines of the jetty guide the viewer from the bottom of the image and out over the loch towards the distant mountain. The snow covered mountain is also framed by the two either side of it with more rock than snow showing.

I have then used long exposure to remove detail from the water and the clouds; this literally simplifies the image. The smooth water shows more reflection and also puts more emphasis on the jetty and the mountains and there is no distraction in the sky.

The jetty is in a small village called Glenelg in a remote area of the West Coast of Scotland. The people living there have to be resourceful and do things for themselves in order to get by. This creates a functional industrial feel to the village. The jetty, which is clearly old and not designed for recreation, hints toward this heritage. The jetty is also in a truly beautiful location and this juxtaposition is shown in the loch and distant mountains.

Further simplification can occur in post-production. The second image shows a test exposure that is an unedited standard exposure.

The conversion to black and white was planned at the time because the colour creates distraction and is not particularly appealing. However the soft morning light was beautiful and where it hits the metal of the jetty, creates some really interesting tones. Finally a blue toner has been added to enhance the overall metallic industrial feel of the photograph.

2. Negative Space

Another way to simplify an image is to draw attention to the subject by using negative space. The image above shows where this can work in a landscape image and produces what is often described as a fine art feel. The white areas of the sky and the bright surface of the sea serve to draw all the attention to the old groins. The image was shot on a bleak beach on the remote and neglected spot of Spurn Point in East England. It is actually a colour image but the natural lack of colour, and focus placed on the groins, support the bleakness and loneliness of the story.

3. Isolate the Subject

Isolating a subject in a photograph is a very common way to simplify a picture and enhance the story. It is the basis of the majority of portrait photography where all focus it put on the model by either blowing out the background with big apertures, or using plain backgrounds in a studio setting.

The same applies to landscape photography where an image can often be described as intimate or a ‘portrait of the landscape’. There are countless ways to achieve this including using a longer lens, capturing a tree in a foggy woodland or using an extreme wide angle lens very close to the subject.

The image above shows a tree growing out the side of a Welsh mountain. For a few moments the sun shone perfectly down a small gully in the mountain and lit up the tree in a very exciting moment. I used the light and natural contrast to isolate the tree from the background to emphasise the fleeting moment the image represented. The second image shows the exact same composition just a few moments later once the sun has passed. You can see how the tree blends back into the cliff face and there is no image at all.

4. Simplifying the Image VS Simplifying the story.

Removing features and items from an image does not necessarily mean we are simplifying the story. Take the two images above of a mountain in Glencoe on a truly stunning day of landscape photography — watch the video now — https://youtu.be/iXyUDwB9sMQ.

In the picture on the right I have removed the road in photoshop. There is a lot I prefer about the composition without the road but it has complicated the story. My location becomes less clear, it deceives the viewer and most importantly it has removed the sense of scale provided by the road in the absence of any other permanent object.

Another example is shown here. The picture on the left is full of detail and colour; there is lot going on in the summer scene consisting of a view dear to my heart. However the photograph works using a number of compositional elements. The heather bathing in the warm light immediately tells the viewer it is the height of summer, the winding curves of the path lead you round and up to Roseberry Topping, which along with the sun, is sitting on the cross sections of the rule of thirds. In the other image I have removed the heather. Very often less is more, but by removing the heather the story is now lost. The composition no longer works, particularly as the light hitting the hill to the right distracts the viewer from the main subject of Roseberry Topping.

The aim is to simplify the story, not just the elements in the photograph.

5. Cropping


‘Get it right in camera!!!’ It is a common phrase that I do not subscribe to when it comes to processing an image. However it is more applicable with composition. You simply cannot change perspective in post production. You can however crop. It is always better to plan a crop like a square or a panorama at the point of shooting but cropping can be used in post to remove distracting elements that you missed at the time of shooting. Whether you end up using that particular image or not, use the new found knowledge and hindsight as a reason to re-visit the scene and capture it again.

The images below are an example of where cropping can work. The picture on the left is the full un-cropped frame. It was an incredible evening for a number of reasons (watch the video here — https://youtu.be/6NqDSY2nVu0) but when the sky set on fire I was not totally focused on the photography.

The image on the left is not bad. It just has some distracting elements that do not assist the story. By cropping in, the leading lines of the cliffs and the road become more prominent improving the pathway through the image towards the sky of fire. The horizon now also sits on the rule of thirds which adds to the overall balance of the image. The crop has worked because all the right elements were captured in the original file.

Simplifying an image is just one way in which composition can be improved. Give it a try, work hard and your images will almost certainly begin to improve.

Build Confidence in your Camera Settings and Composition

I meet up with Paul G Johnson on location in the Lake District and we discuss how worrying about the camera settings is holding back creativity. We also do some landscape photography in this epic location.

Check out Paul’s channel - https://www.youtube.com/channel/UCE97FSS3fIeu89P70bCk4HQ

_R6A9263-Pano.jpg

I wanted to talk about camera settings, photography composition and technique today in response to last weeks video where I compared doing a handheld panorama to one on the tripod. I got hammered in the comments because of the technique I employed, mostly because I had not considered the nodal point and parallax. One person even stated it was a great example of how not to do a panorama. I found this a touch frustrating because I think many people have this backwards…..also, did you see my final image? I think it is one of the best panoramas I have taken, it looks great, it has printed beautifully and I am proud of the work.

Brothers Water

Landscape Photography

Ultimately landscape photography is the the opposite to maths. In school we were always taught to show your working and points were still scored even if the answer was wrong. In photography as long as the viewer is not being deceived the final image is all that counts; how you got there does not really matter. When I take a photograph the final image is more than just what was visible to my eyes at the time. It includes my emotional perspective and I am trying to induce that same feeling in the viewer once I present it. I want to tell a story of that moment. A technically perfect image, that is devoid of this creative, emotional element, will almost certainly be an image I am not interested in.

Place Fell

Photographers Lacking Confidence

Through my workshops I am often finding that photographers are seeking technical perfection way over discovering their own creativity and photographic personality. This is often is borne from worrying too much about the camera settings, with the assumption that we must all be technically perfect. It is nonsense. Great landscape images can be captured on a phone or any camera, whether they have filters attached or not. 

Ullswater Sunset

Ullswater Sunset

Exposure Triangle

Developing a basic understanding of the exposure triangle and how each one affects the elements of a landscape photograph is an important step. It is also one that will not be achieved without hard work. However once the work has been put in, no longer will they be worrying about the camera setting and lacking confidence. The camera becomes an extension of the photographer; a tool to express their creativity and share the single moment they have witnessed with all the emotions attached.

Handheld vs Tripod Panoramas

I wake up on the top of a mountain ready to capture the sunrise in this landscape photography vlog. We also compare two ways to capture your panoramic photographs, handheld or with a tripod.

Landscape Photography Workshops - https://www.firstmanphotography.com/workshops

Wild Camping Day 2.jpg

Wild camping and landscape photography are married and there is no better way to capture a sunrise than waking up on a mountain in the Lake District. The peace, harmony and wellbeing felt from an experience like that is second to none. Not to mention a brilliant opportunity to capture some stunning photographs.

Wild Camping Day 2-2.jpg

This includes some panoramic photography, or panorama photography. I have talked recently about doing handheld landscapes, particularly panoramas so I wanted to test out which was better; handheld or with a tripod. I took two series of images of the same scene and then combined them both into a panorama using Adobe Lightroom. Lightroom has a feature called boundary warp that pulls the edges of a panorama to fill in any blanks created whilst merging the individual images. It is very powerful and does a great job, especially with landscape images when there are not many straight lines.

In the video my handheld panorama is shot pretty irrationally, but with a combination of boundary warp and cropping, the final image looks virtually identical to the more ‘text book’ tripod shot.

Using a tripod is still the best way for overall quality. It is a faff though and more difficult to do, which includes have a very level tripod. Handheld panoramas are fast to shoot and the results are almost as good. The upside is that you will almost certainly create more images using the handheld method, where in the past you might not have bothered to get the tripod out.

Landscape Photography | Wild Camping in the Lake District

I meet up with Gary Gough to climb to the top of a mountain and do some wild camping in this landscape photography vlog.

Follow First Man Photography for the latest updates:

Having a day out shooting landscape photography is good for the soul and almost always improves  your wellbeing, especially in the Lake District. Going out alone is great. More recently though I have found I can get a new sense of perspective when taking photographs with a friend. That’s exactly what Gary Gough and I did today. 

Great End-1.jpg

The Lake District is an incredible place to take photographs. Sunsets are not always easy though because as the sun sets, the mountains cast very large shadows over the landscape and unless you’re up high, it’s going to be a struggle. Being up high at sunset though means you’re in for a dark and lonely walk down. Unless you wild camp that is. Wild camping is not strictly allowed in the Lake District but it’s a fairly common practice and will not upset anyone if you are respectful. Eg don’t light a fire, take all rubbish away, set up late and leave early etc. Obvious things. 

Once you are set though we are rewarded with the ability to capture a sunset, and the following sunrise with relative ease. If the weather is good, it will be something special when waking up to a mountain vista with no one else around. Magical.

Great End-2.jpg

In this video Gary and I hiked to the to the top of Great End where we spent the night. The conditions were amazing and the view is undoubtedly one of the finest in the UK. Despite this the Photography conditions were challenging because a mist in the air was catching all the light and removing all the detail from the shadow areas. However once the sun started to dip behind the cloud I managed to get a few images.

Great End-3.jpg

My video photography blogs are designed to entertain and document how I go about capturing my work. If it provides landscape photography tips and inspiration along the way then please share it with your friends so more people can benefit from the content. If you enjoyed this photography vlog I would really appreciate it if you subscribed to the channel so you can come along for the journey.

Landscape Photography | Being creative with camera settings

Take your landscape photographs to another level by employing creative camera settings to match the vision of the stunning scene in front of you. I head to the Lake District in this landscape photography vlog. 

Langdales-5.jpg

One thing I often find when running workshops is people are looking to be more confident with their camera. This comes from from having total understanding of the exposure triangle and the relationship between aperture, shutter speed and ISO. It’s an important step in any photographers journey but once mastered, the camera becomes an extension of your body and an intuitive tool to create your art.

Conquering the camera settings - https://youtu.be/0uhG0HvjXGw

Aperture, shutter speed and ISO can all be used creatively to make the image match the artistic vision in the mind.

In landscape photography standard settings are to have an aperture between f/8 and f/16. We generally look to maximise the sharpness of the lens and also have the whole scene in focus. ISO will almost always be 100 to keep noise as low as possible and then we adjust the shutter speed to get the exposure nicely balanced. However these settings can be adjusted away from this norm to unlock creativity.

Langdales-6.jpg

Long Exposure Photography

Long exposure photography is when we extend the shutter speed to capture an illusion of movement in the image. Clouds become soft and streaky, water is smoothed out and light is captured at all points as it moves through the scene. The ethereal feel it can create is infectious and addictive. With the addition of ND filters the shutter speed can be extended to several minutes creating interesting and unique images.

Long Exposure tutorial - https://youtu.be/vKAu0IluyR4

ISO above 100

The reasons to increase ISO above 100 is the same with landscapes as it is with any other area of photography. It allow us to maintain or increase the shutter speed at a given aperture. We might want to do this for several reasons but one example is to allow us to shoot handheld landscapes. There is a lot to be said for taking handheld landscape even though a tripod is a staple of any landscape photographer. You catch more moments, photograph things you might not bother getting a tripod out for and it can create a really nice overall documentary of the day if the camera is always in hand.

Langdales.jpg

Another reason you might increase the ISO is reduce the amount of movement in the scene. IN the video I wanted movement in the water but not in the clouds. I knew a 2 second exposure was what I needed and an aperture of f16 was required for the depth of field. The addition of a 6 stop ND and ISO 500 achieved the exact shot I wanted. It can be used similarly to reduce the movement in grasses are shrubbery that is blowing around in the wind.

Langdales-2.jpg

Aperture

The main creative use of aperture is to control the depth of field. A nice shallow depth of field can take a portrait to the next level. It is not used very often in landscape photography although there is no reason why it should not be. With woodland photography it is often important to isolate a specific tree. Using a bigger aperture to blow out the background really helps to achieve this.

Aperture can also be used to help bump up the exposure time. If moving from f/8 to f/16 has little effect on the depth of field in your images it can be useful in reducing the light coming in meaning we can extend shutter speeds to increase exposure time. This is a good tactic when shooting the light trails from cars at night and means an ND filter is not required.

Overall it is about deciding first how you want the image to appear. This is often called visualisation and includes your feelings towards a scene as well as what is physically seen. It is then just a matter of using the camera settings to your benefit to make the image match your artistic vision.

Langdales-4.jpg

I took some really average pictures | Landscape Photography Vlog

We all have bad days with landscape photography. Compositions aren’t right, the light doesn’t play ball and we make mistakes. I travel all the way to Wast Water in the Lake District to have a day just like this.

Landscape Photography is like golf. It is a detailed past time full of intricacy, fun, exercise and constant frustration. You do something that feels right but then the ball slices off a million miles to the right. You work hard and you get better and better but it never feels like you have mastered it. Frustration and annoyance come almost as often as total satisfaction. The thing is, we keep coming back for more.

At the start of this day I was cosy in my office and did not want to leave. The weather was poor, I was warm and the motivation to get outdoors to take some photographs was pretty low. Thankfully I managed to get myself out and drove the 3.5 hours to Wast Water in the Lake District. However, when I got there I was tired from the drive and the stresses of living with children who do not sleep. The weather was also very grey. The cold grey weather is seriously getting me down, especially as we now near May.

The day consisted of me struggling with composition, feeling disconnected from the images and the landscape and generally not performing to my usual standards. I think you can see this in the video. I still climbed up a mountain and the views were great. I got the usual boost to my wellbeing but when I got home I was bitterly disappointed with the two images I captured. It still produced an interesting video, giving some insight into when it goes wrong for a photographer. Landscape photography is a wave of ups and downs. I need to get up again asap. A period of nice sunny weather, with beautiful sunsets, will seriously help me.