Landscape Photography Vlogs

Handheld vs Tripod Panoramas

I wake up on the top of a mountain ready to capture the sunrise in this landscape photography vlog. We also compare two ways to capture your panoramic photographs, handheld or with a tripod.

Landscape Photography Workshops - https://www.firstmanphotography.com/workshops

Wild Camping Day 2.jpg

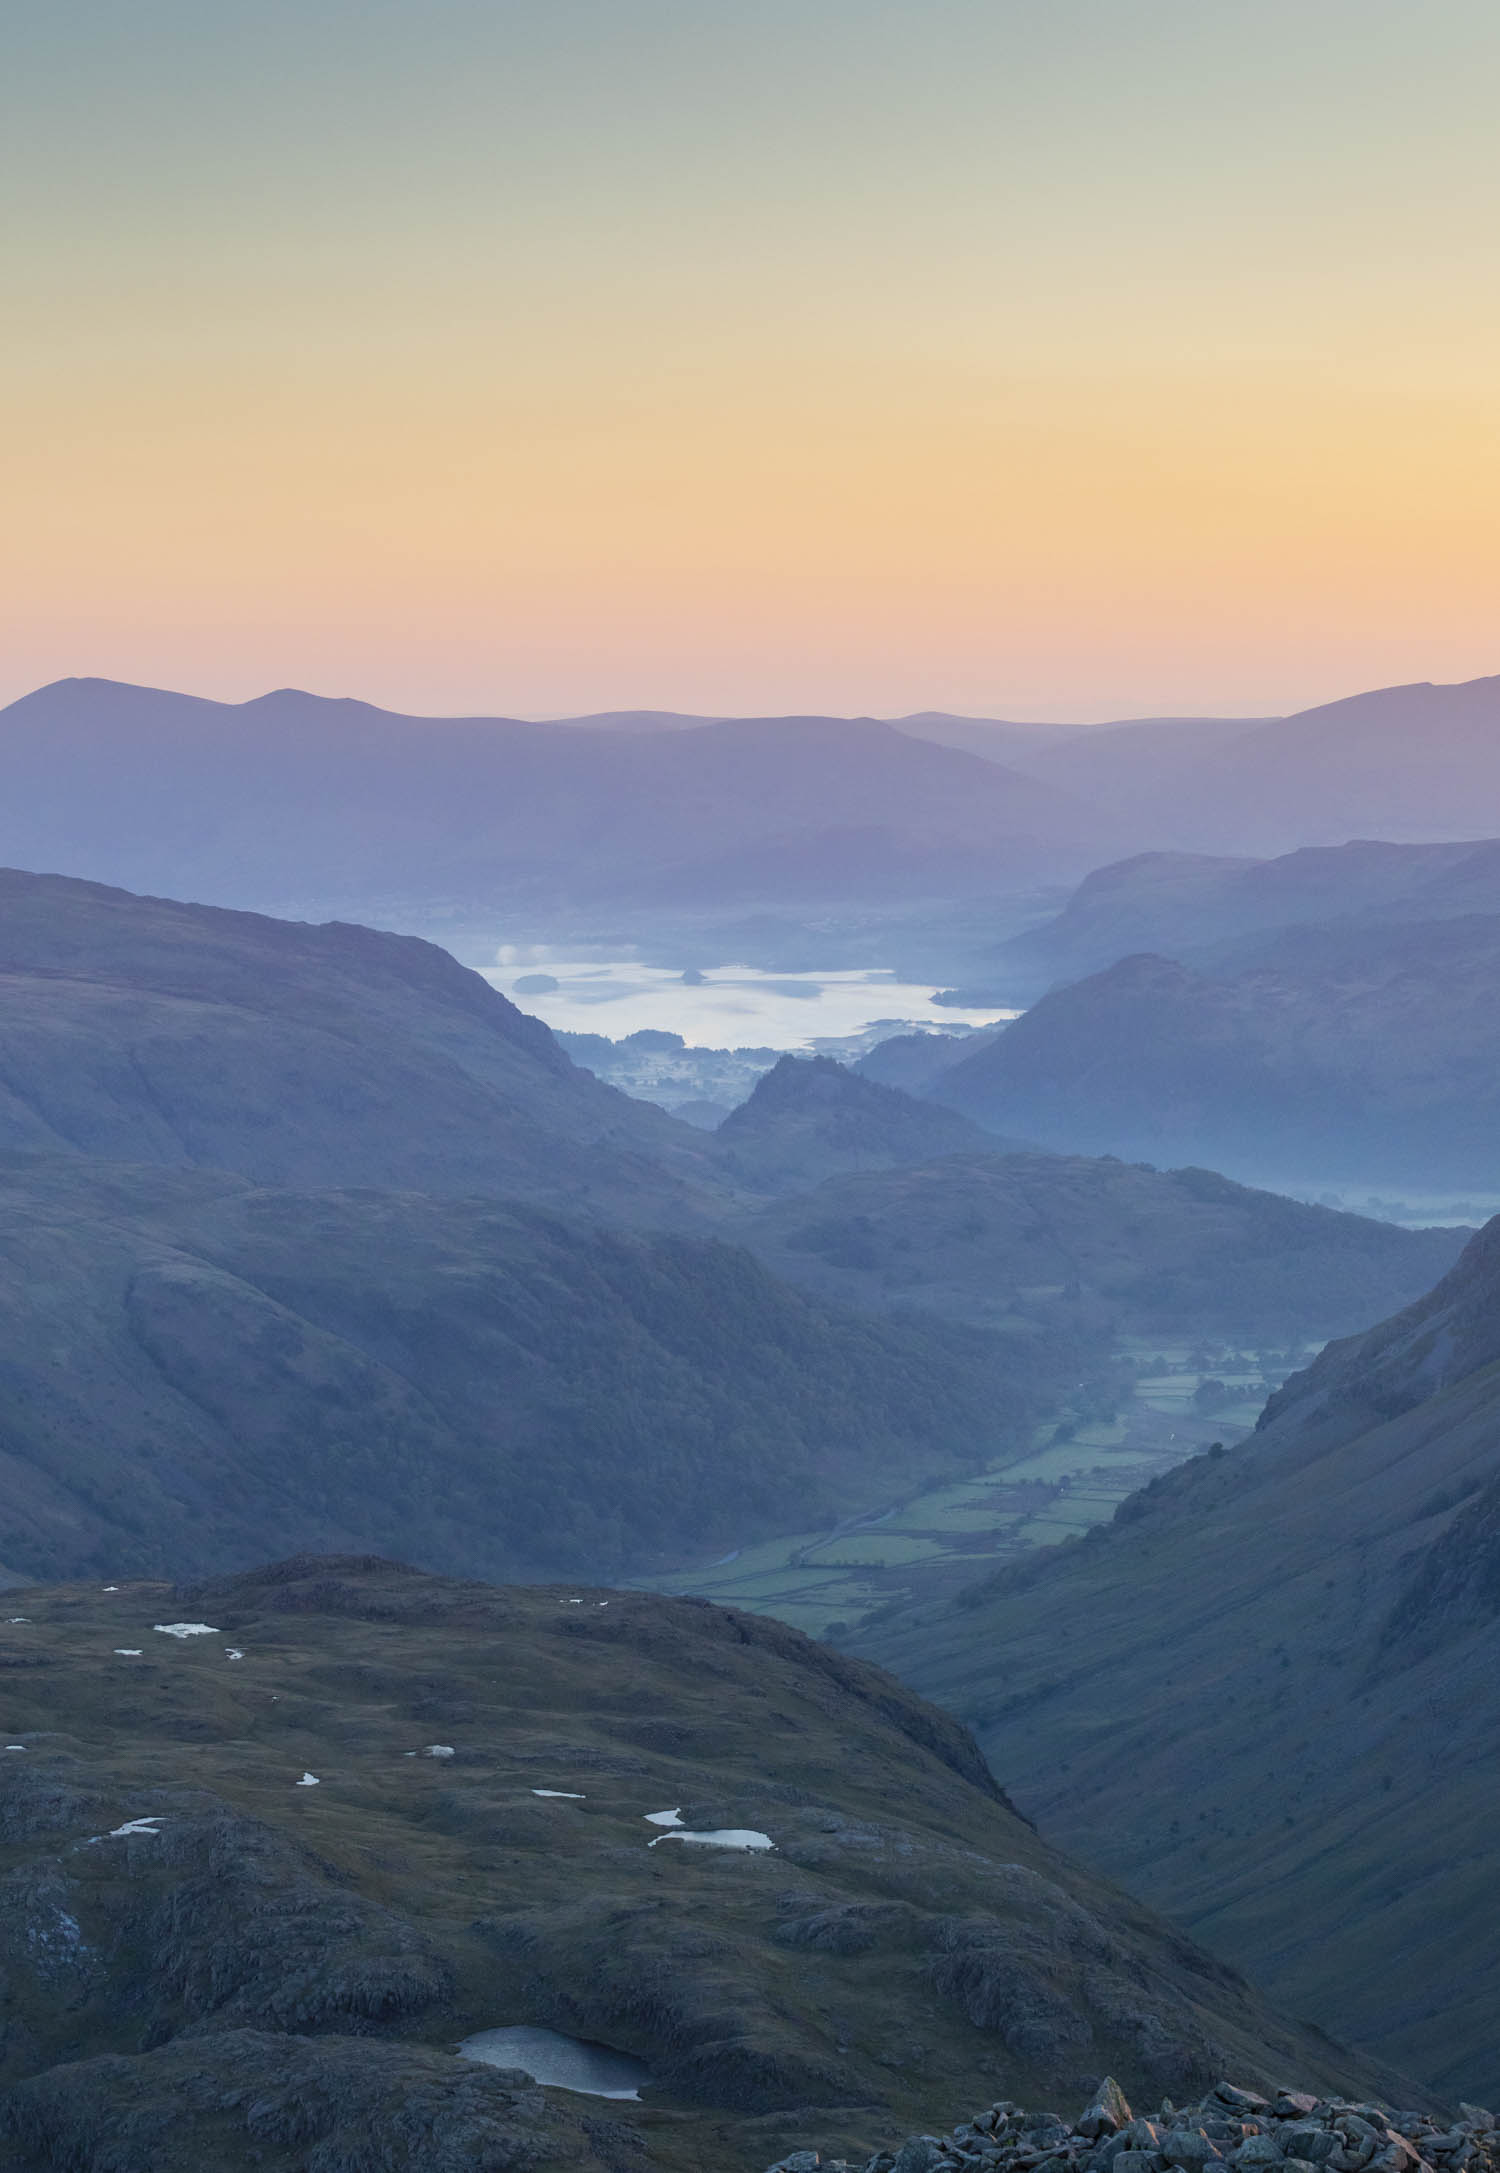
Wild camping and landscape photography are married and there is no better way to capture a sunrise than waking up on a mountain in the Lake District. The peace, harmony and wellbeing felt from an experience like that is second to none. Not to mention a brilliant opportunity to capture some stunning photographs.

Wild Camping Day 2-2.jpg

This includes some panoramic photography, or panorama photography. I have talked recently about doing handheld landscapes, particularly panoramas so I wanted to test out which was better; handheld or with a tripod. I took two series of images of the same scene and then combined them both into a panorama using Adobe Lightroom. Lightroom has a feature called boundary warp that pulls the edges of a panorama to fill in any blanks created whilst merging the individual images. It is very powerful and does a great job, especially with landscape images when there are not many straight lines.

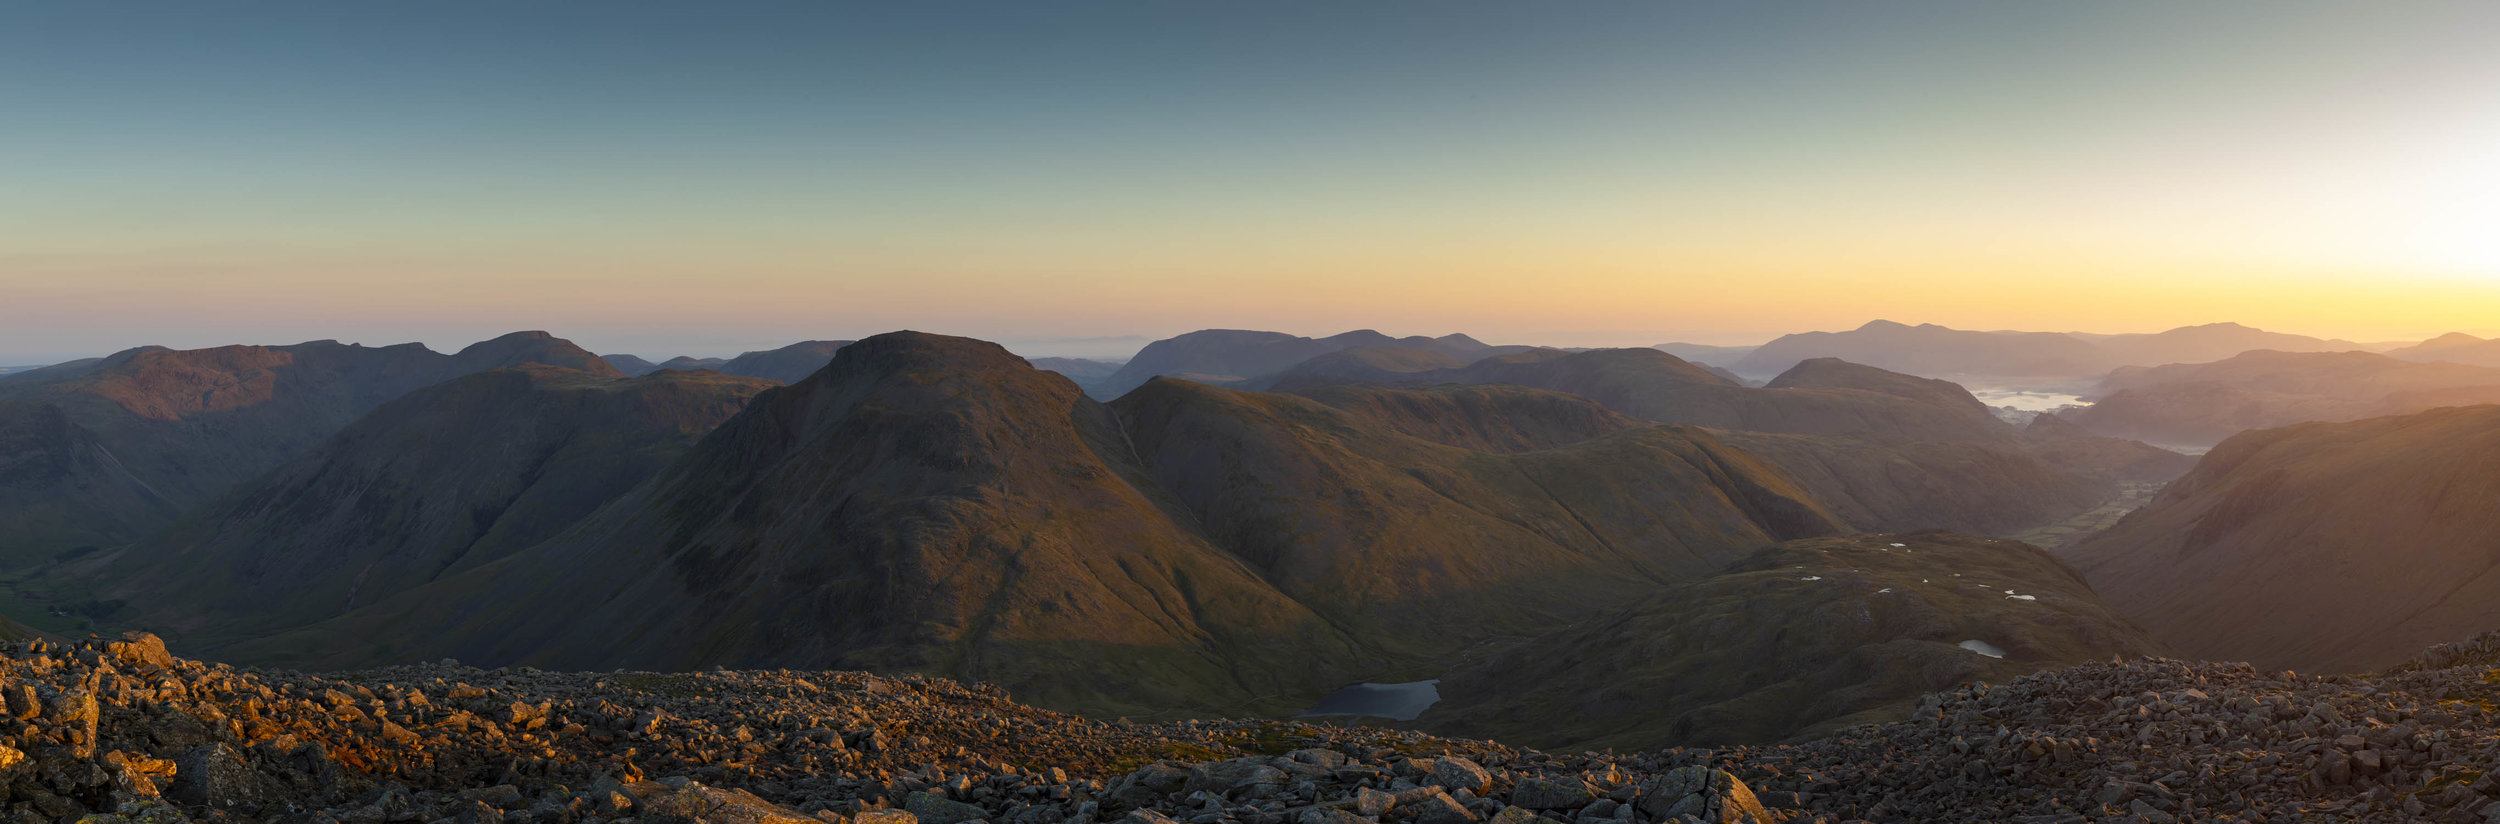
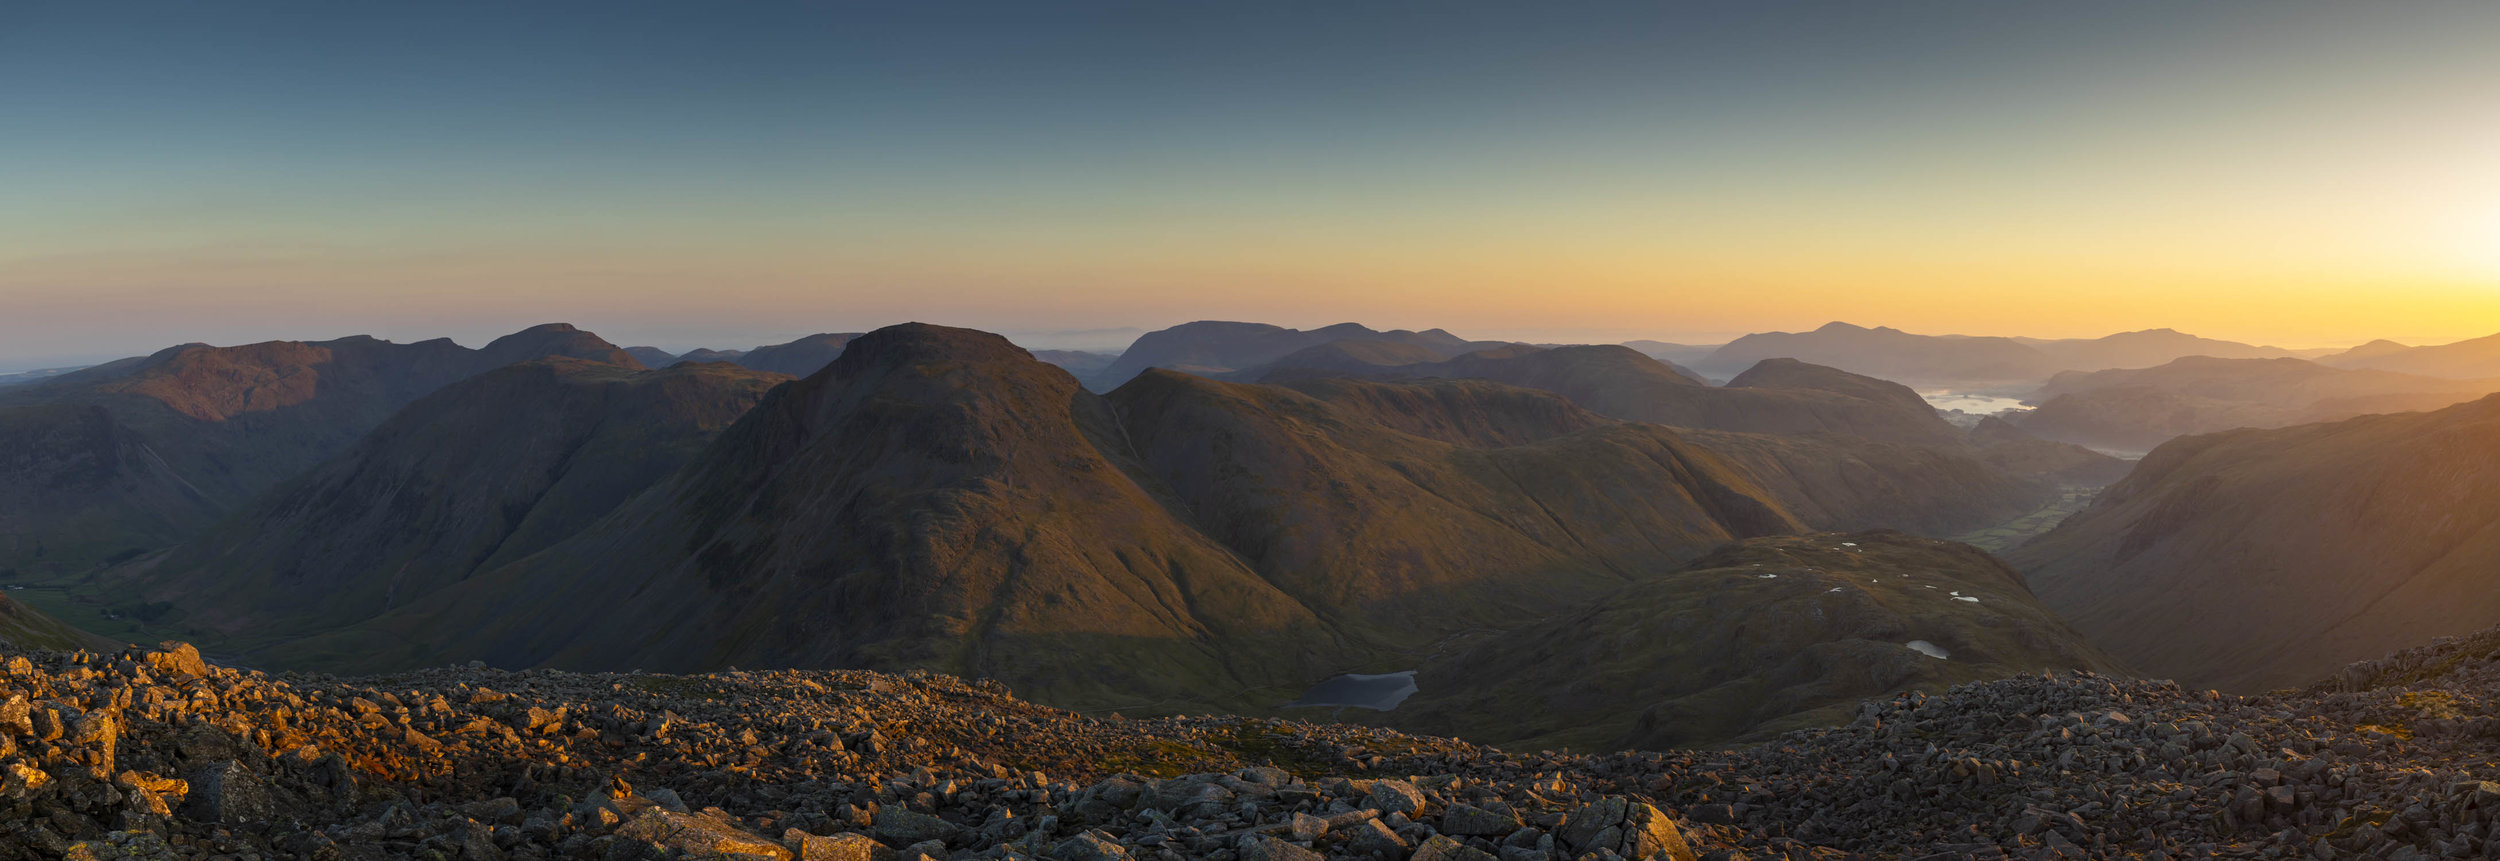
In the video my handheld panorama is shot pretty irrationally, but with a combination of boundary warp and cropping, the final image looks virtually identical to the more ‘text book’ tripod shot.

Using a tripod is still the best way for overall quality. It is a faff though and more difficult to do, which includes have a very level tripod. Handheld panoramas are fast to shoot and the results are almost as good. The upside is that you will almost certainly create more images using the handheld method, where in the past you might not have bothered to get the tripod out.

Landscape Photography | Being creative with camera settings

Take your landscape photographs to another level by employing creative camera settings to match the vision of the stunning scene in front of you. I head to the Lake District in this landscape photography vlog. 

Langdales-5.jpg

One thing I often find when running workshops is people are looking to be more confident with their camera. This comes from from having total understanding of the exposure triangle and the relationship between aperture, shutter speed and ISO. It’s an important step in any photographers journey but once mastered, the camera becomes an extension of your body and an intuitive tool to create your art.

Conquering the camera settings - https://youtu.be/0uhG0HvjXGw

Aperture, shutter speed and ISO can all be used creatively to make the image match the artistic vision in the mind.

In landscape photography standard settings are to have an aperture between f/8 and f/16. We generally look to maximise the sharpness of the lens and also have the whole scene in focus. ISO will almost always be 100 to keep noise as low as possible and then we adjust the shutter speed to get the exposure nicely balanced. However these settings can be adjusted away from this norm to unlock creativity.

Langdales-6.jpg

Long Exposure Photography

Long exposure photography is when we extend the shutter speed to capture an illusion of movement in the image. Clouds become soft and streaky, water is smoothed out and light is captured at all points as it moves through the scene. The ethereal feel it can create is infectious and addictive. With the addition of ND filters the shutter speed can be extended to several minutes creating interesting and unique images.

Long Exposure tutorial - https://youtu.be/vKAu0IluyR4

ISO above 100

The reasons to increase ISO above 100 is the same with landscapes as it is with any other area of photography. It allow us to maintain or increase the shutter speed at a given aperture. We might want to do this for several reasons but one example is to allow us to shoot handheld landscapes. There is a lot to be said for taking handheld landscape even though a tripod is a staple of any landscape photographer. You catch more moments, photograph things you might not bother getting a tripod out for and it can create a really nice overall documentary of the day if the camera is always in hand.

Langdales.jpg

Another reason you might increase the ISO is reduce the amount of movement in the scene. IN the video I wanted movement in the water but not in the clouds. I knew a 2 second exposure was what I needed and an aperture of f16 was required for the depth of field. The addition of a 6 stop ND and ISO 500 achieved the exact shot I wanted. It can be used similarly to reduce the movement in grasses are shrubbery that is blowing around in the wind.

Langdales-2.jpg

Aperture

The main creative use of aperture is to control the depth of field. A nice shallow depth of field can take a portrait to the next level. It is not used very often in landscape photography although there is no reason why it should not be. With woodland photography it is often important to isolate a specific tree. Using a bigger aperture to blow out the background really helps to achieve this.

Aperture can also be used to help bump up the exposure time. If moving from f/8 to f/16 has little effect on the depth of field in your images it can be useful in reducing the light coming in meaning we can extend shutter speeds to increase exposure time. This is a good tactic when shooting the light trails from cars at night and means an ND filter is not required.

Overall it is about deciding first how you want the image to appear. This is often called visualisation and includes your feelings towards a scene as well as what is physically seen. It is then just a matter of using the camera settings to your benefit to make the image match your artistic vision.

Langdales-4.jpg